SMOKE PHOTOGRAPHY
by René Timmermans PhotographyThe Incense Project
Due to the COVID-19 pandemic, traveling has been very limited during 2020 and I have been searching for other creative projects with my photography. After I had seen some incredible images of incense smoke I decided to give it a go at it too and I created the Incense Project.
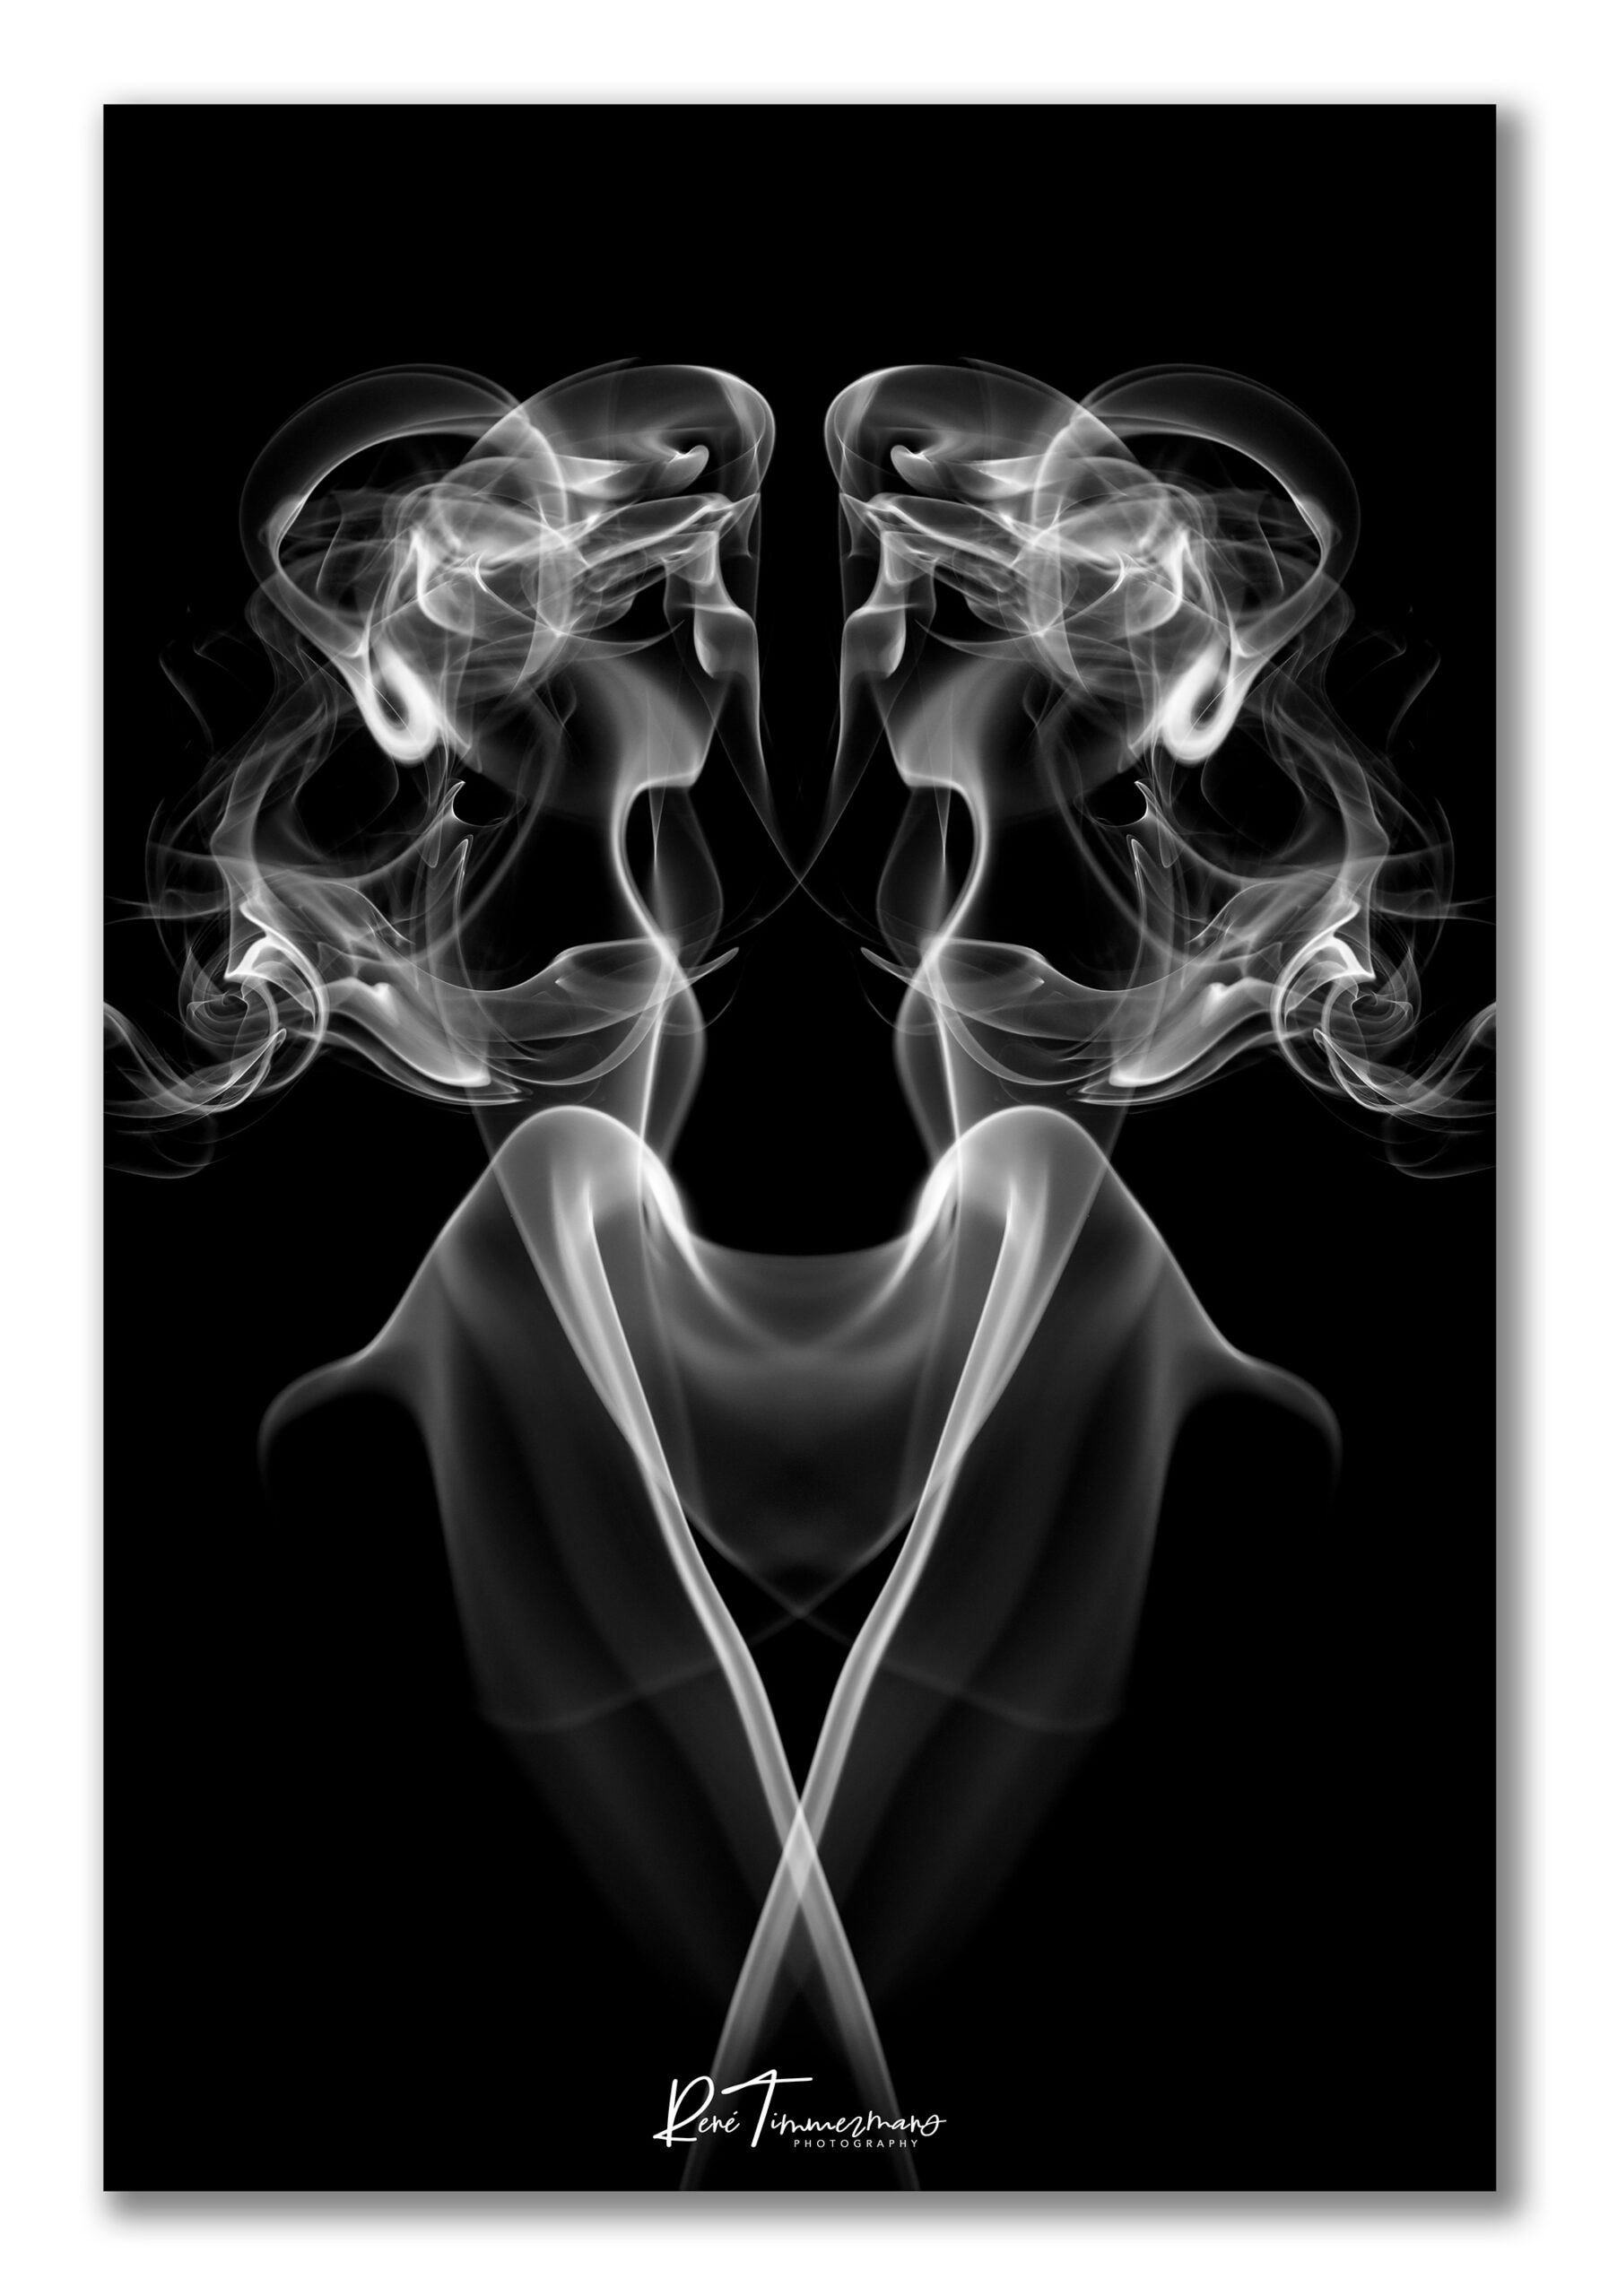
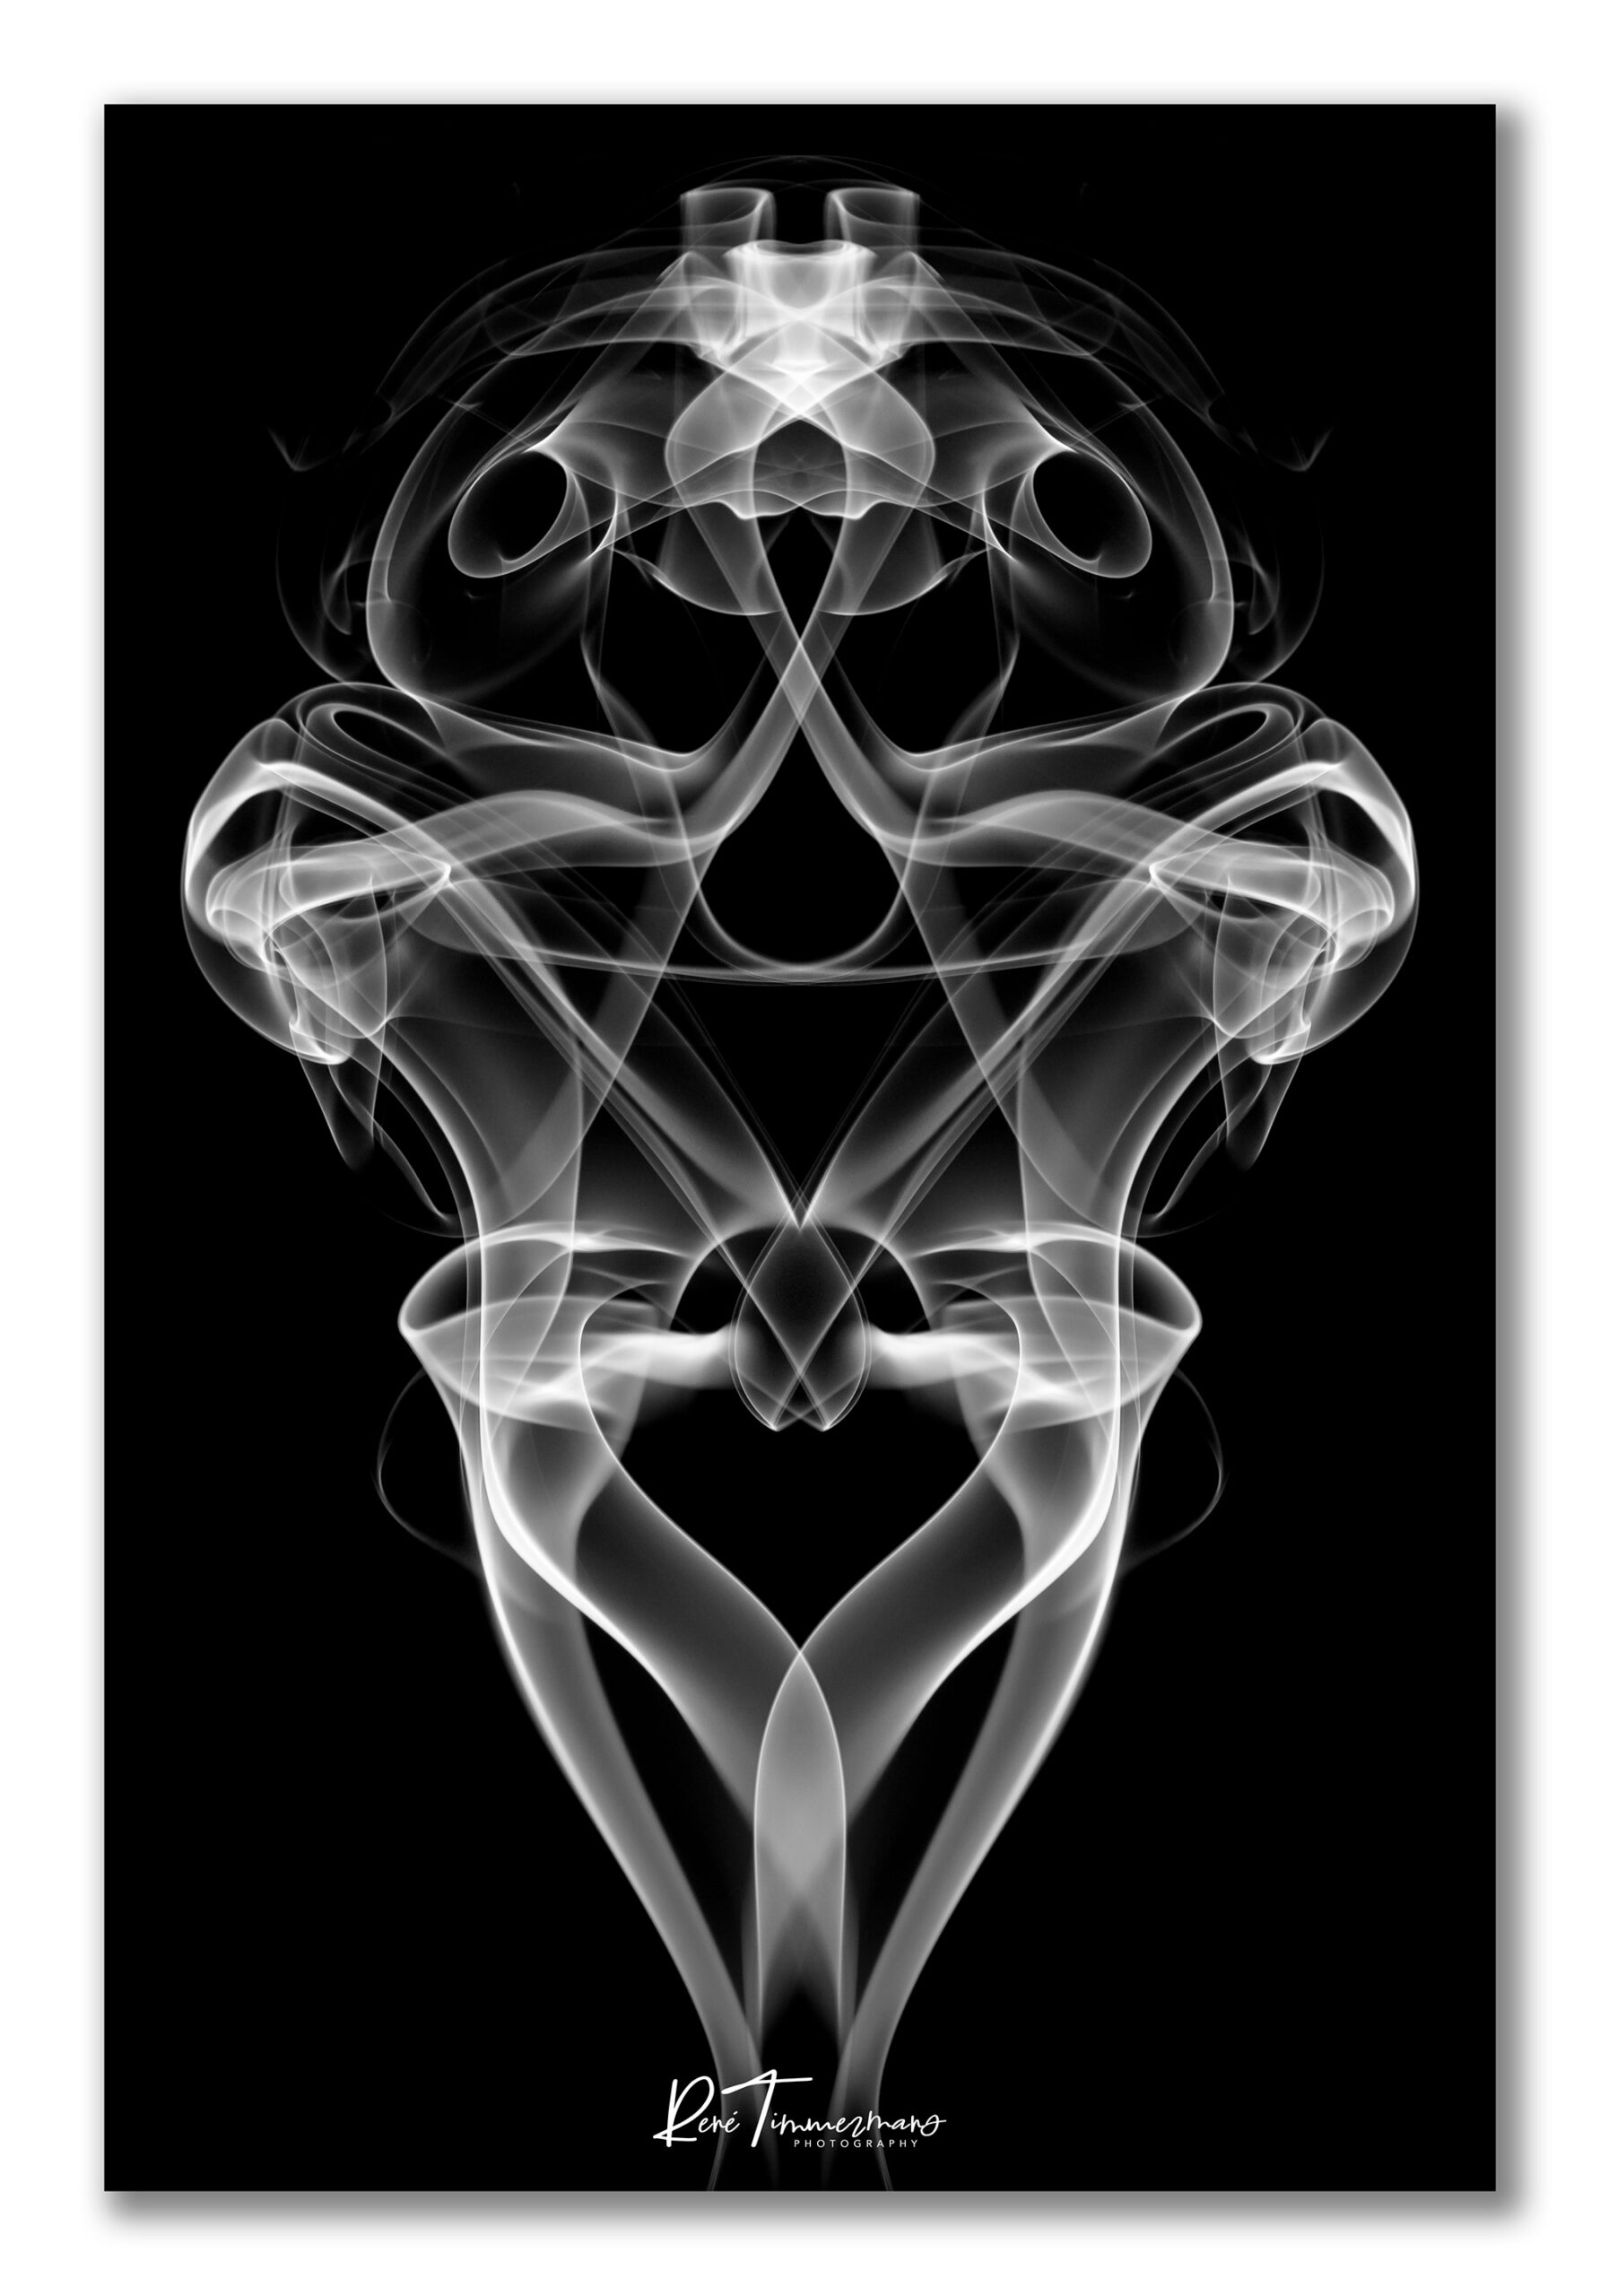
On this page I present some of the results and final images in three different galleries. If you are interested in how I created the images in pre- and post processing and which equipment I used, you can read further down below on this page.
The final image results are divided in three categories:
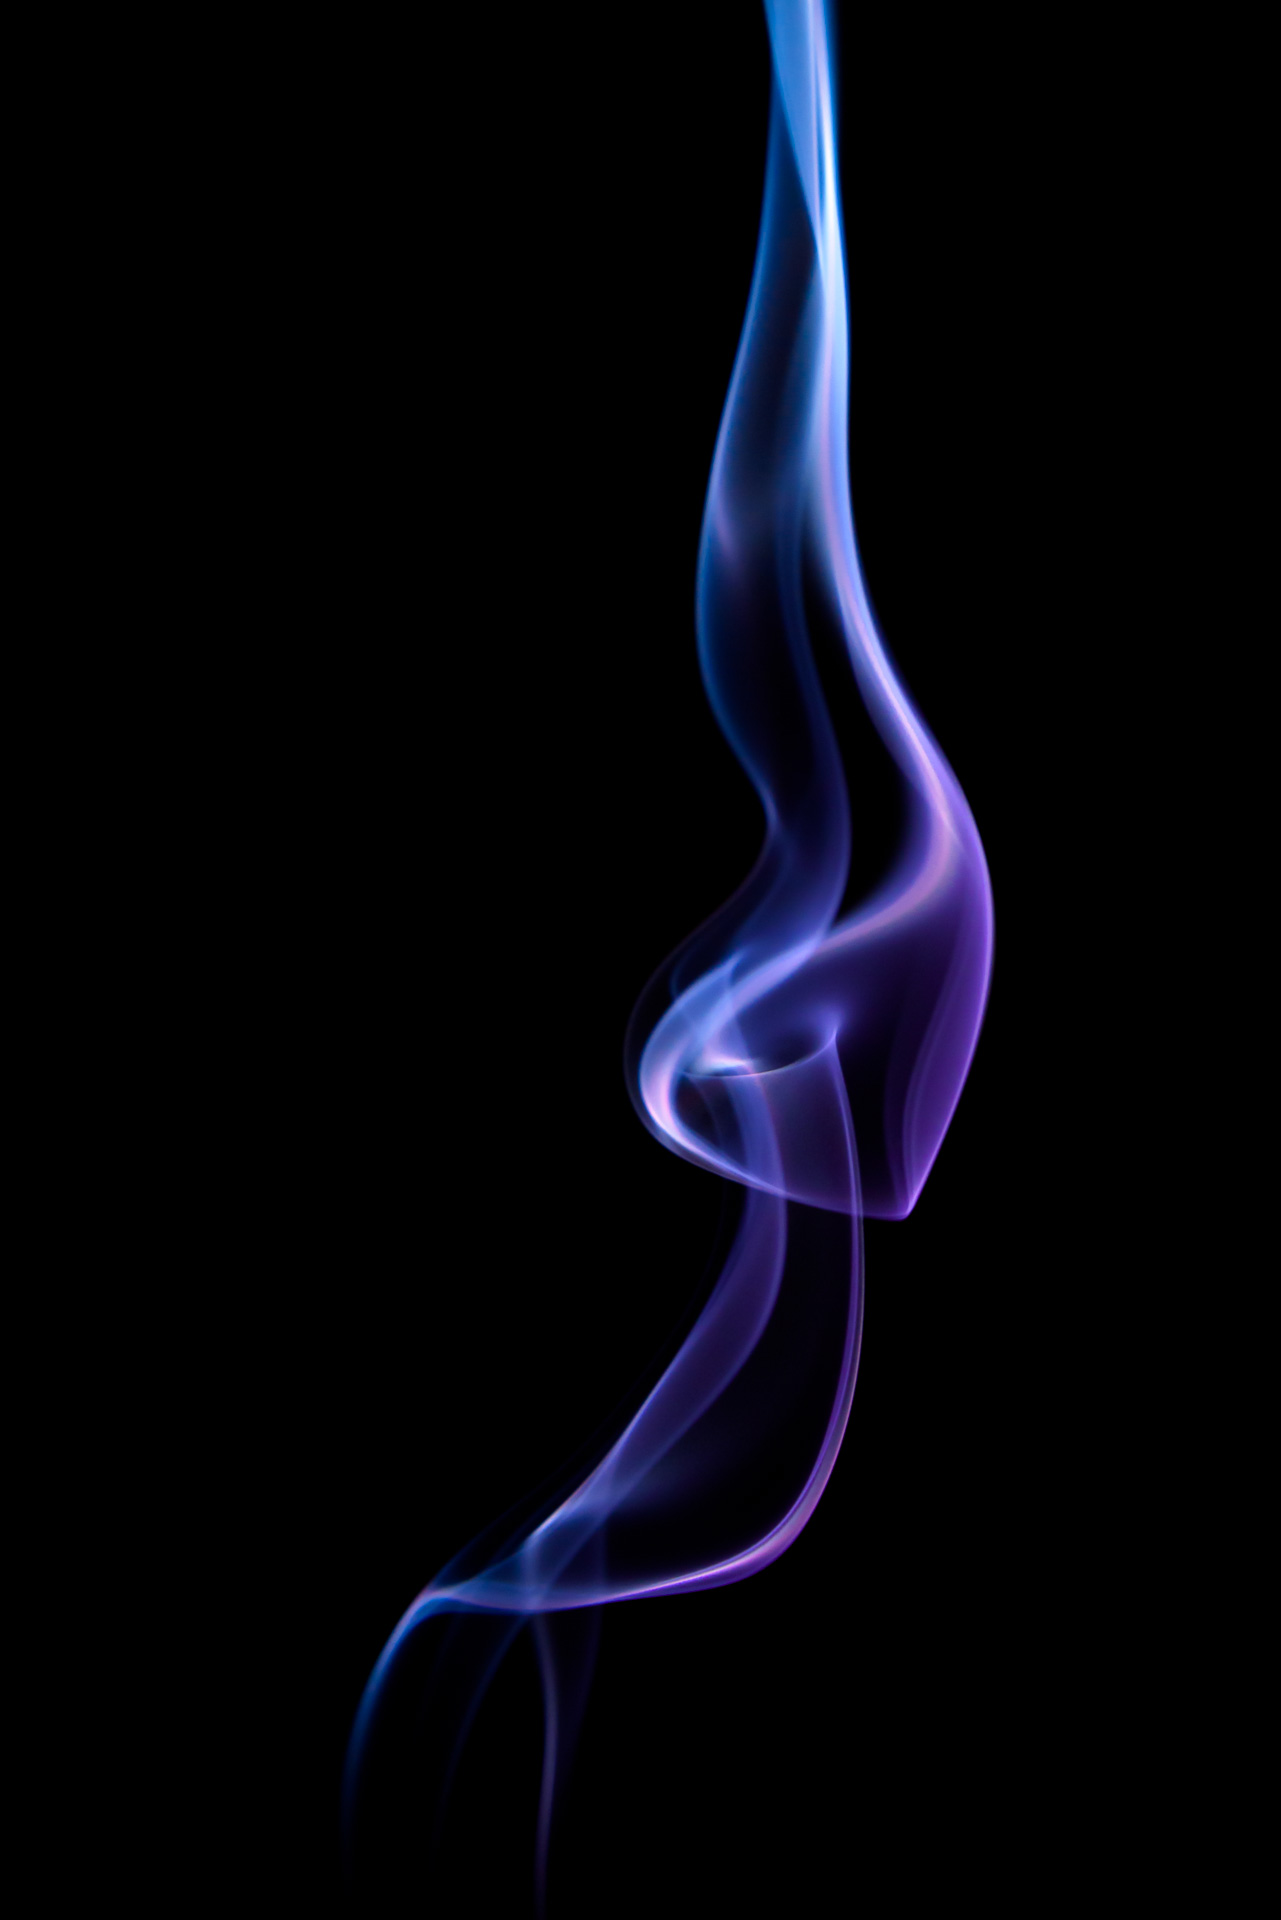
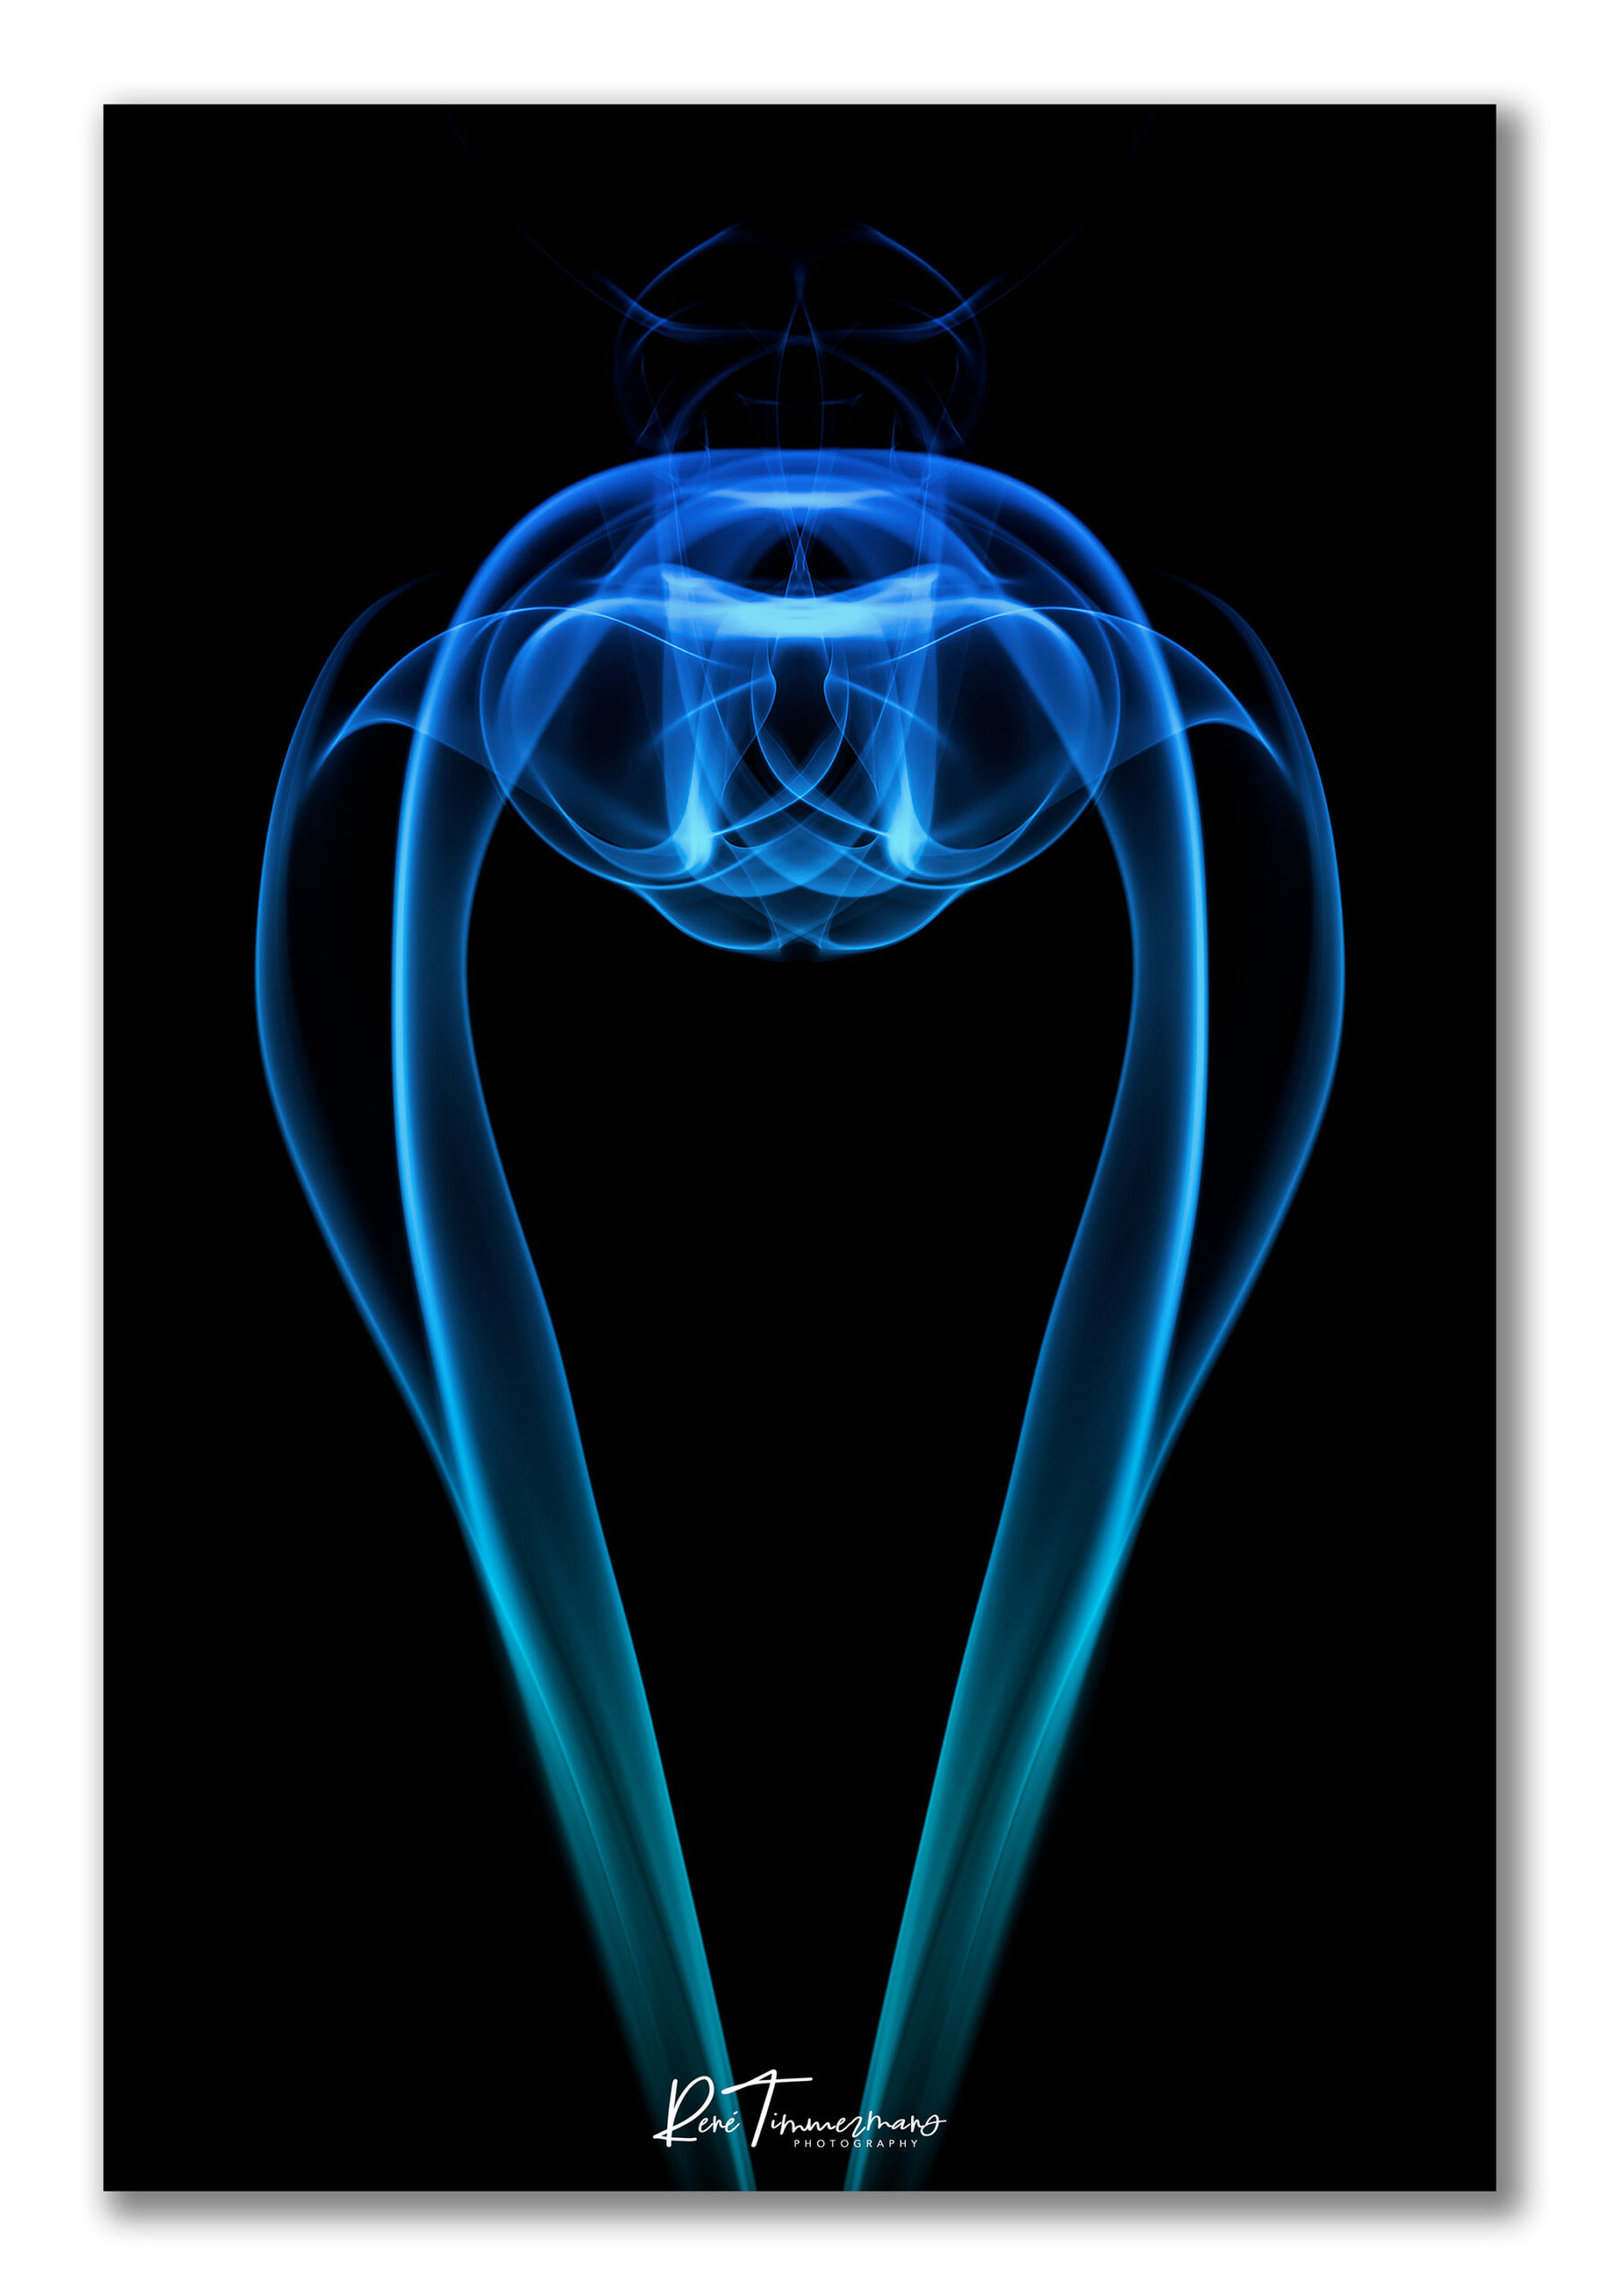
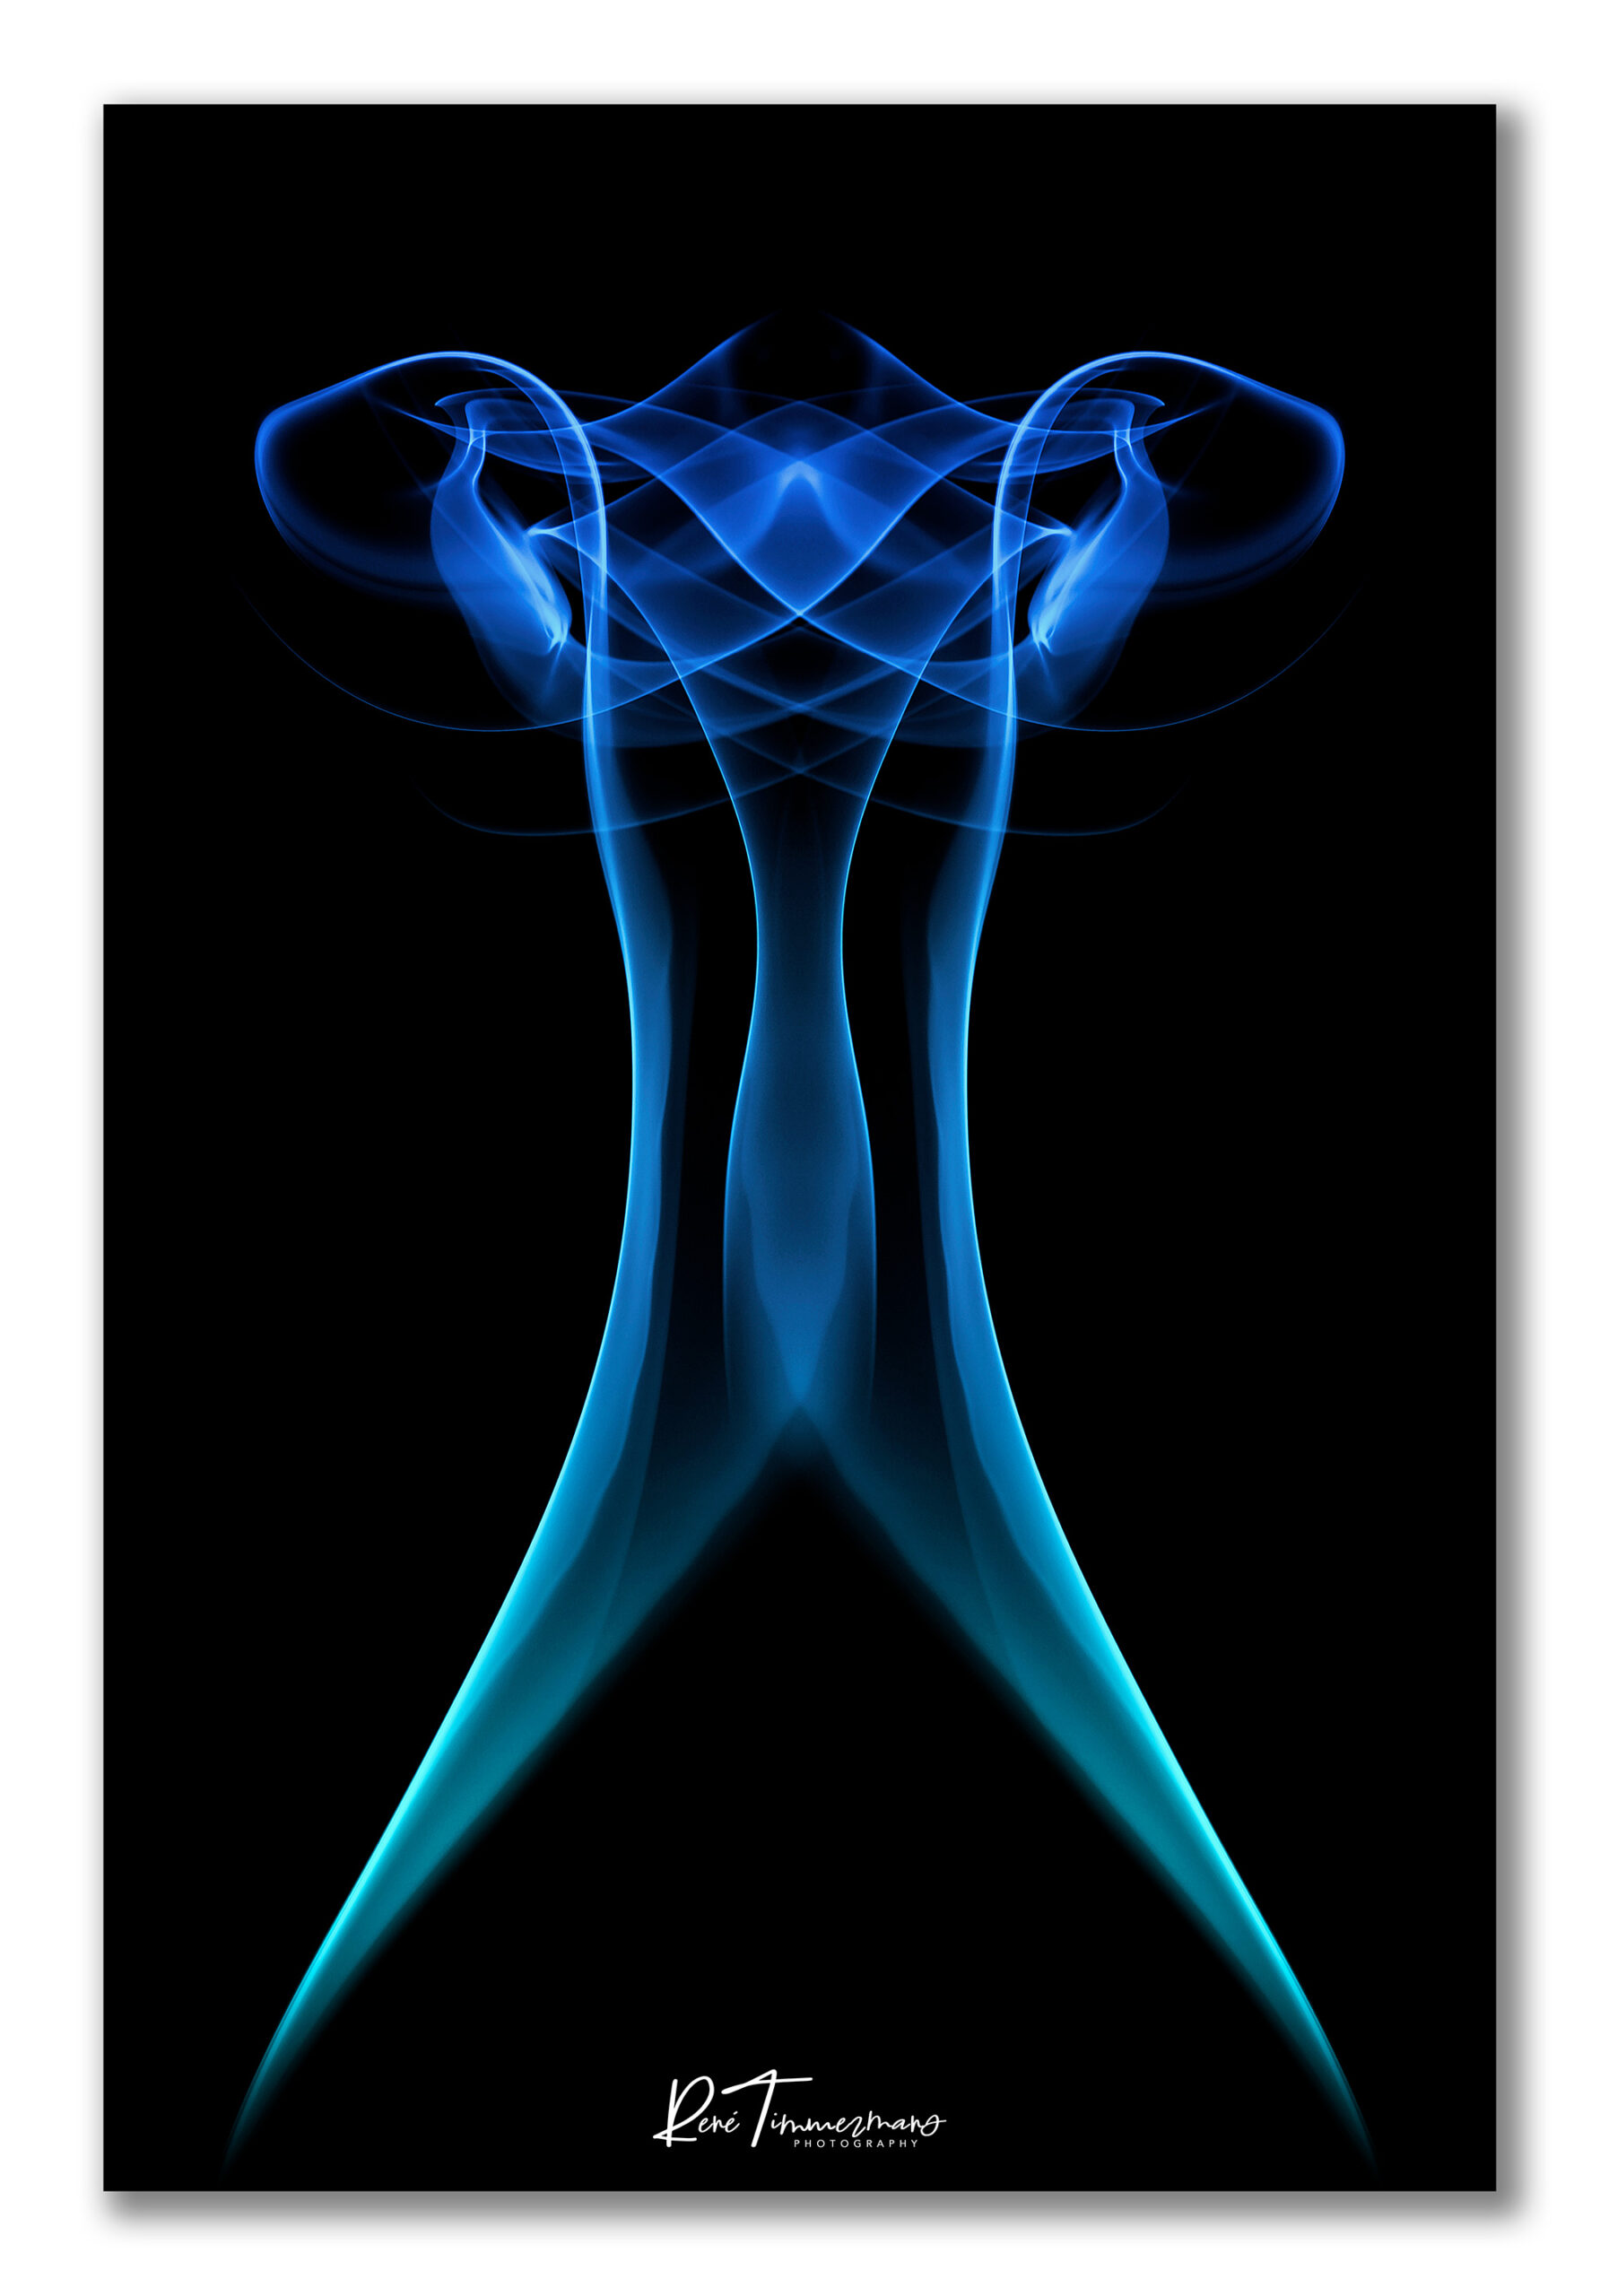
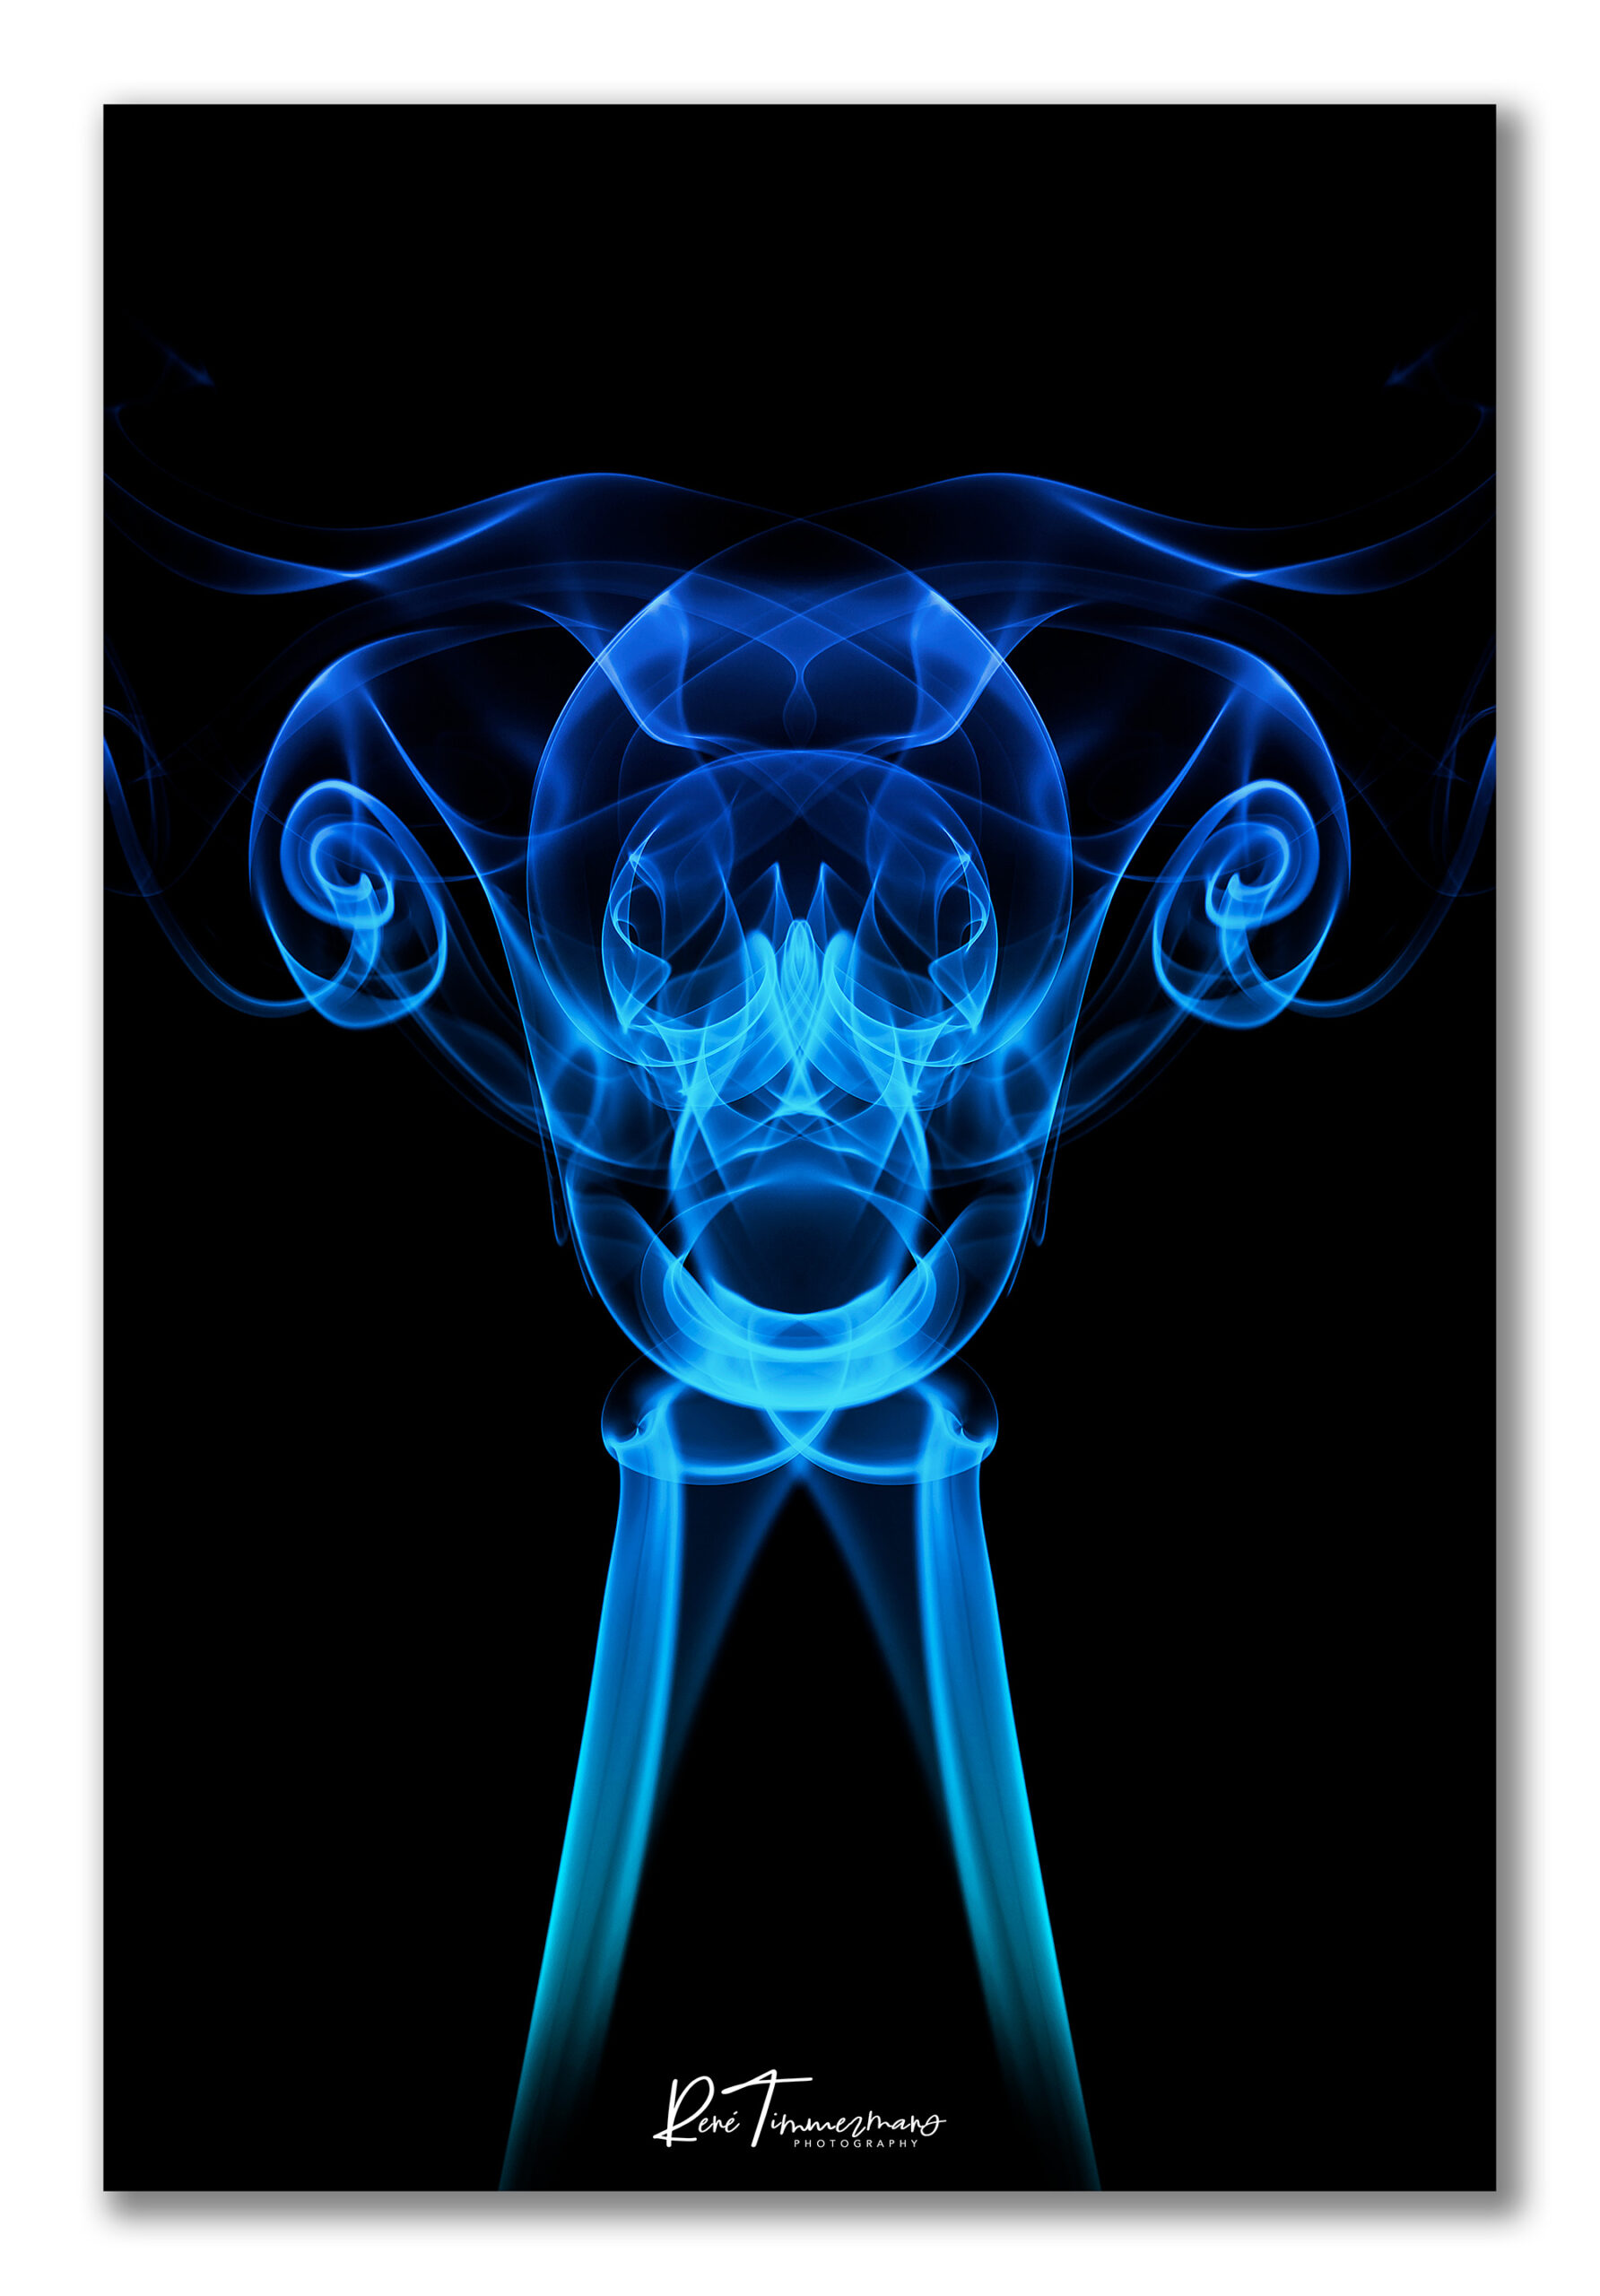
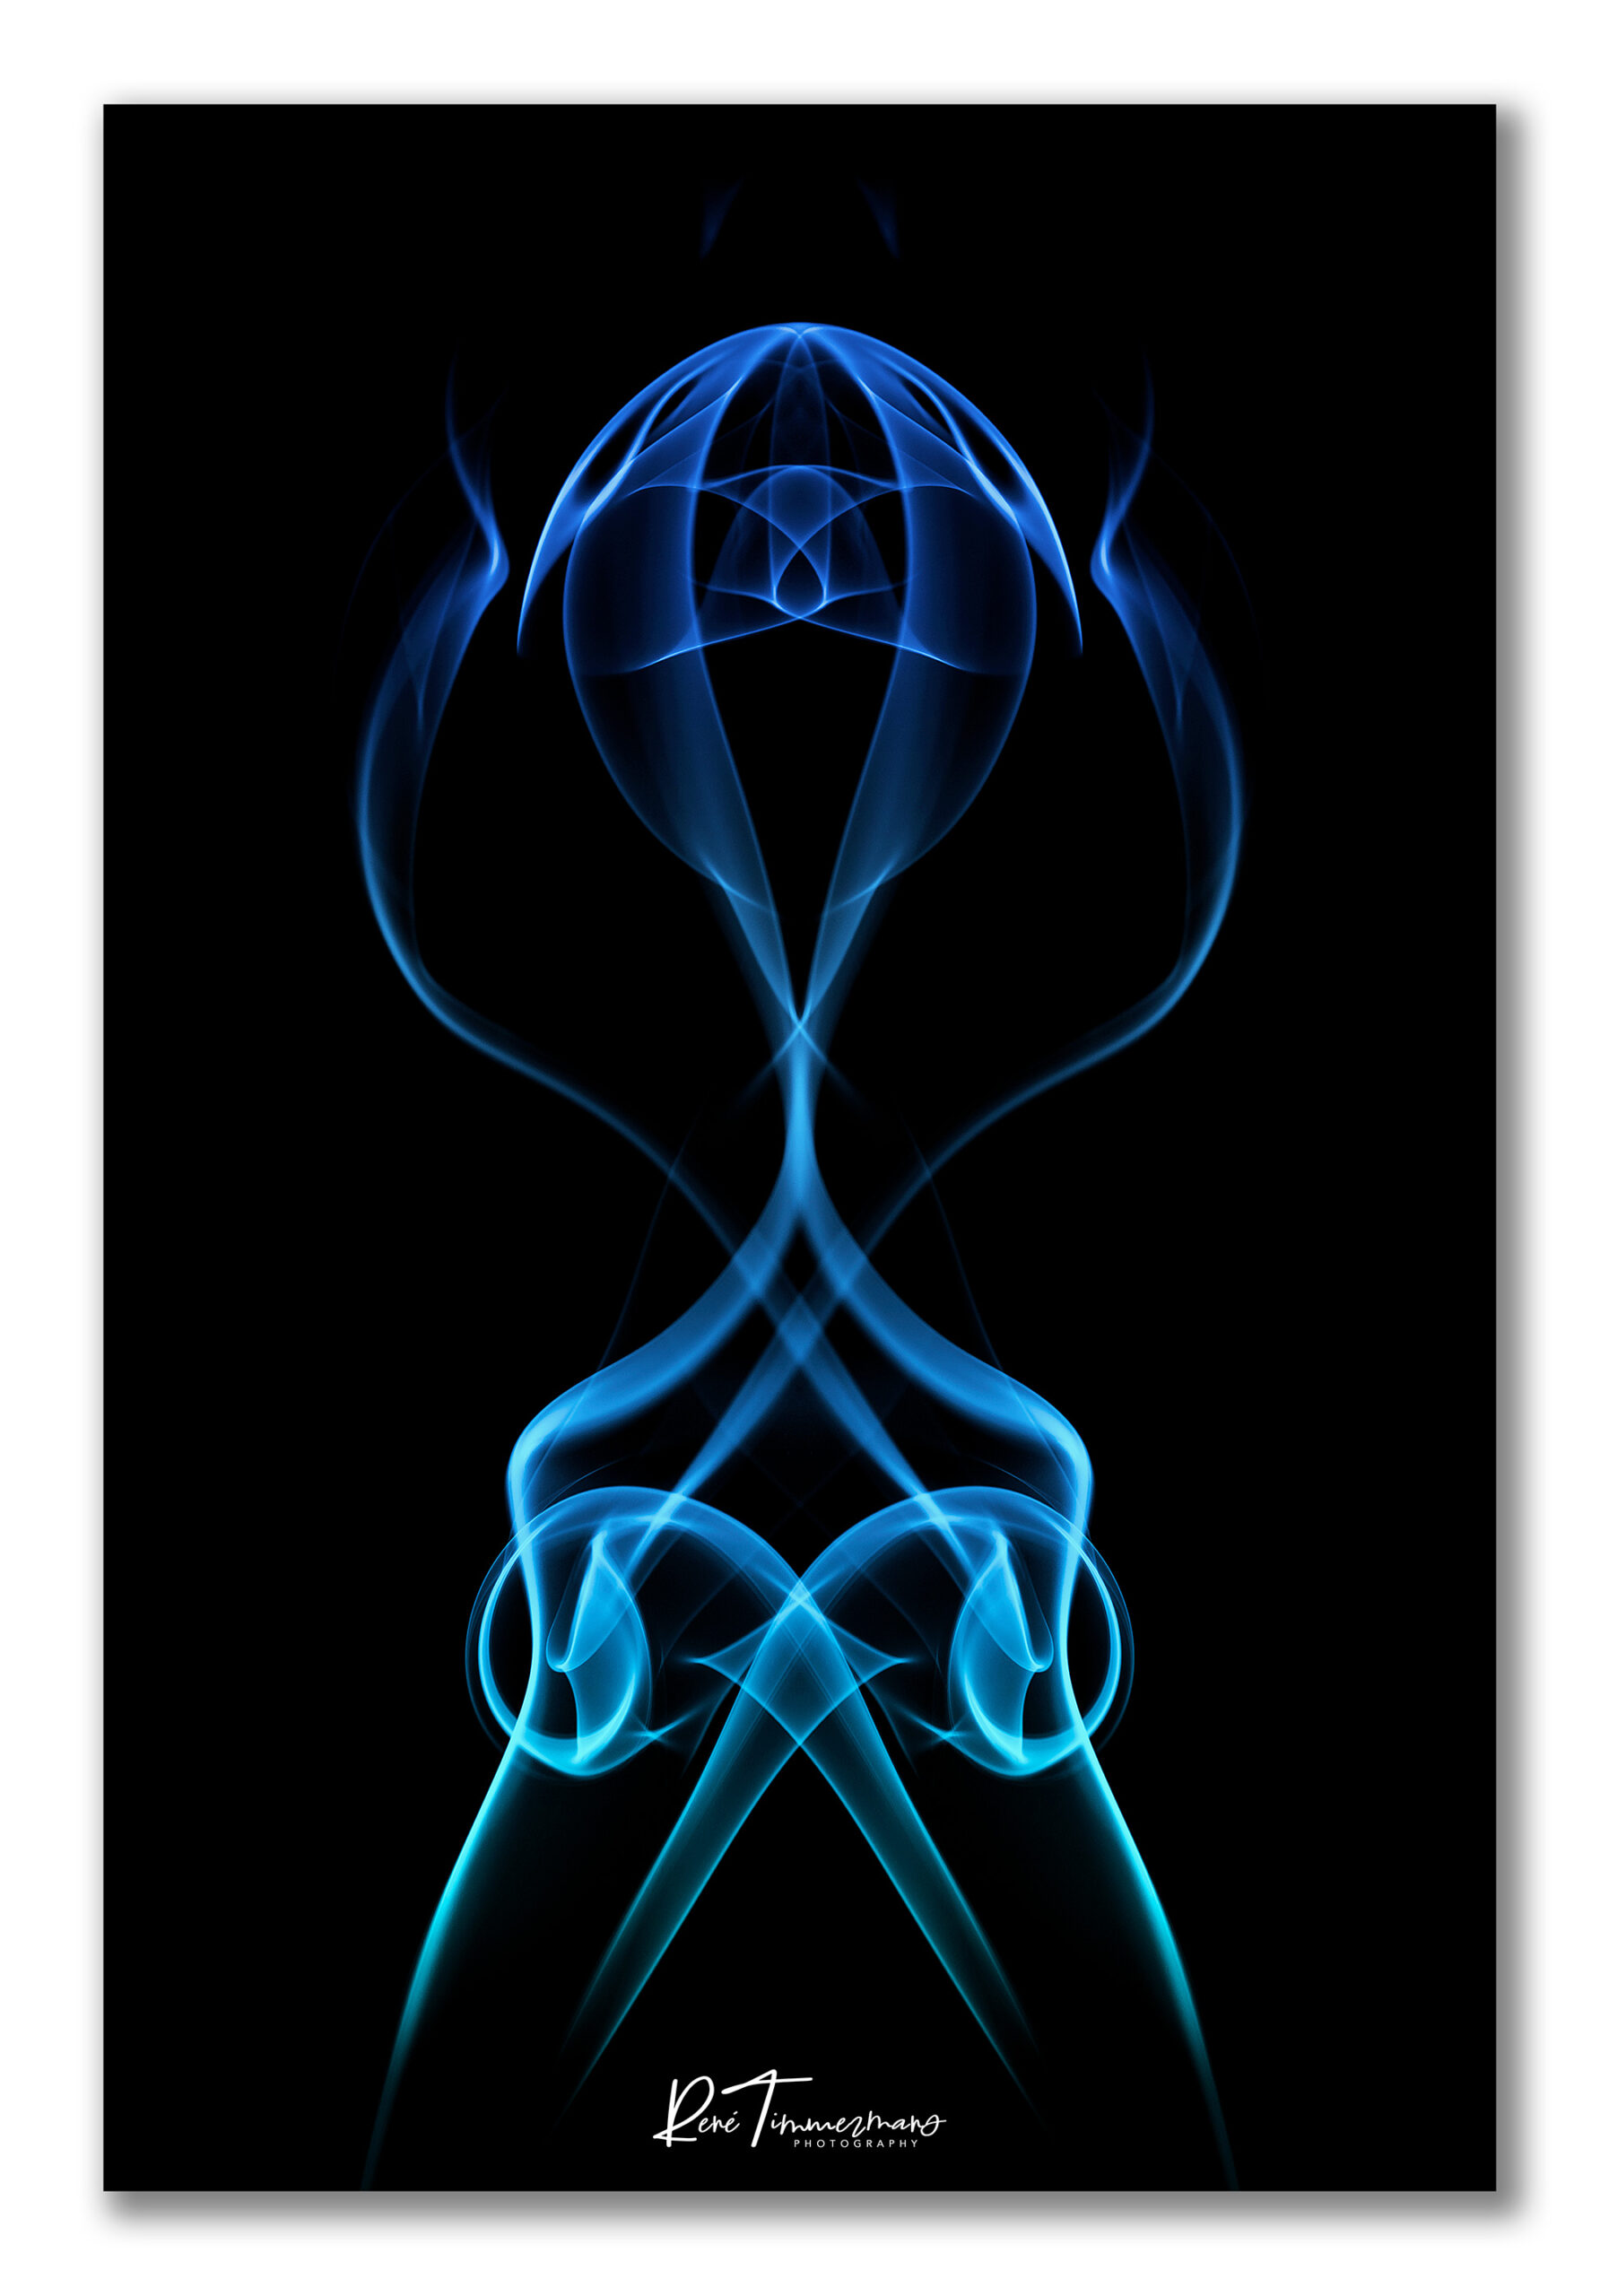
- The Colour Series – images have been edited in Adobe Lightroom to enhance or add the colour;
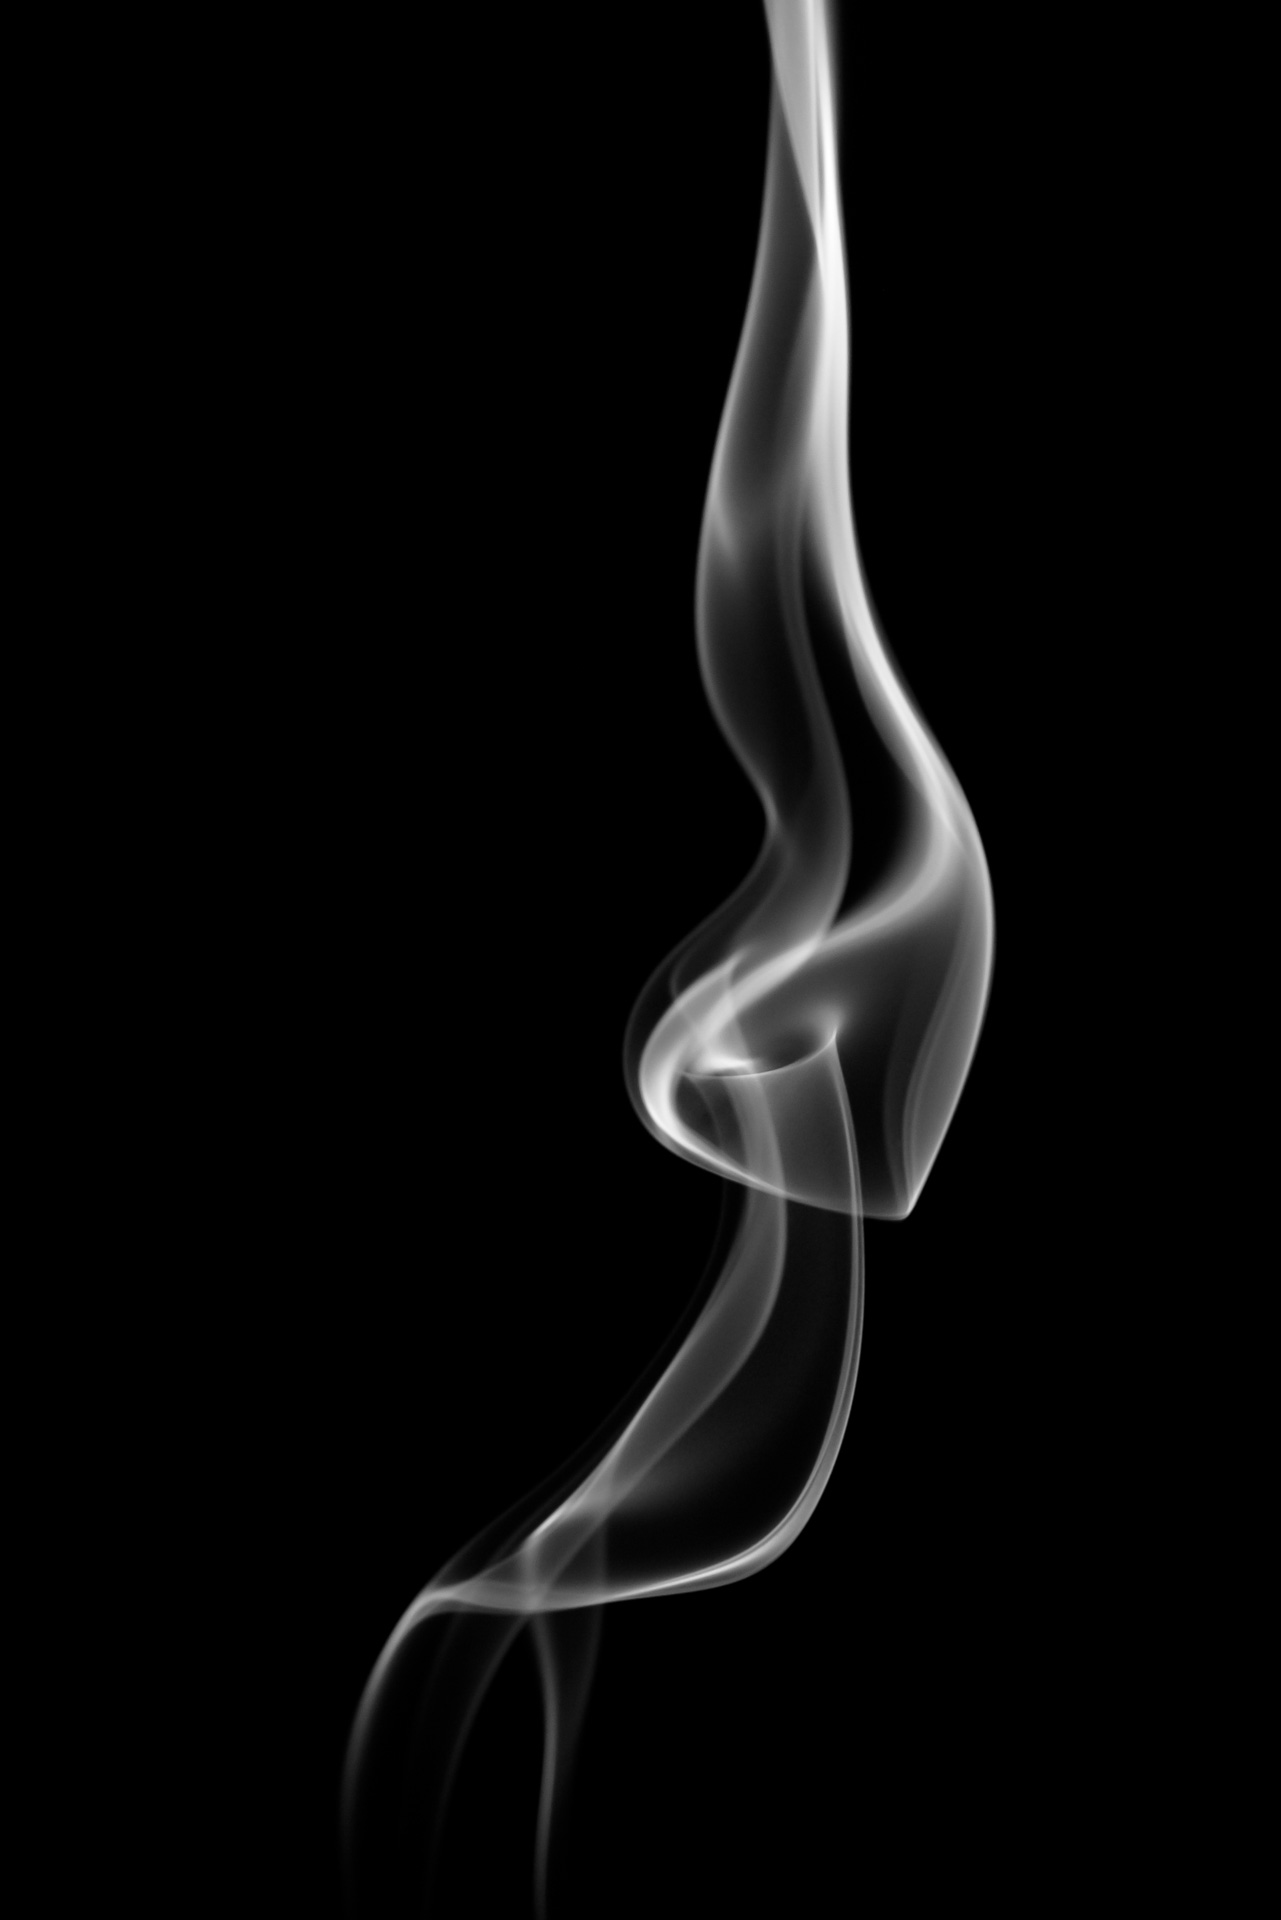
- The B&W Series – the images have been edited in Adobe Lightroom to remove all colour;
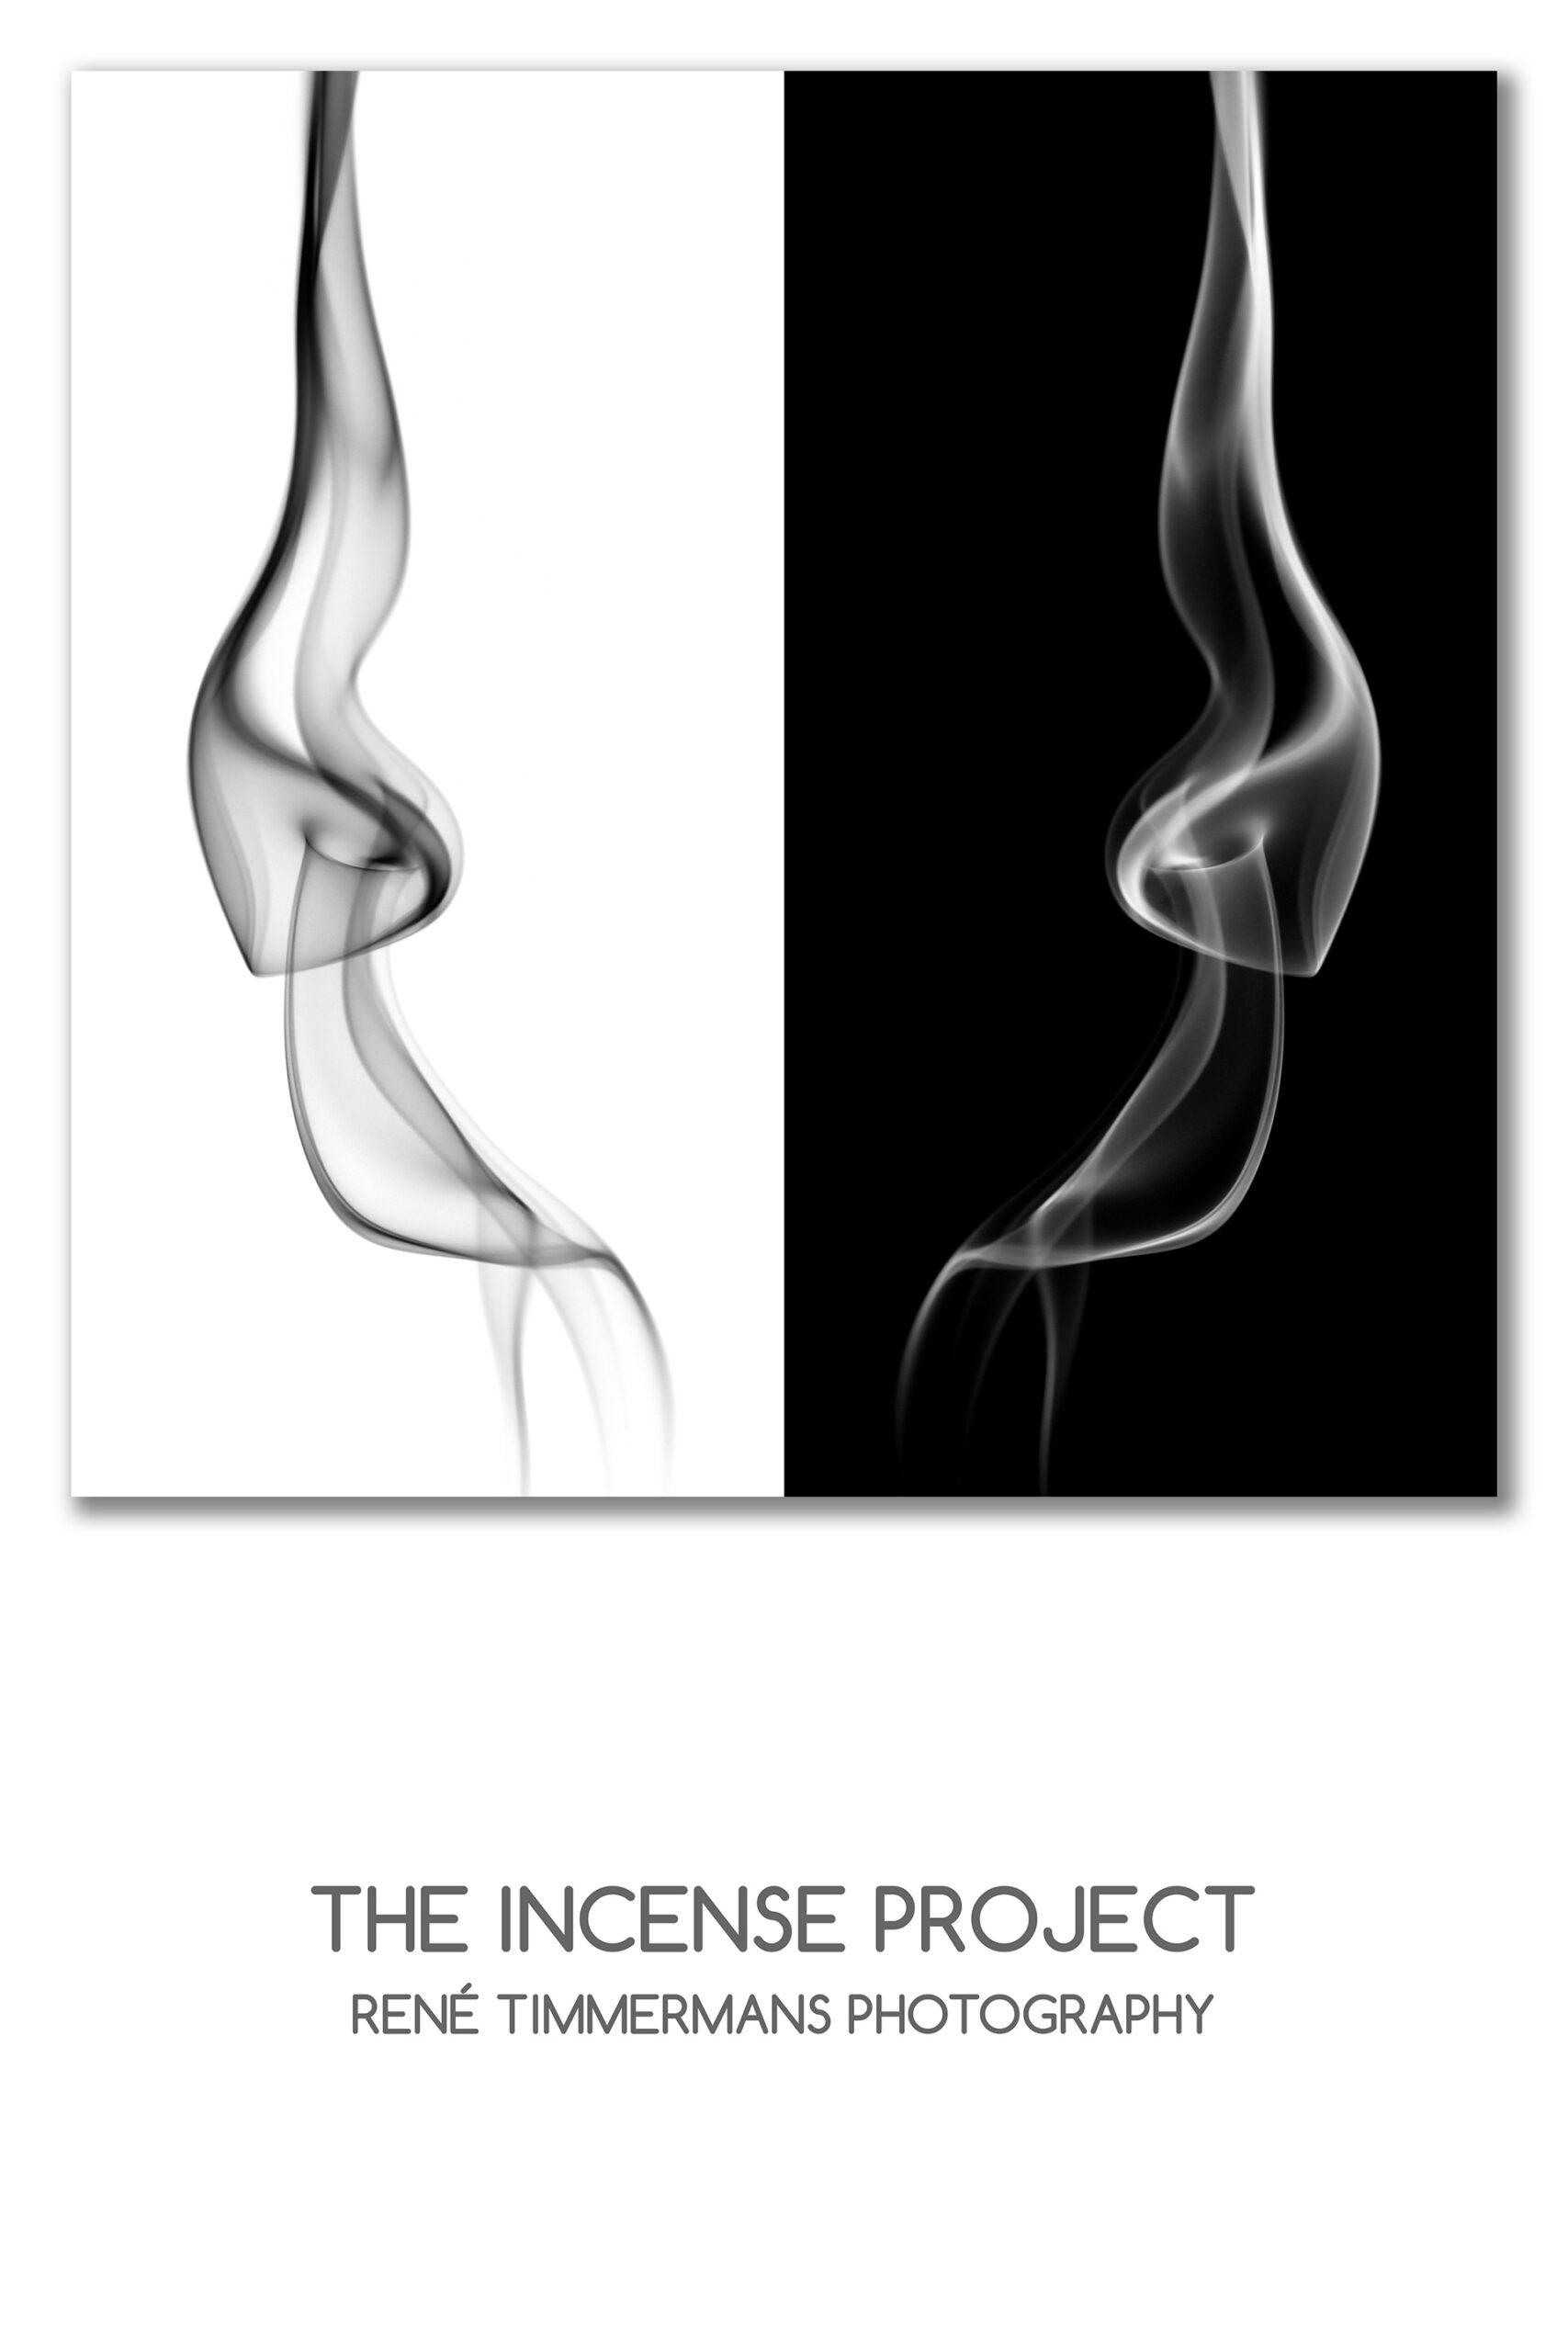
- The Negative Series – a B&W image presented next to its inverted flipped version, creating a contrast rich presentation.
The images from the Colour Series and B&W Series can be acquired in print or rights-managed-license via my web shop.
Click on the below images to get to the respective gallery.
For other creative ideas I explored with the smoke images, you can read further down here on this page.
How I created the smoke images
This is neither meant to be a step-by-step tutorial, nor do I claim to have the perfect setup to create smoke images. There are many good tutorials out on the internet, which I recommend you to watch before trying smoke photography. The below is just describing the way I created my smoke images, including camera settings, technical setup and post-processing details.
The Equipment
- Nikon D810 (with build-in remote trigger)
- Nikon AF-S 24-70mm f/2.8G ED
- Nikon SB910 (set-up in remote-mode)
- Gitzo tripod
- Black screen
- Blocking screen
- Cardboard tube (on flash-unit)
- Incense stick with holder
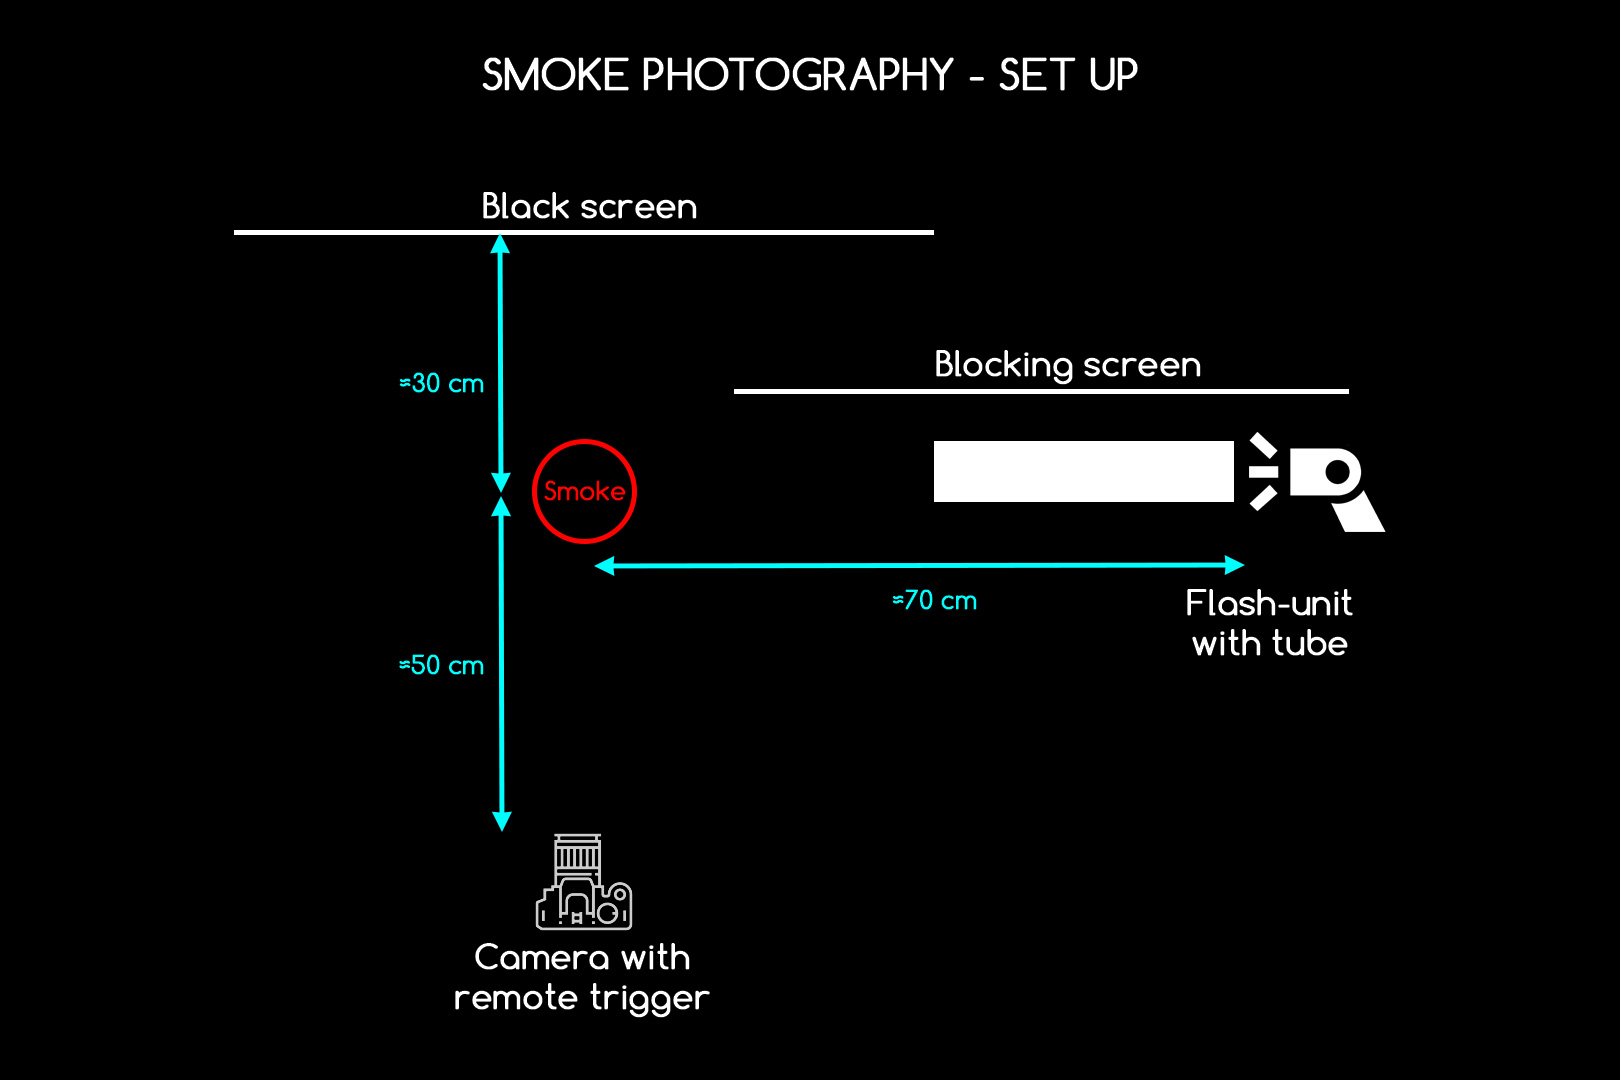
In the picture to the right you can see the complete setup. Click to enlarge the image.
The Technical Setup
A few notes about the technical setup. I found it best to photograph in a dark room, with just a small desk lamp switched on behind the black screen to see some of the smoke in order to decide when to push the trigger. The blocking screen is to avoid any flashlight falling on the black screen as this will be a distraction in the final image and it will be difficult to fully remove in post-processing.
My camera settings were as follows: manual mode, ISO 100-200, shutter speed 1/125th second, aperture between 8-11, focal length between 50 and 70 mm and manual focus. Using autofocus is not very reliable in this (dark) setup, I focused on the incense stick and put the camera on manual focus. As the smoke moves from and towards the camera it is still a gamble to get the perfect sharp results. The flash-unit was on either half power or a quarter power. The cardboard tube secured that the flashlight was directed straight on the incense smoke. The flash-unit was in remote mode and triggered by the camera.
Post-processing
For post-processing I used Adobe Lightroom Classic and Adobe Photoshop 2021. I uploaded the images on to my hard drive and imported them into Lightroom. The adjustments made in Lightroom vary obviously per image, but in general I increased the exposure, increased the whites and somewhat the highlights. Especially the darks need to be reduced a lot (-50) in order to create a total black background. I also reduced the shadows a bit. Additionally I sharpened the image (70-1,5-10-30) and applied some noise reduction. I cropped the image as per my liking and removed any distractions in the image. I noticed especially during the beginning of each photo session that dust was flying through the air and ended up as bright spots on my images.
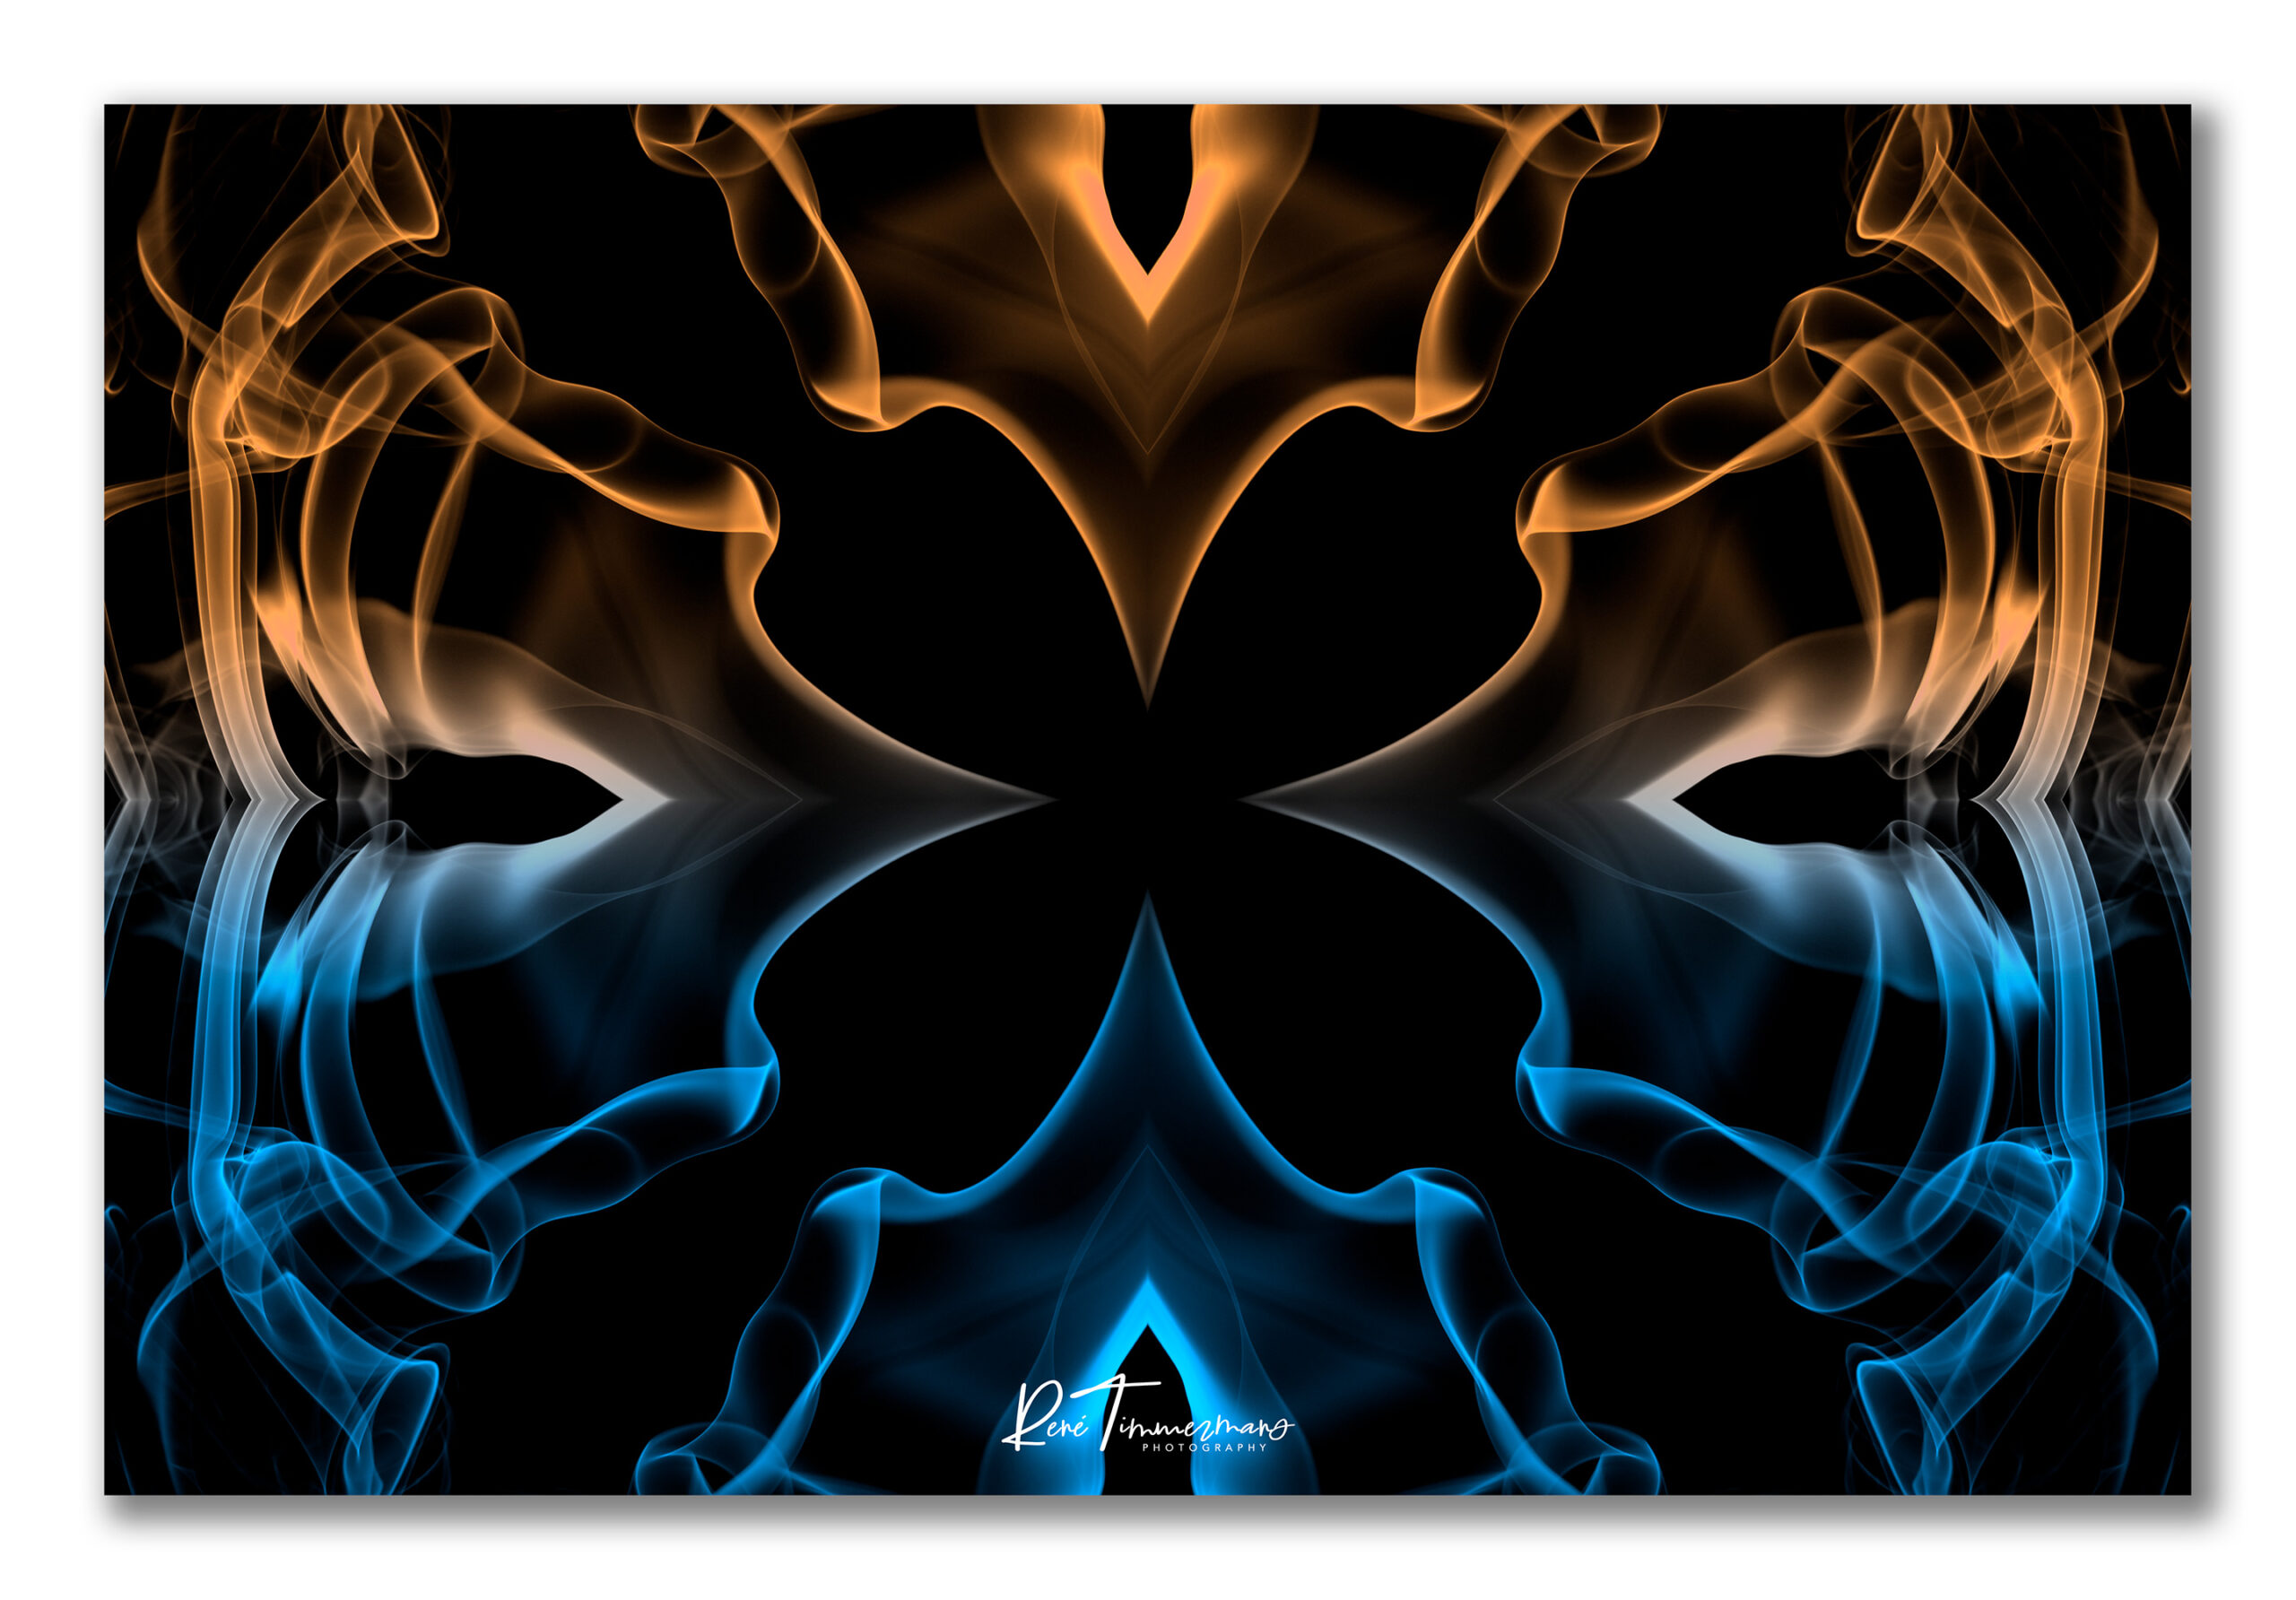
With the hue settings, both global and with the gradient tool, and the vibrance and saturation settings I added the colours to the images. For the black & white images I removed all saturation. The negative series was created in Adobe Photoshop by placing a black & white image next to its inverted and horizontally flipped self, finished off with a poster feel canvas around it.
Final Remarks
At the day of writing (November 2020) I have done six photo sessions and shot about 1500 images, of which around 30 were worth keeping. I hope you like and enjoy the images and that the description of how I created them was clear. If you have any questions you are welcome to contact me on info@renetimmermans.com.
Creative ideas with smoke images
The Alien Series
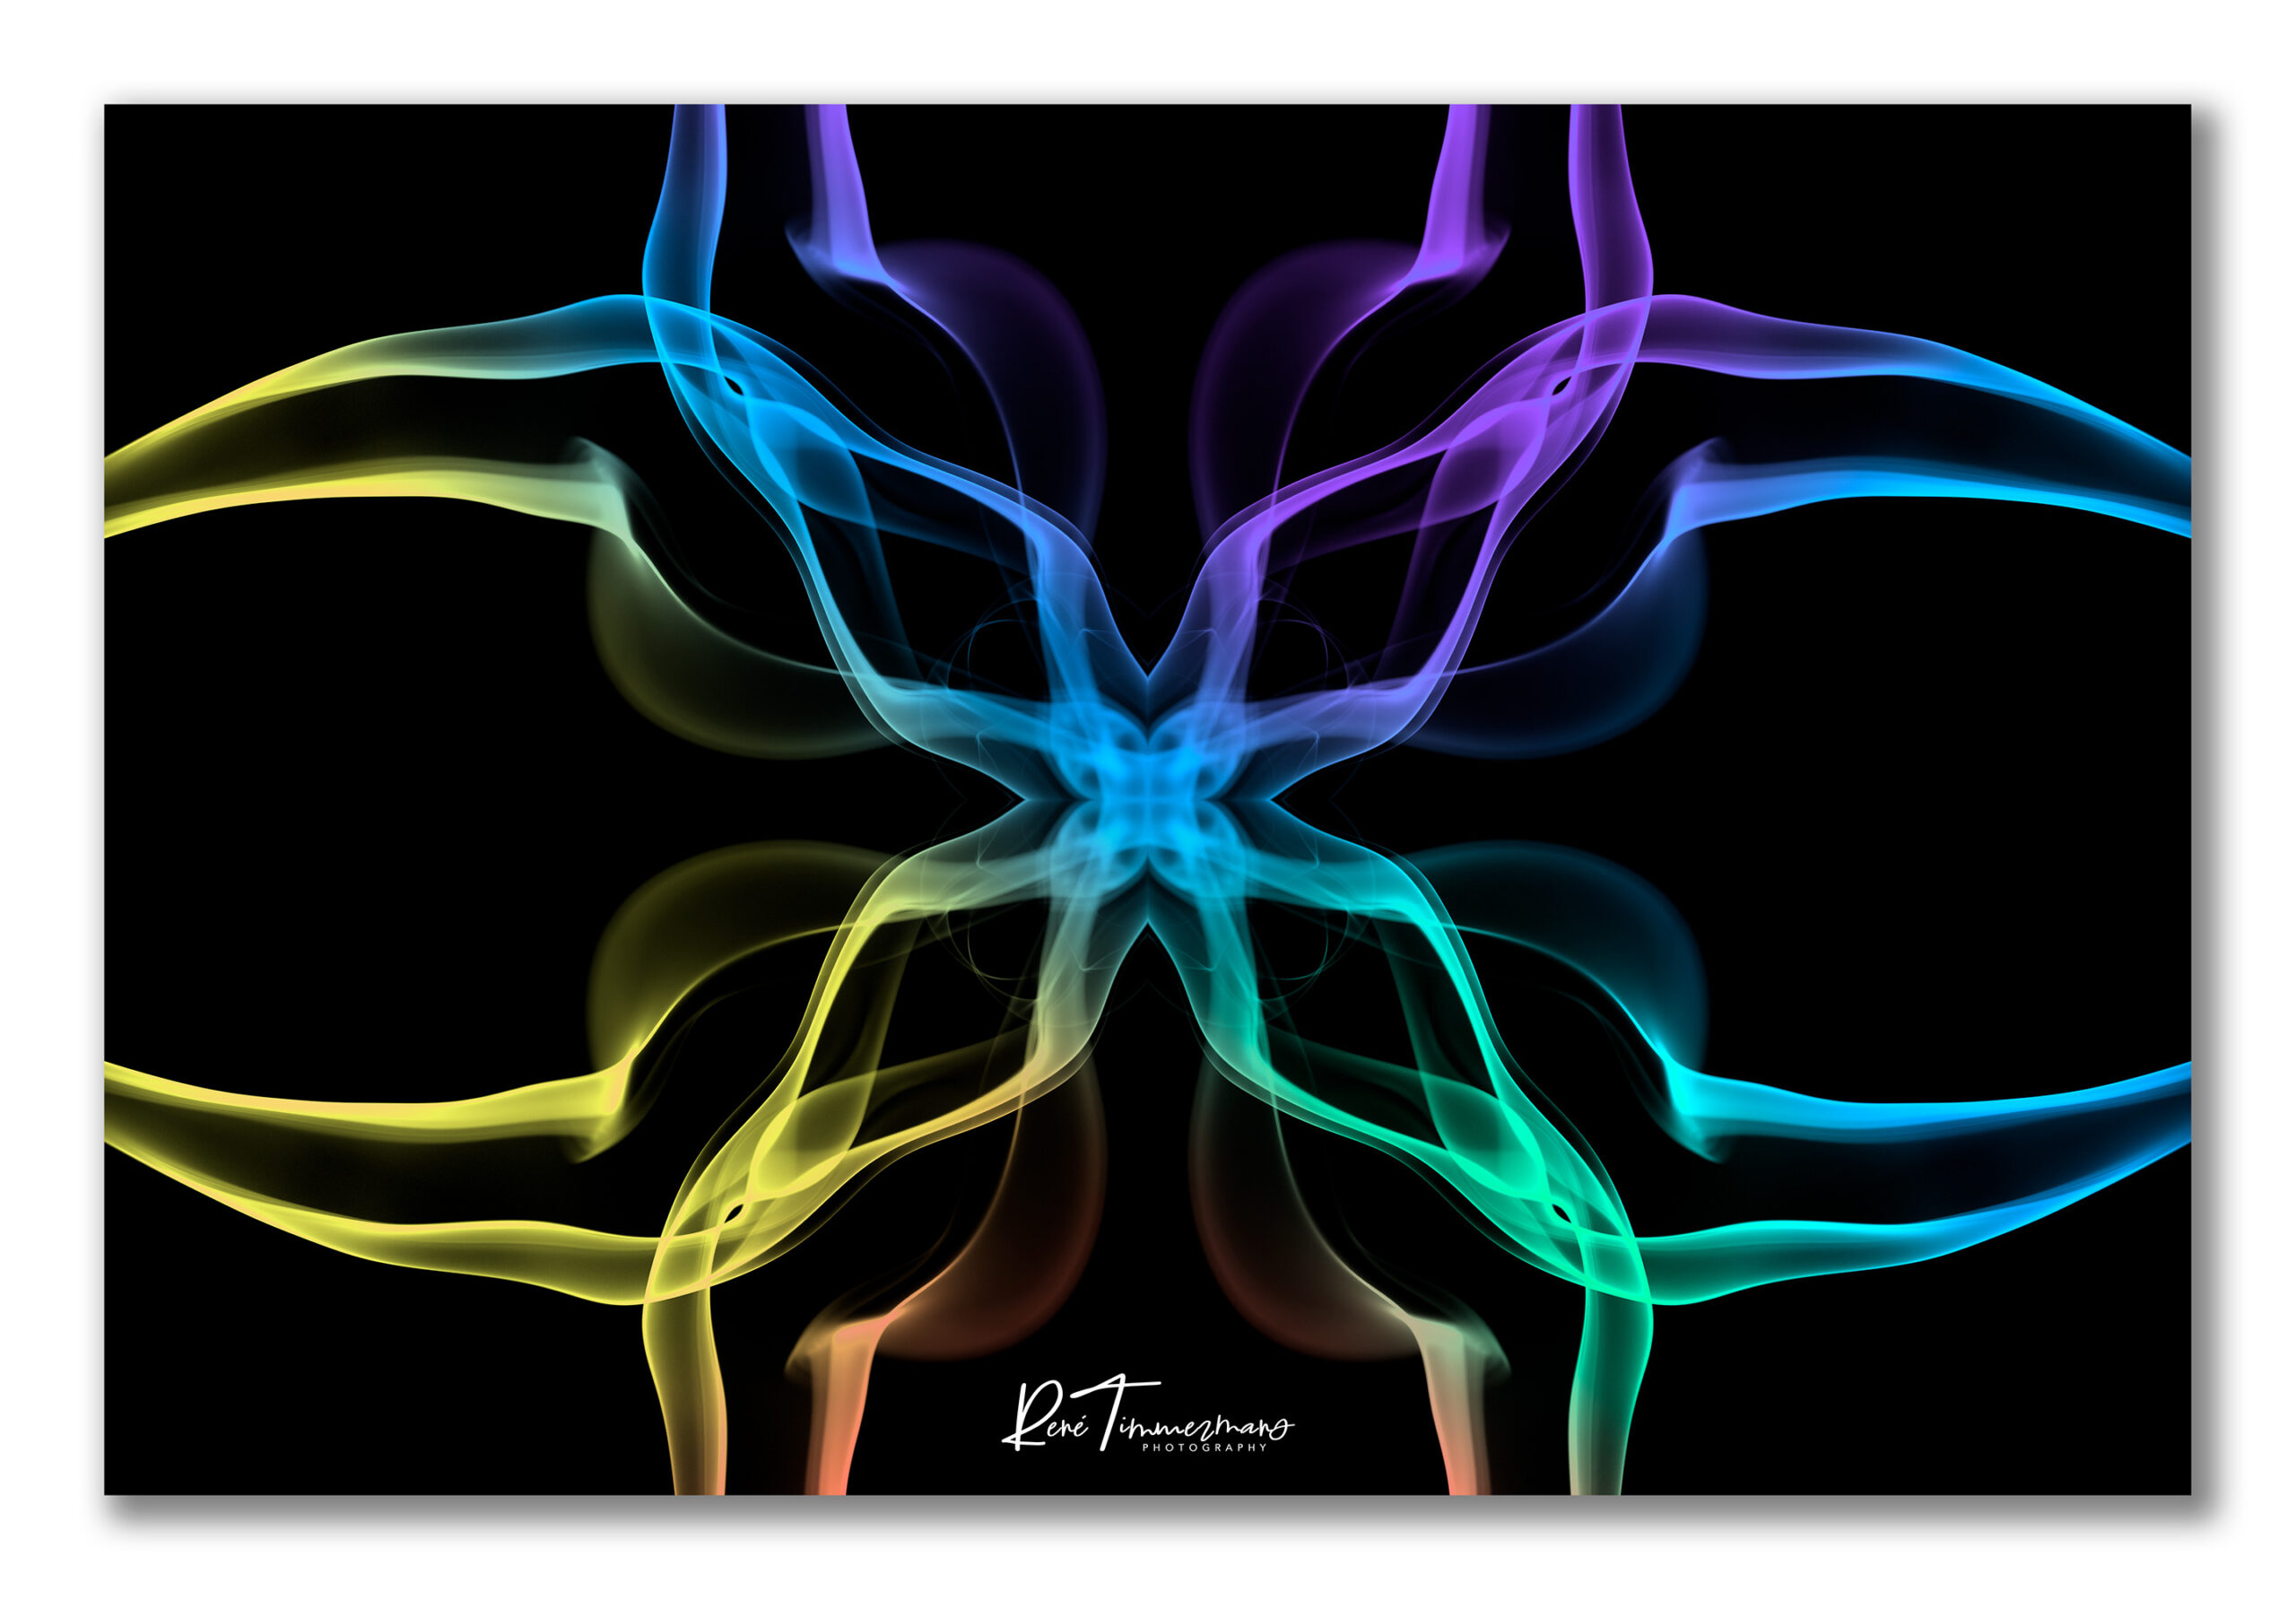
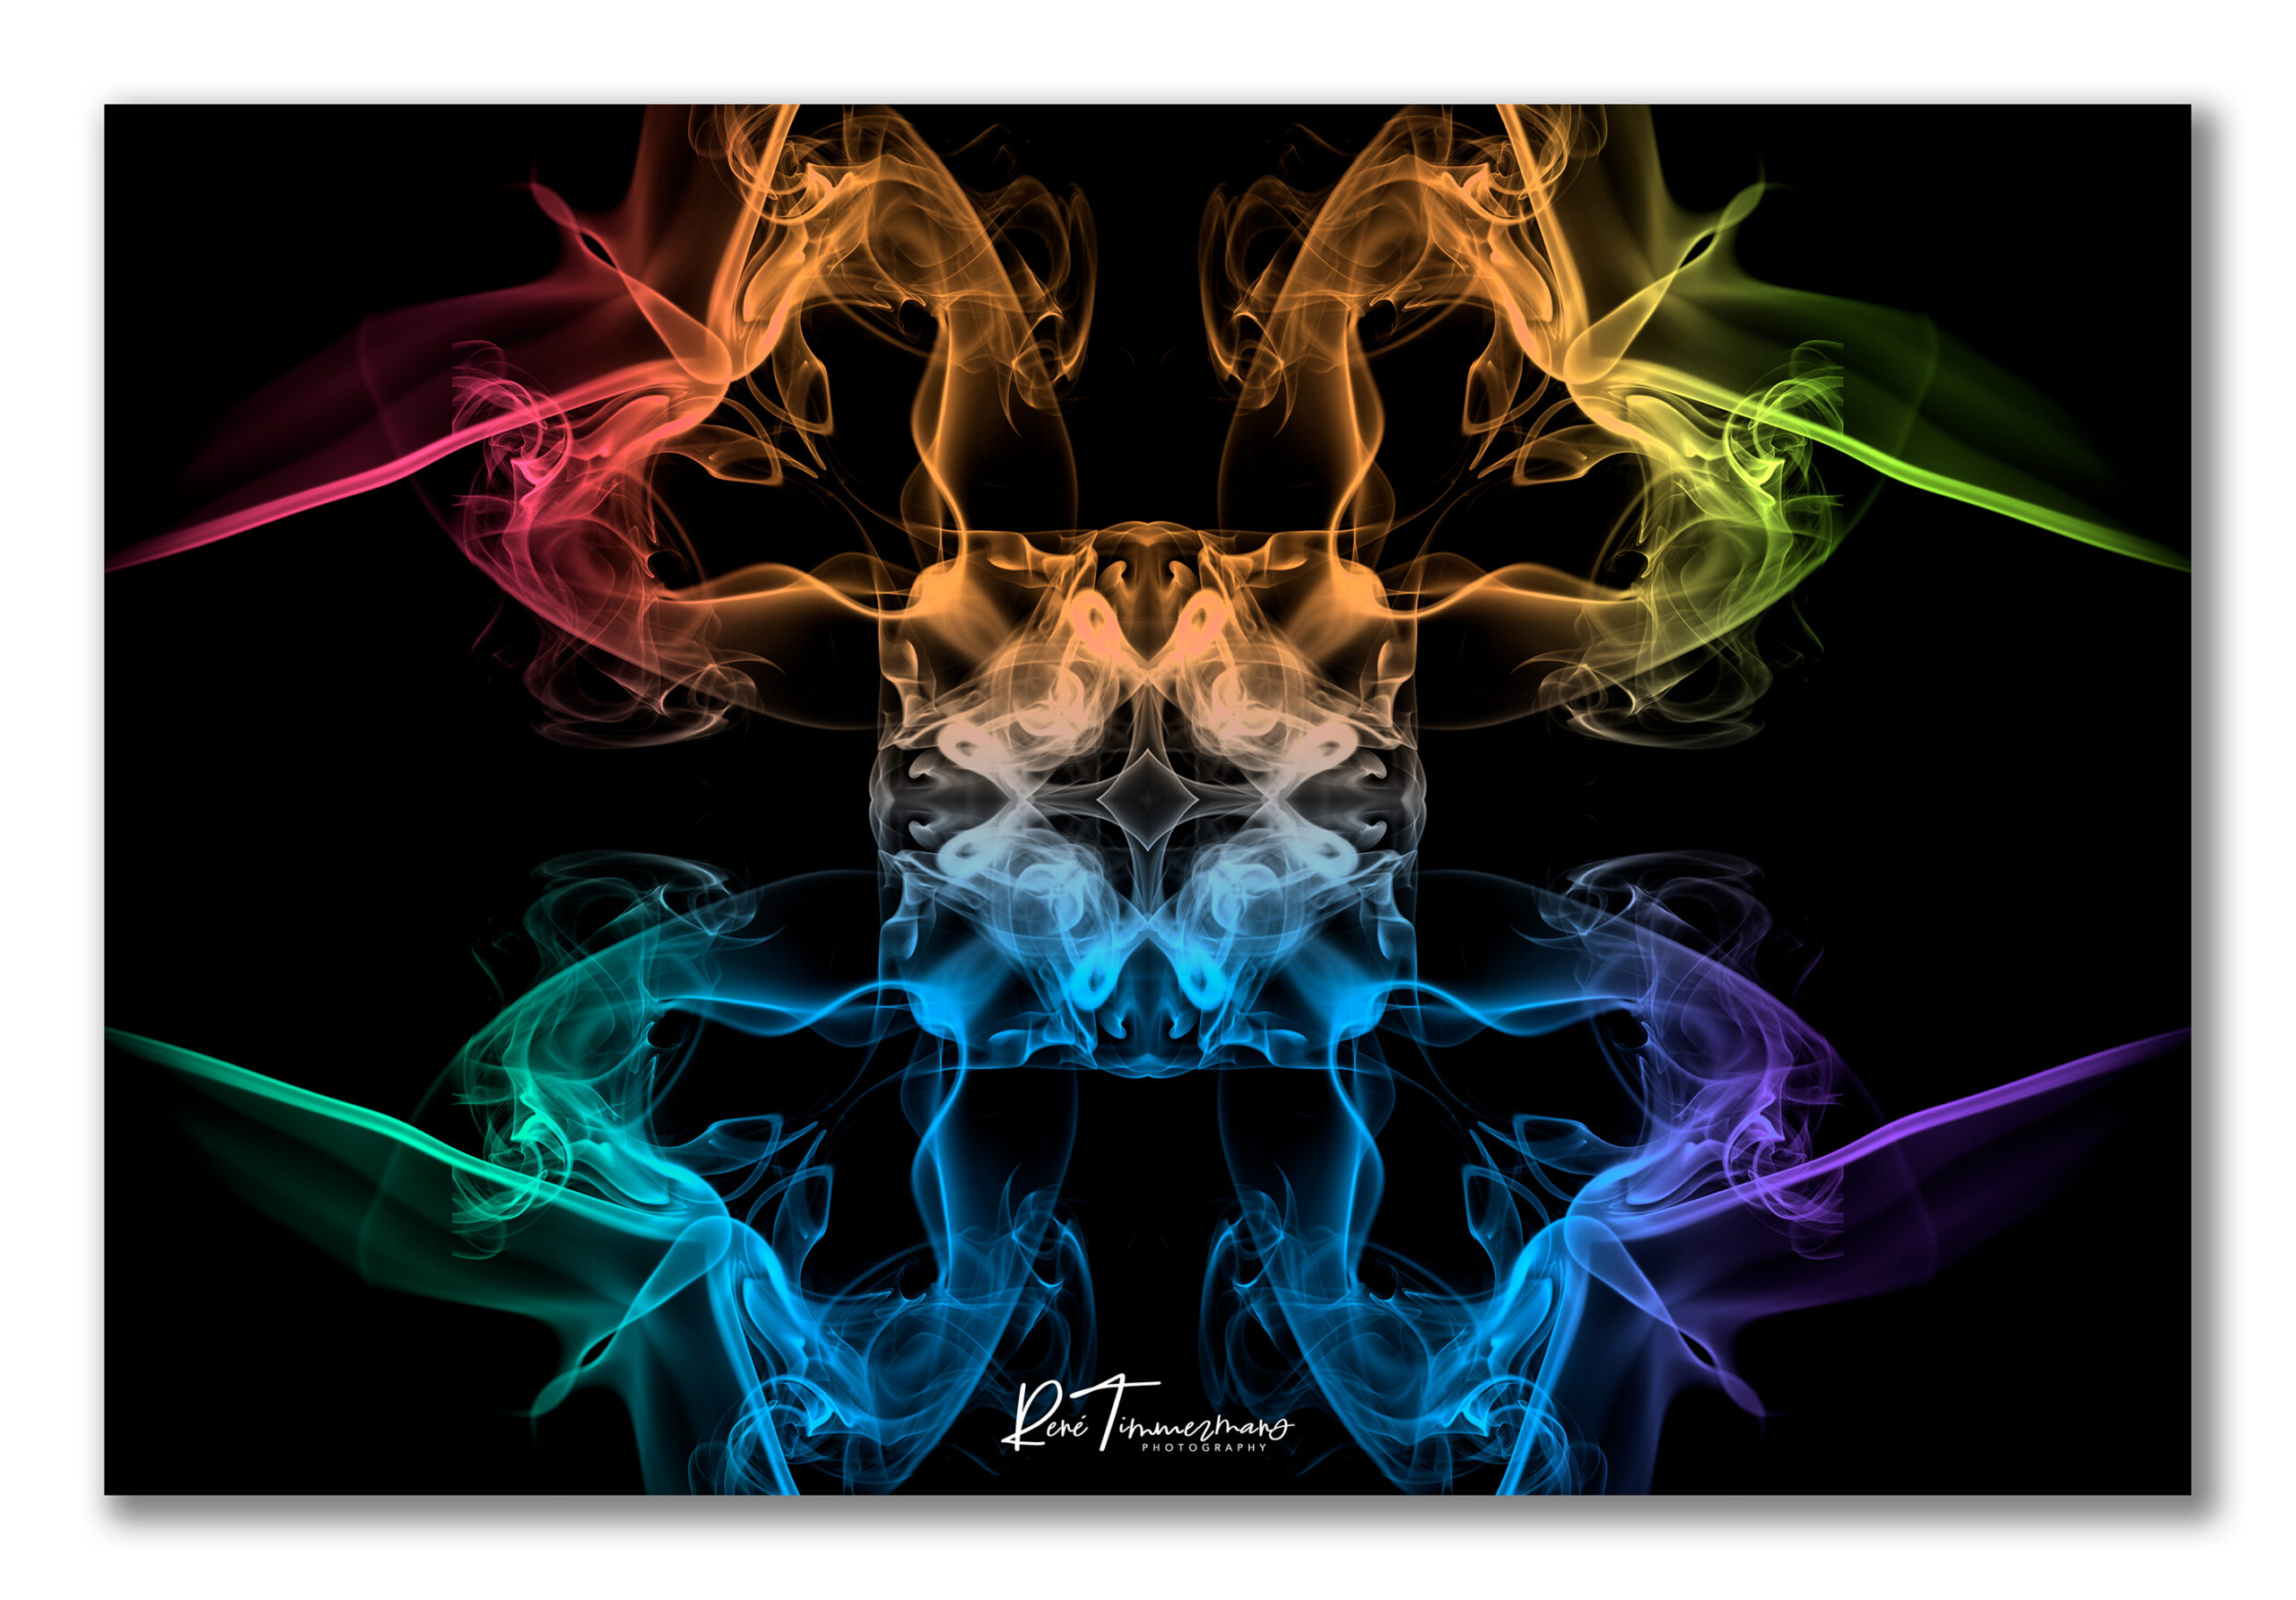
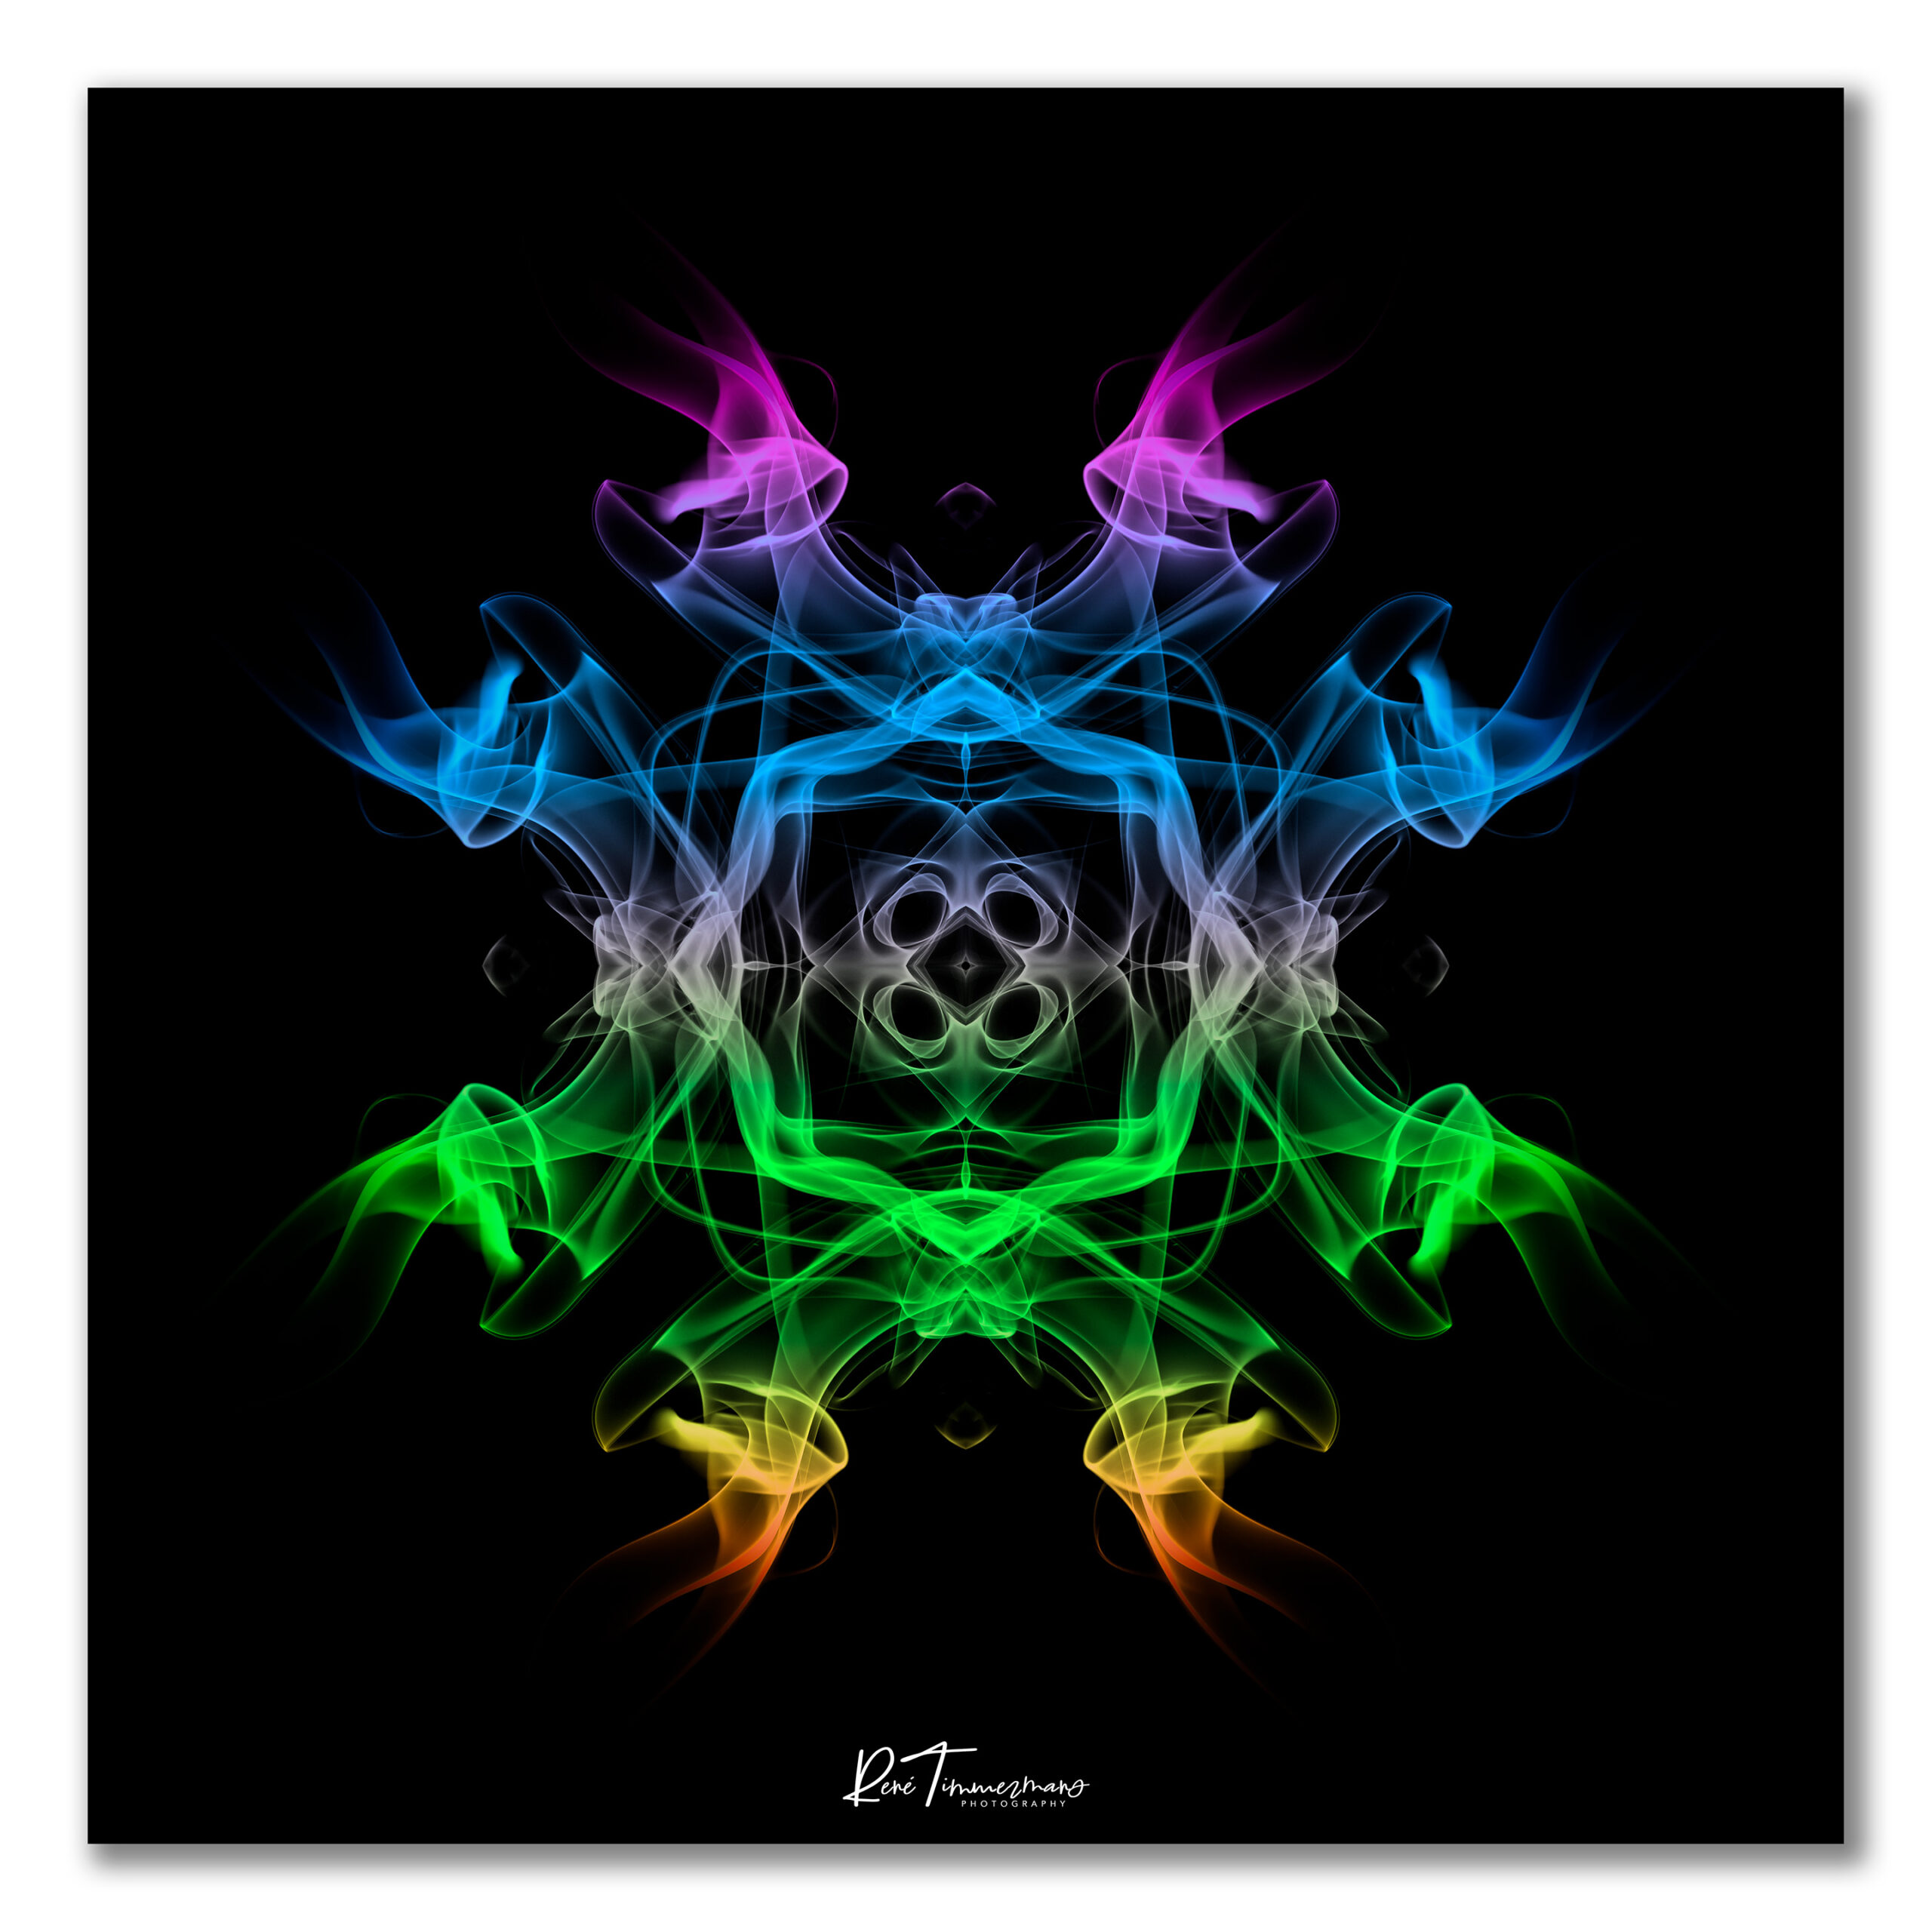
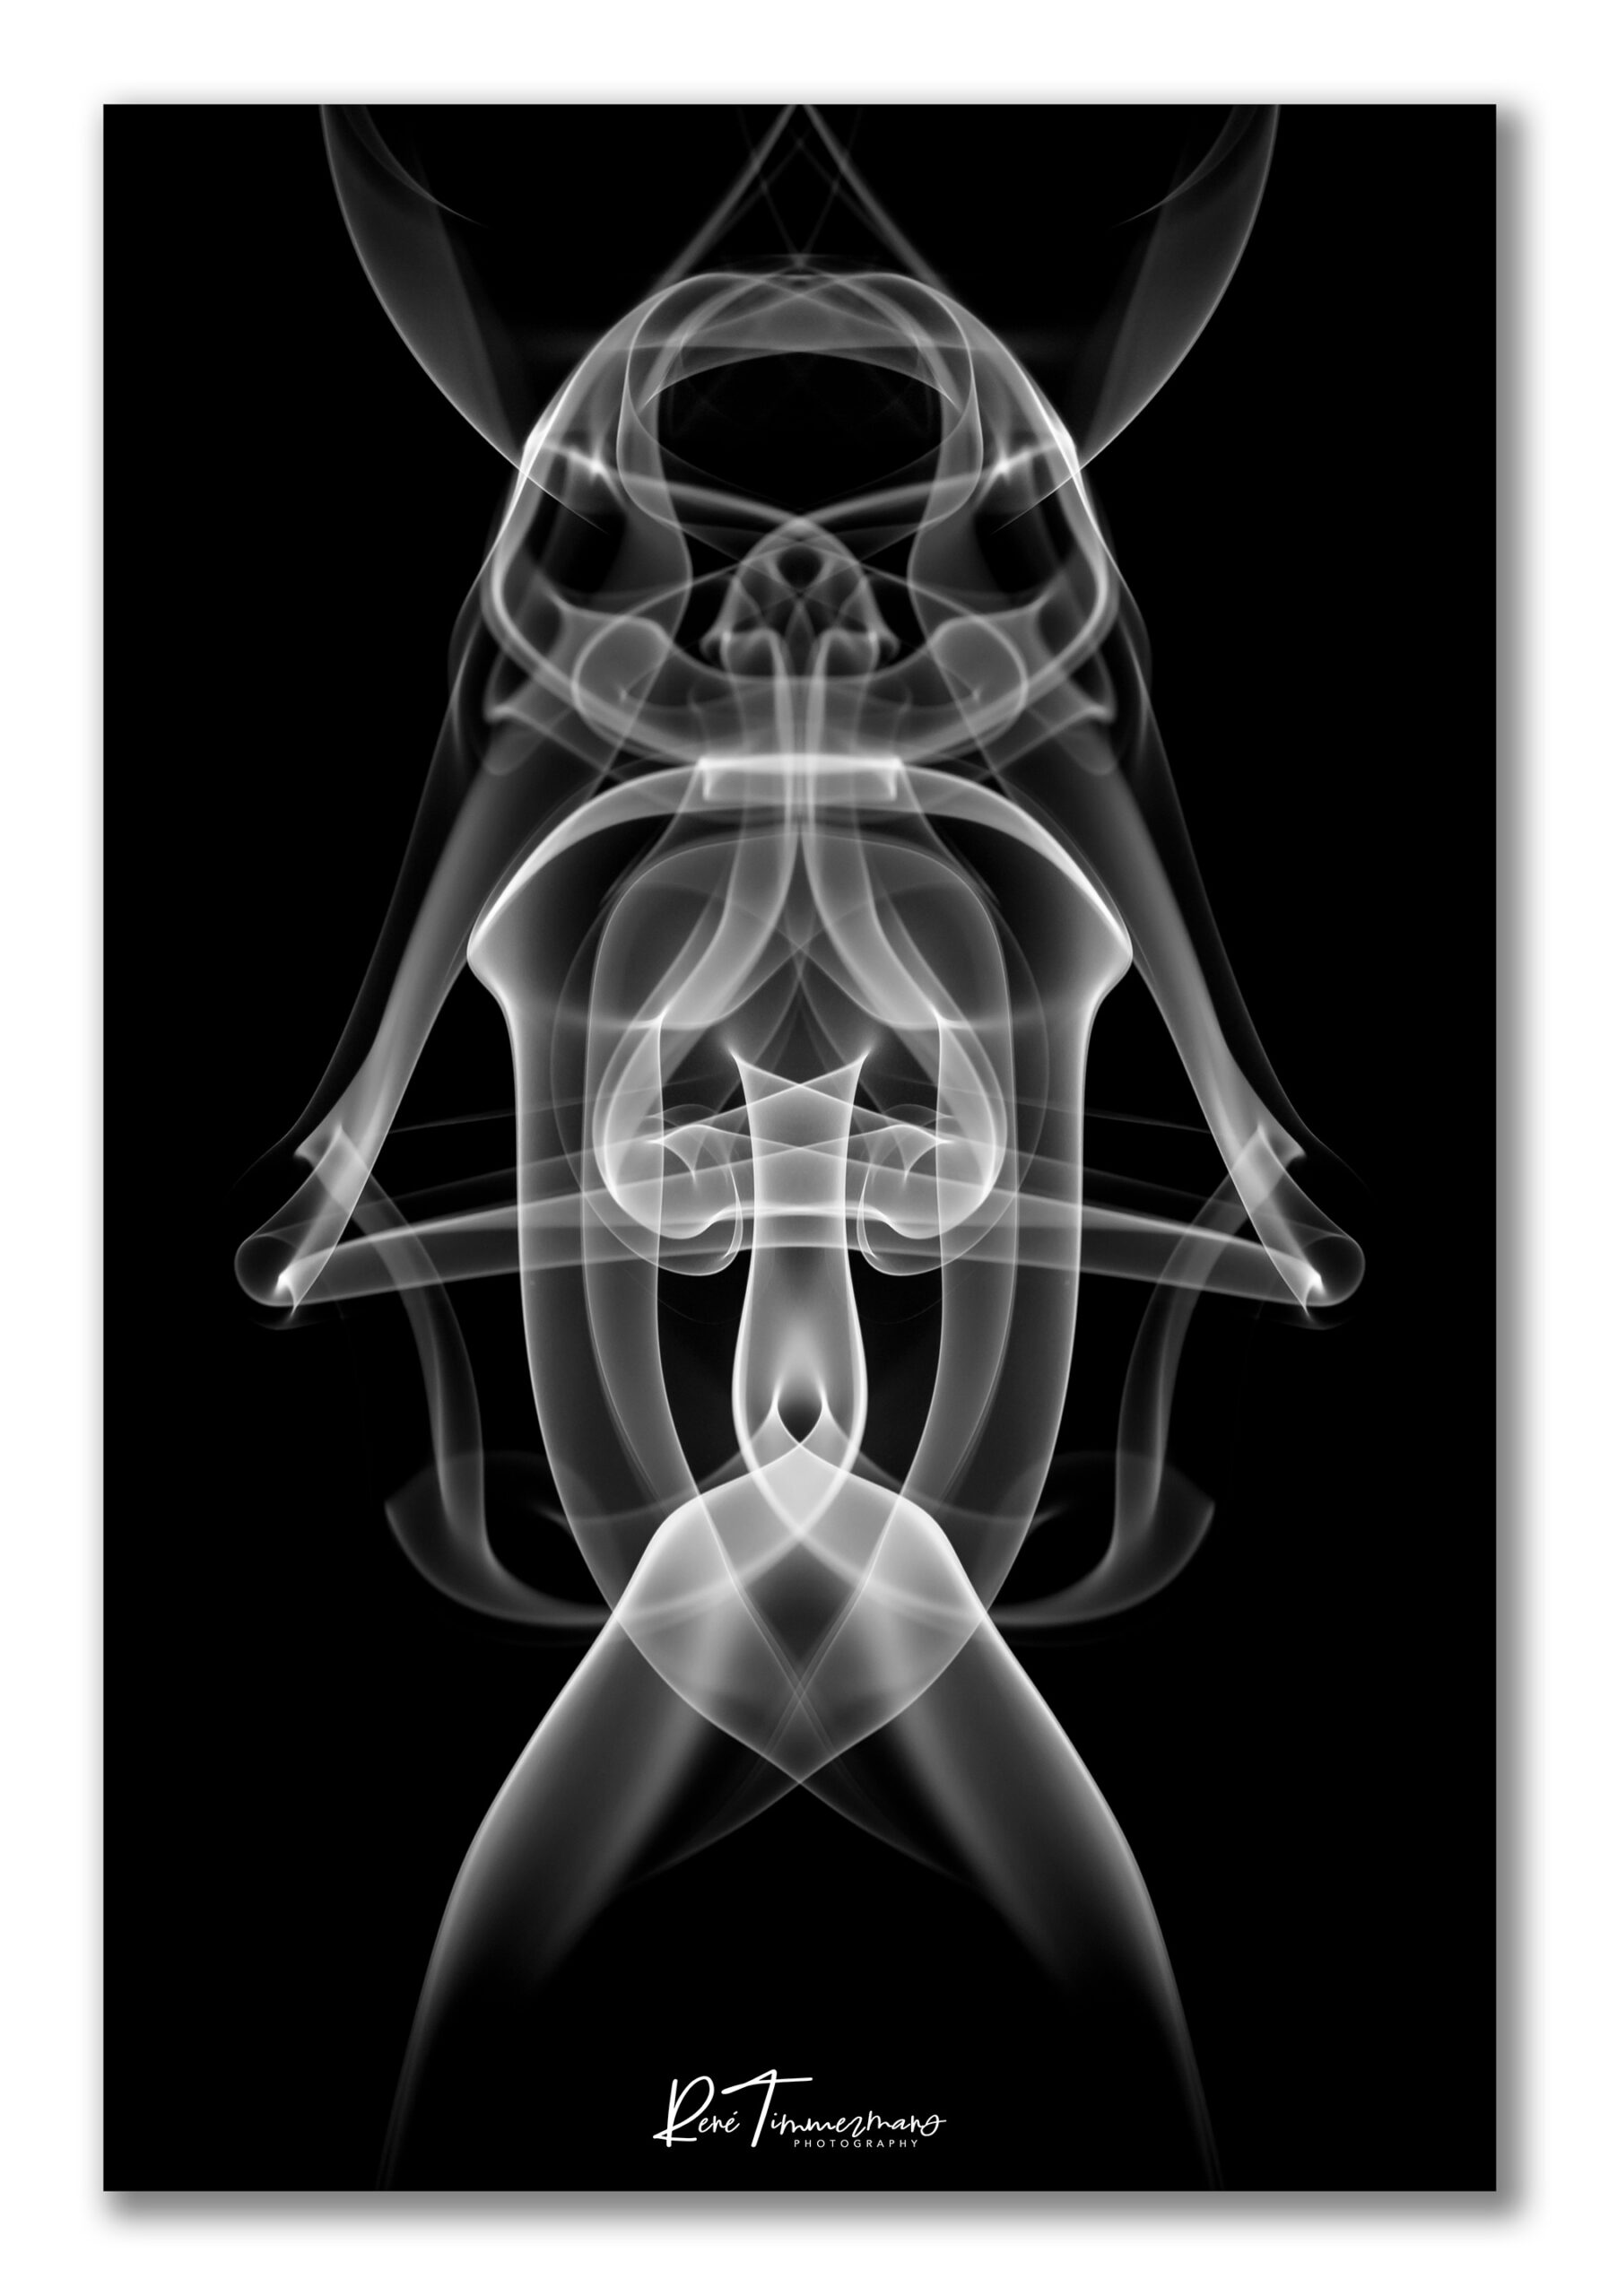
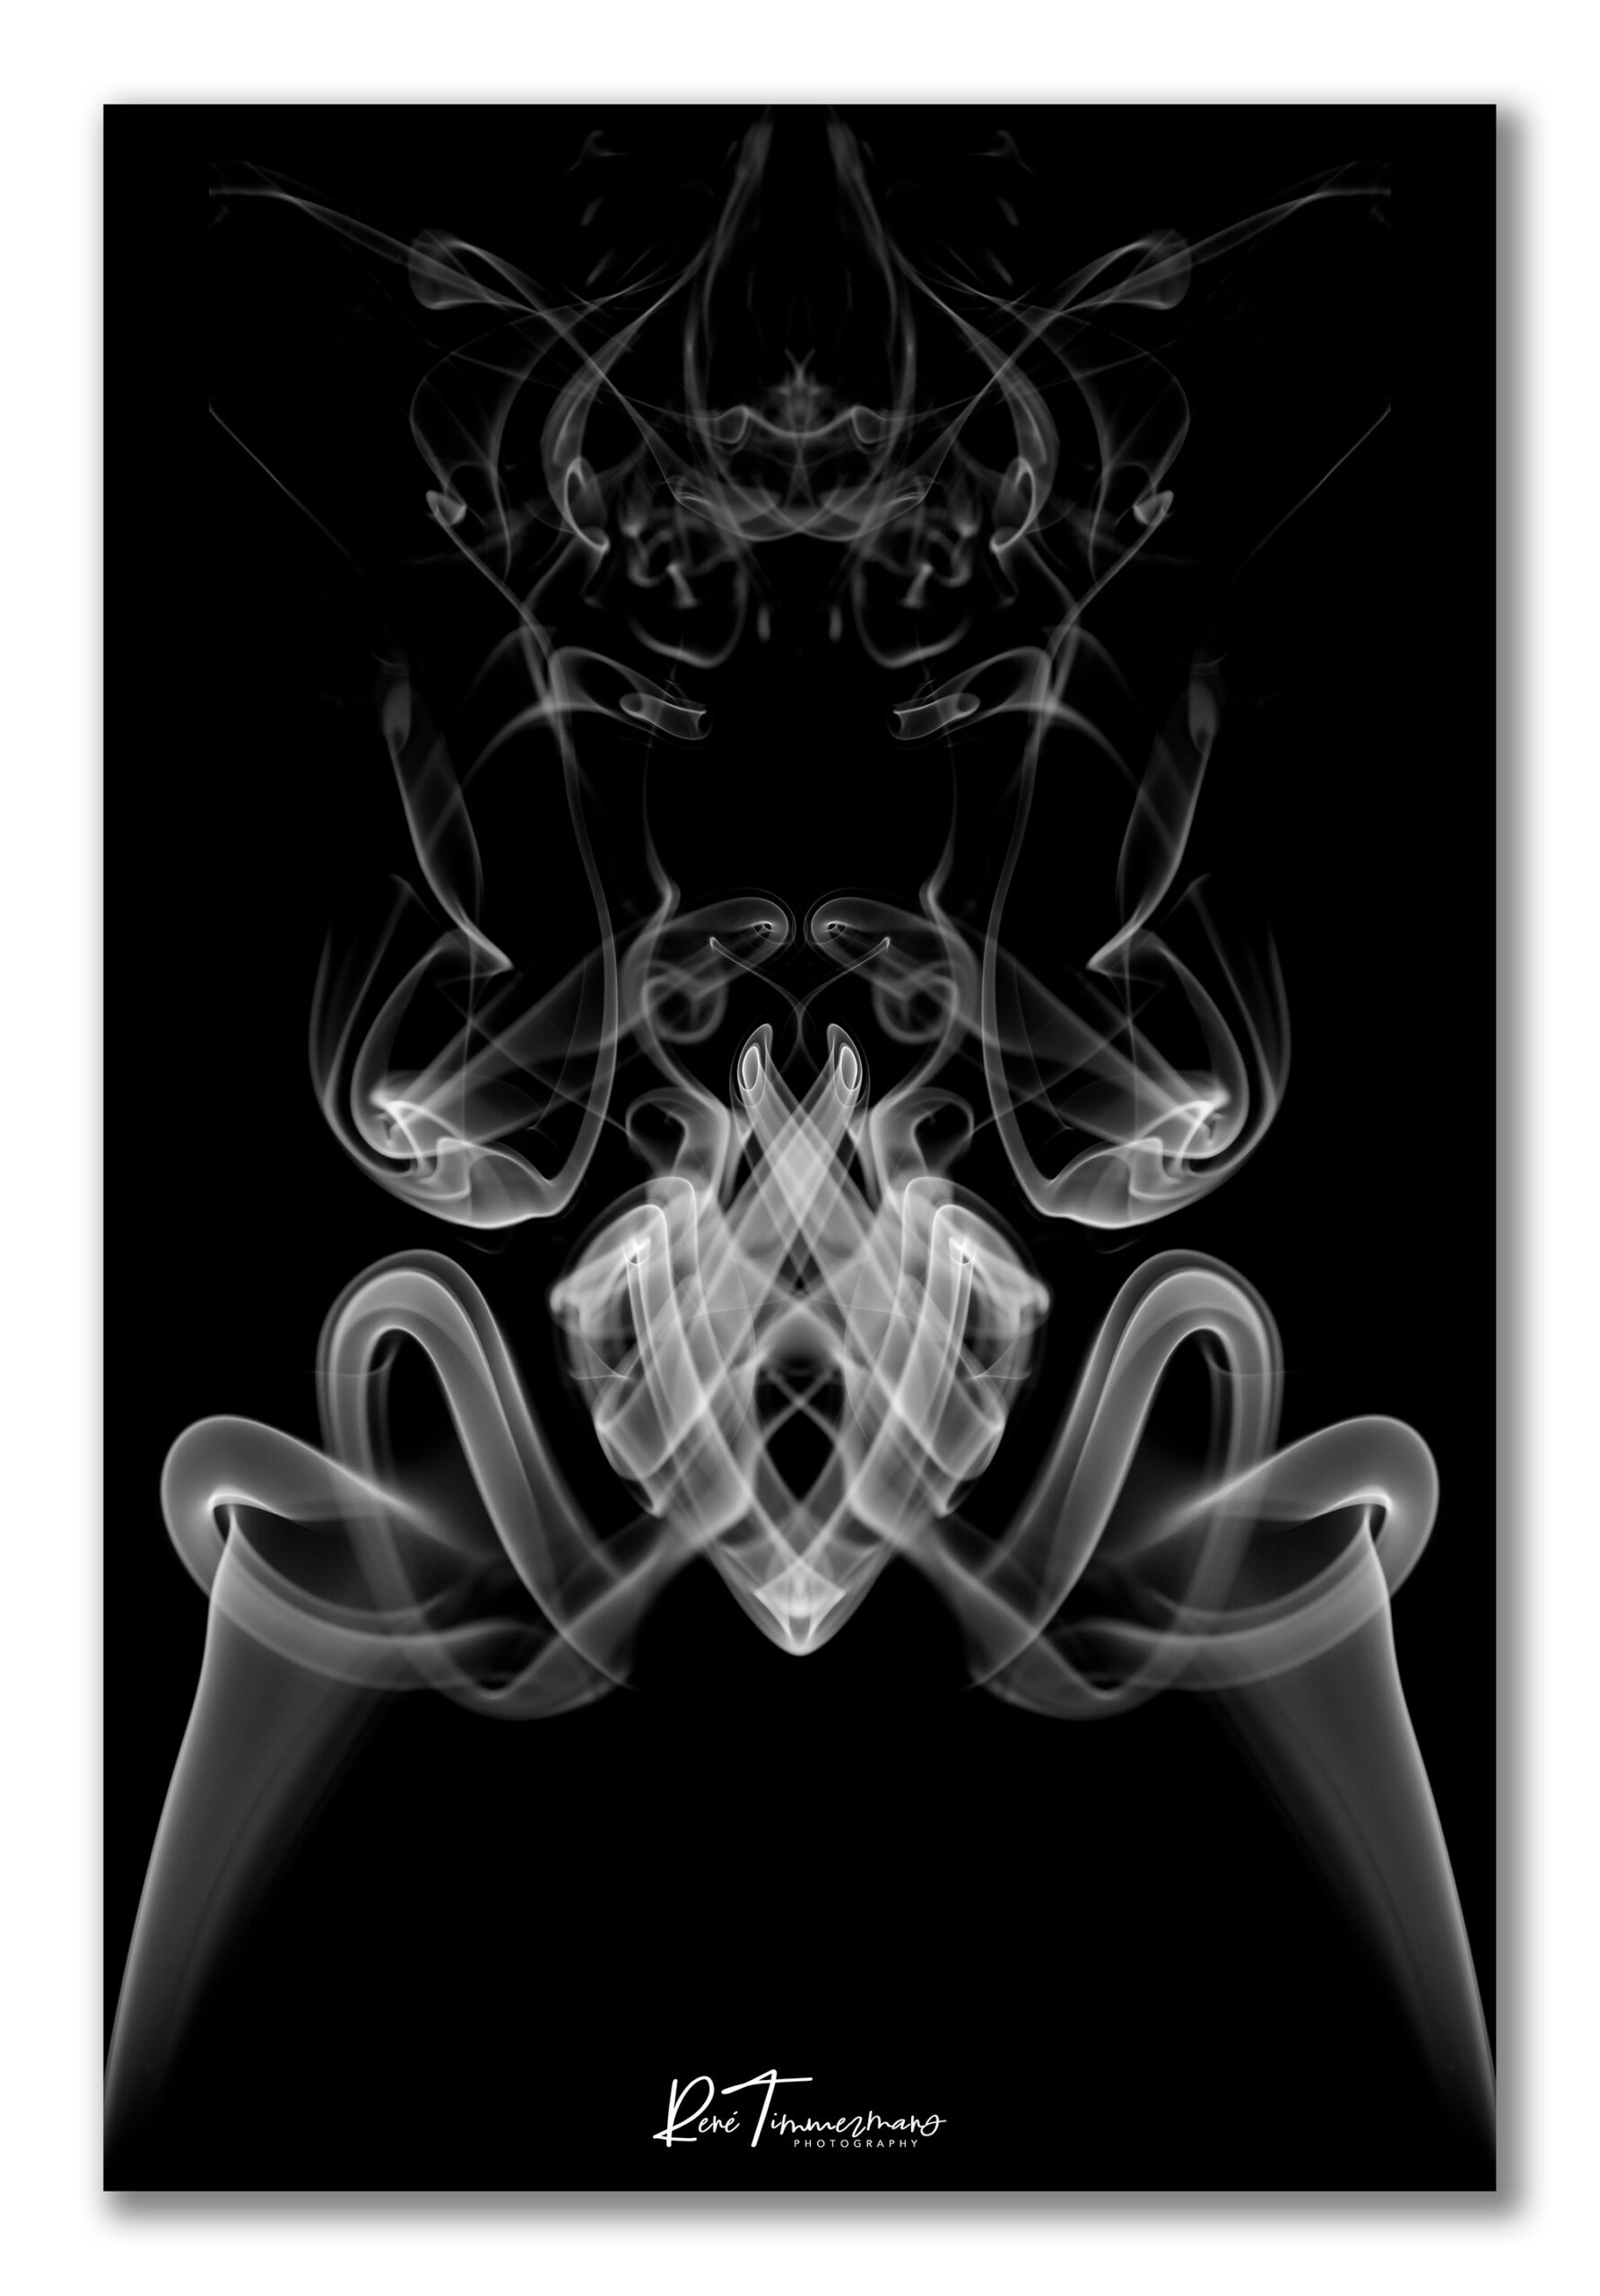
The Alien Series was created by taking one of the smoke images and flipping it horizontally onto itself on a new layer in screen mode. I moved the new layer horizontally until an interesting pattern was visible. The colours were created with several gradients. (Click the image to view a larger version.)
The Mosaic Series
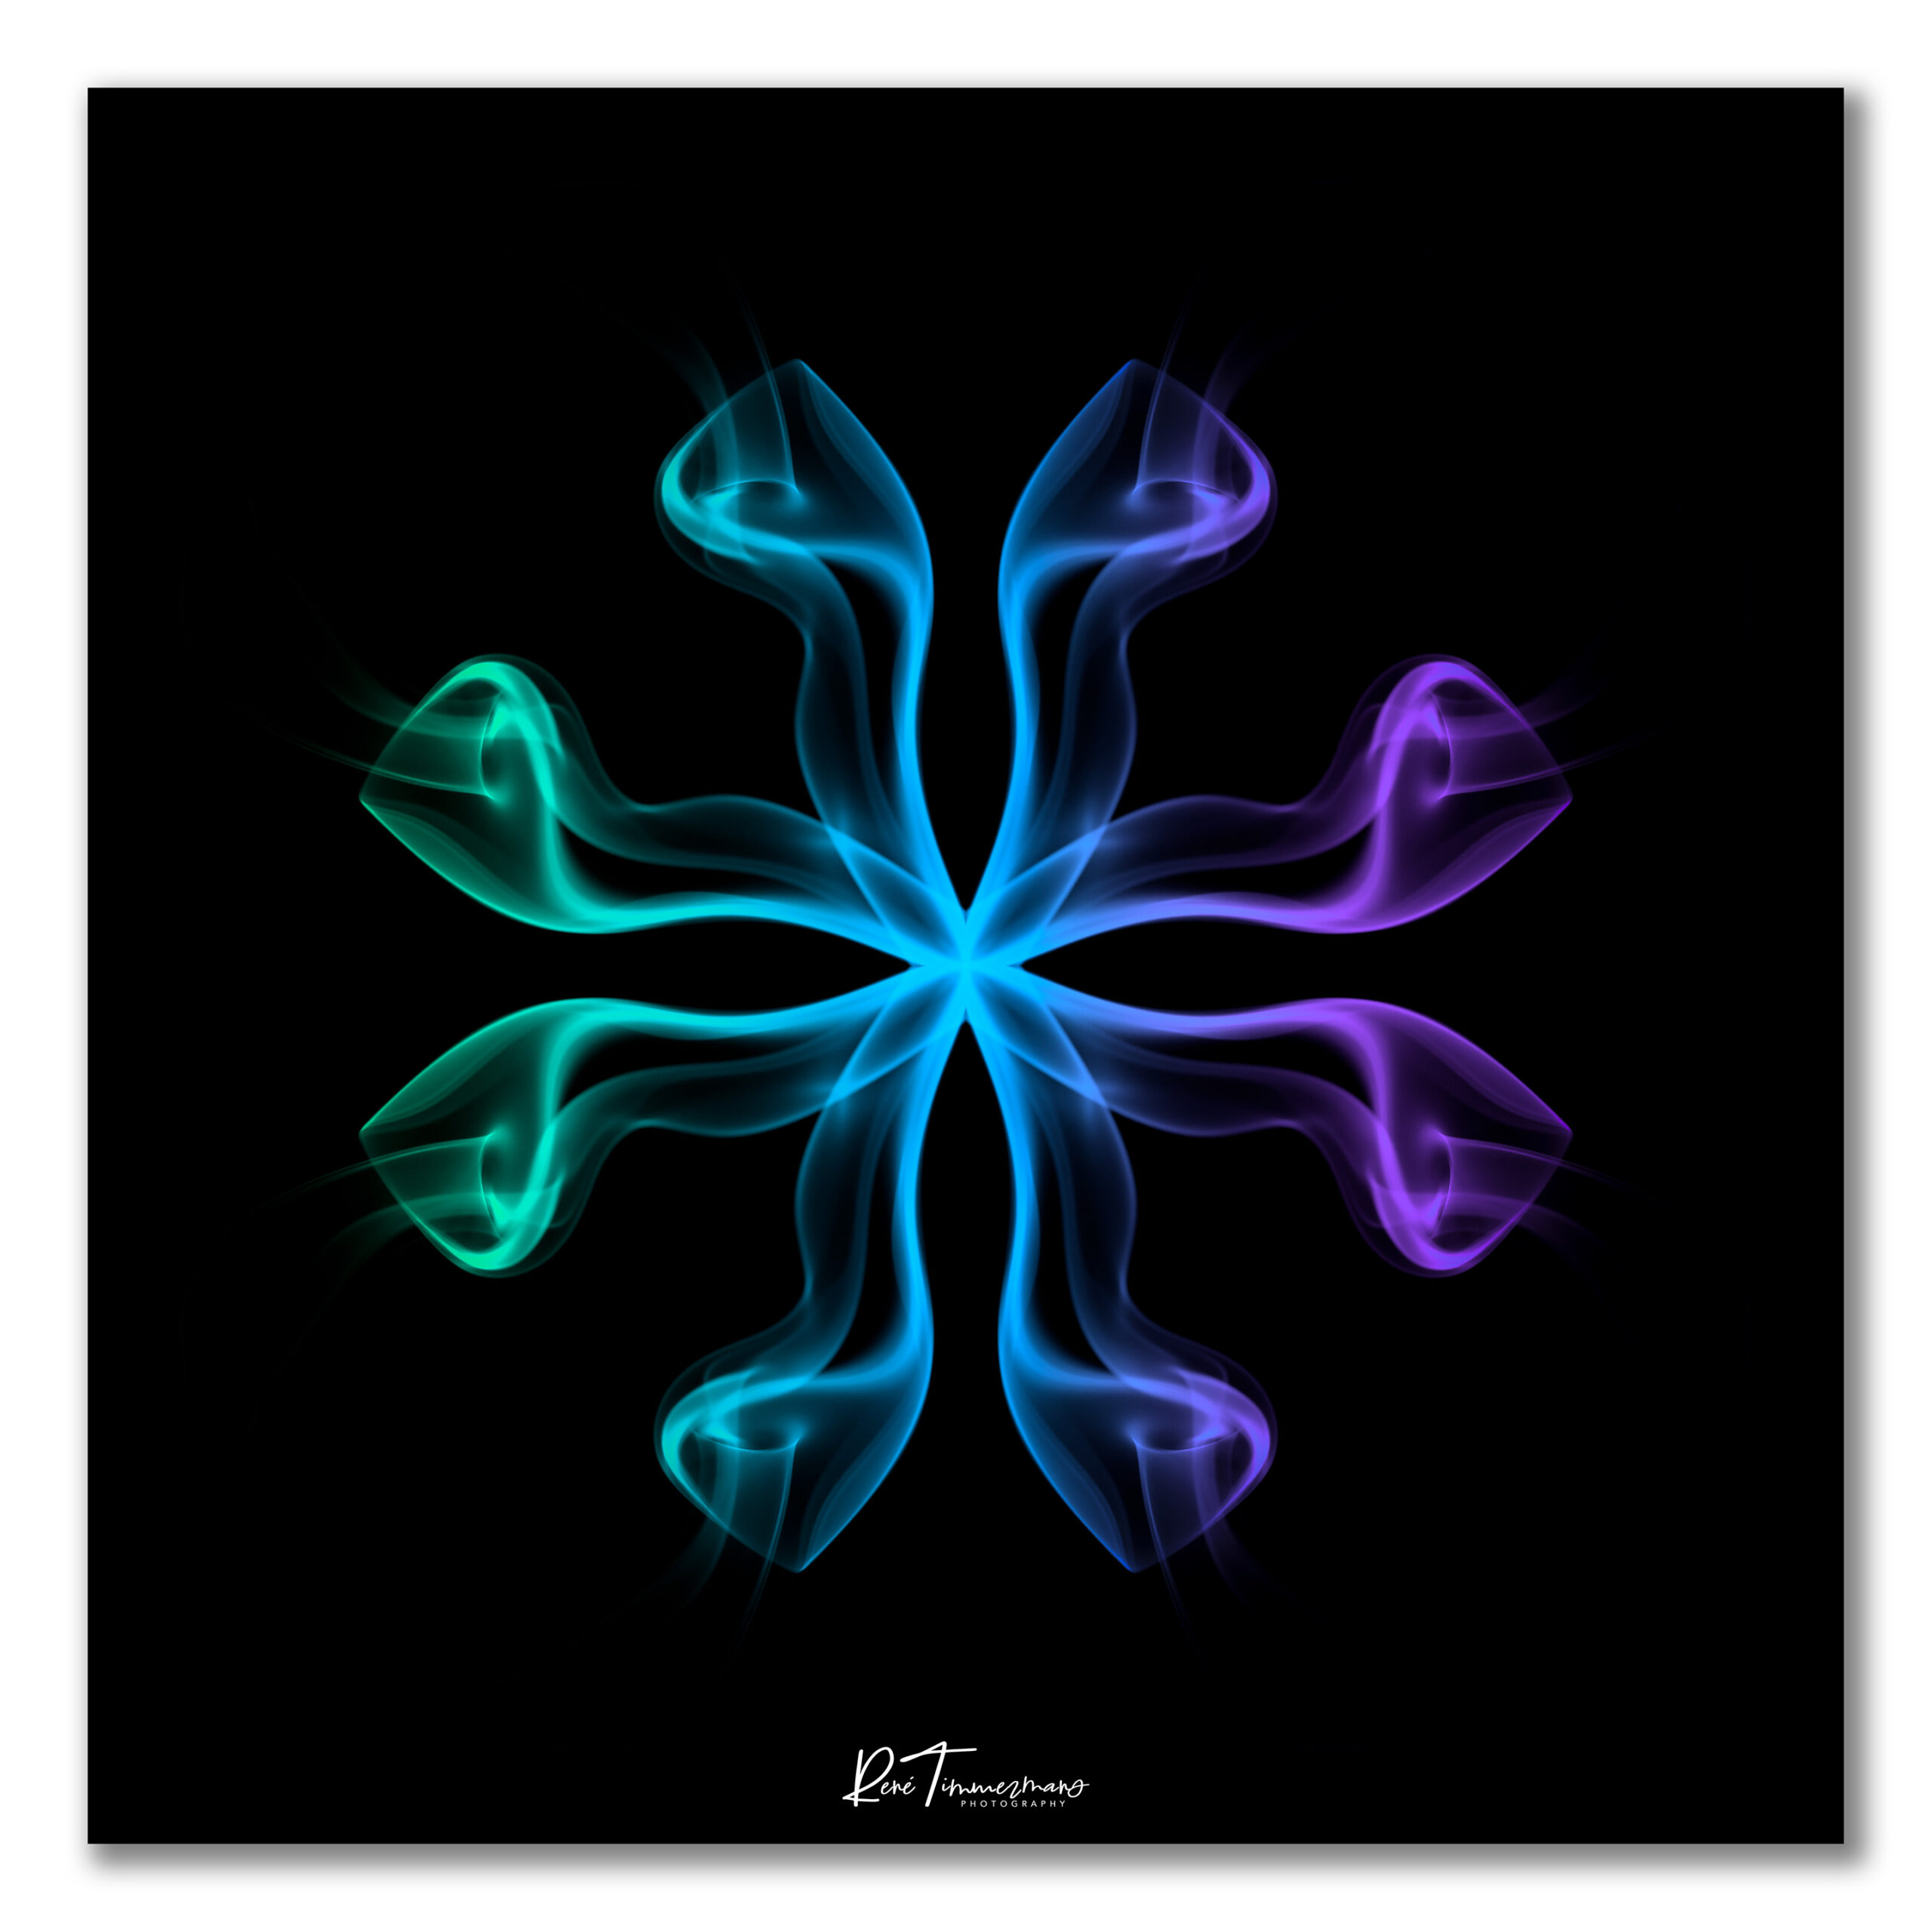
The Mosaic Series was created by taking one of the smoke images and extending the canvas four times and then flipping the original image horizontally and vertically on new layers in screen mode, and moving the new layers to fill up the canvas. Then I duplicated the four layers and rotated them clockwise 90 degrees The colours were created with several gradients. (Click the image to view a larger version.)
The Tribe Series
The Tribe Series was created in the same way as the Alien Series, without the colour gradients. (Click the image to view a larger version.)
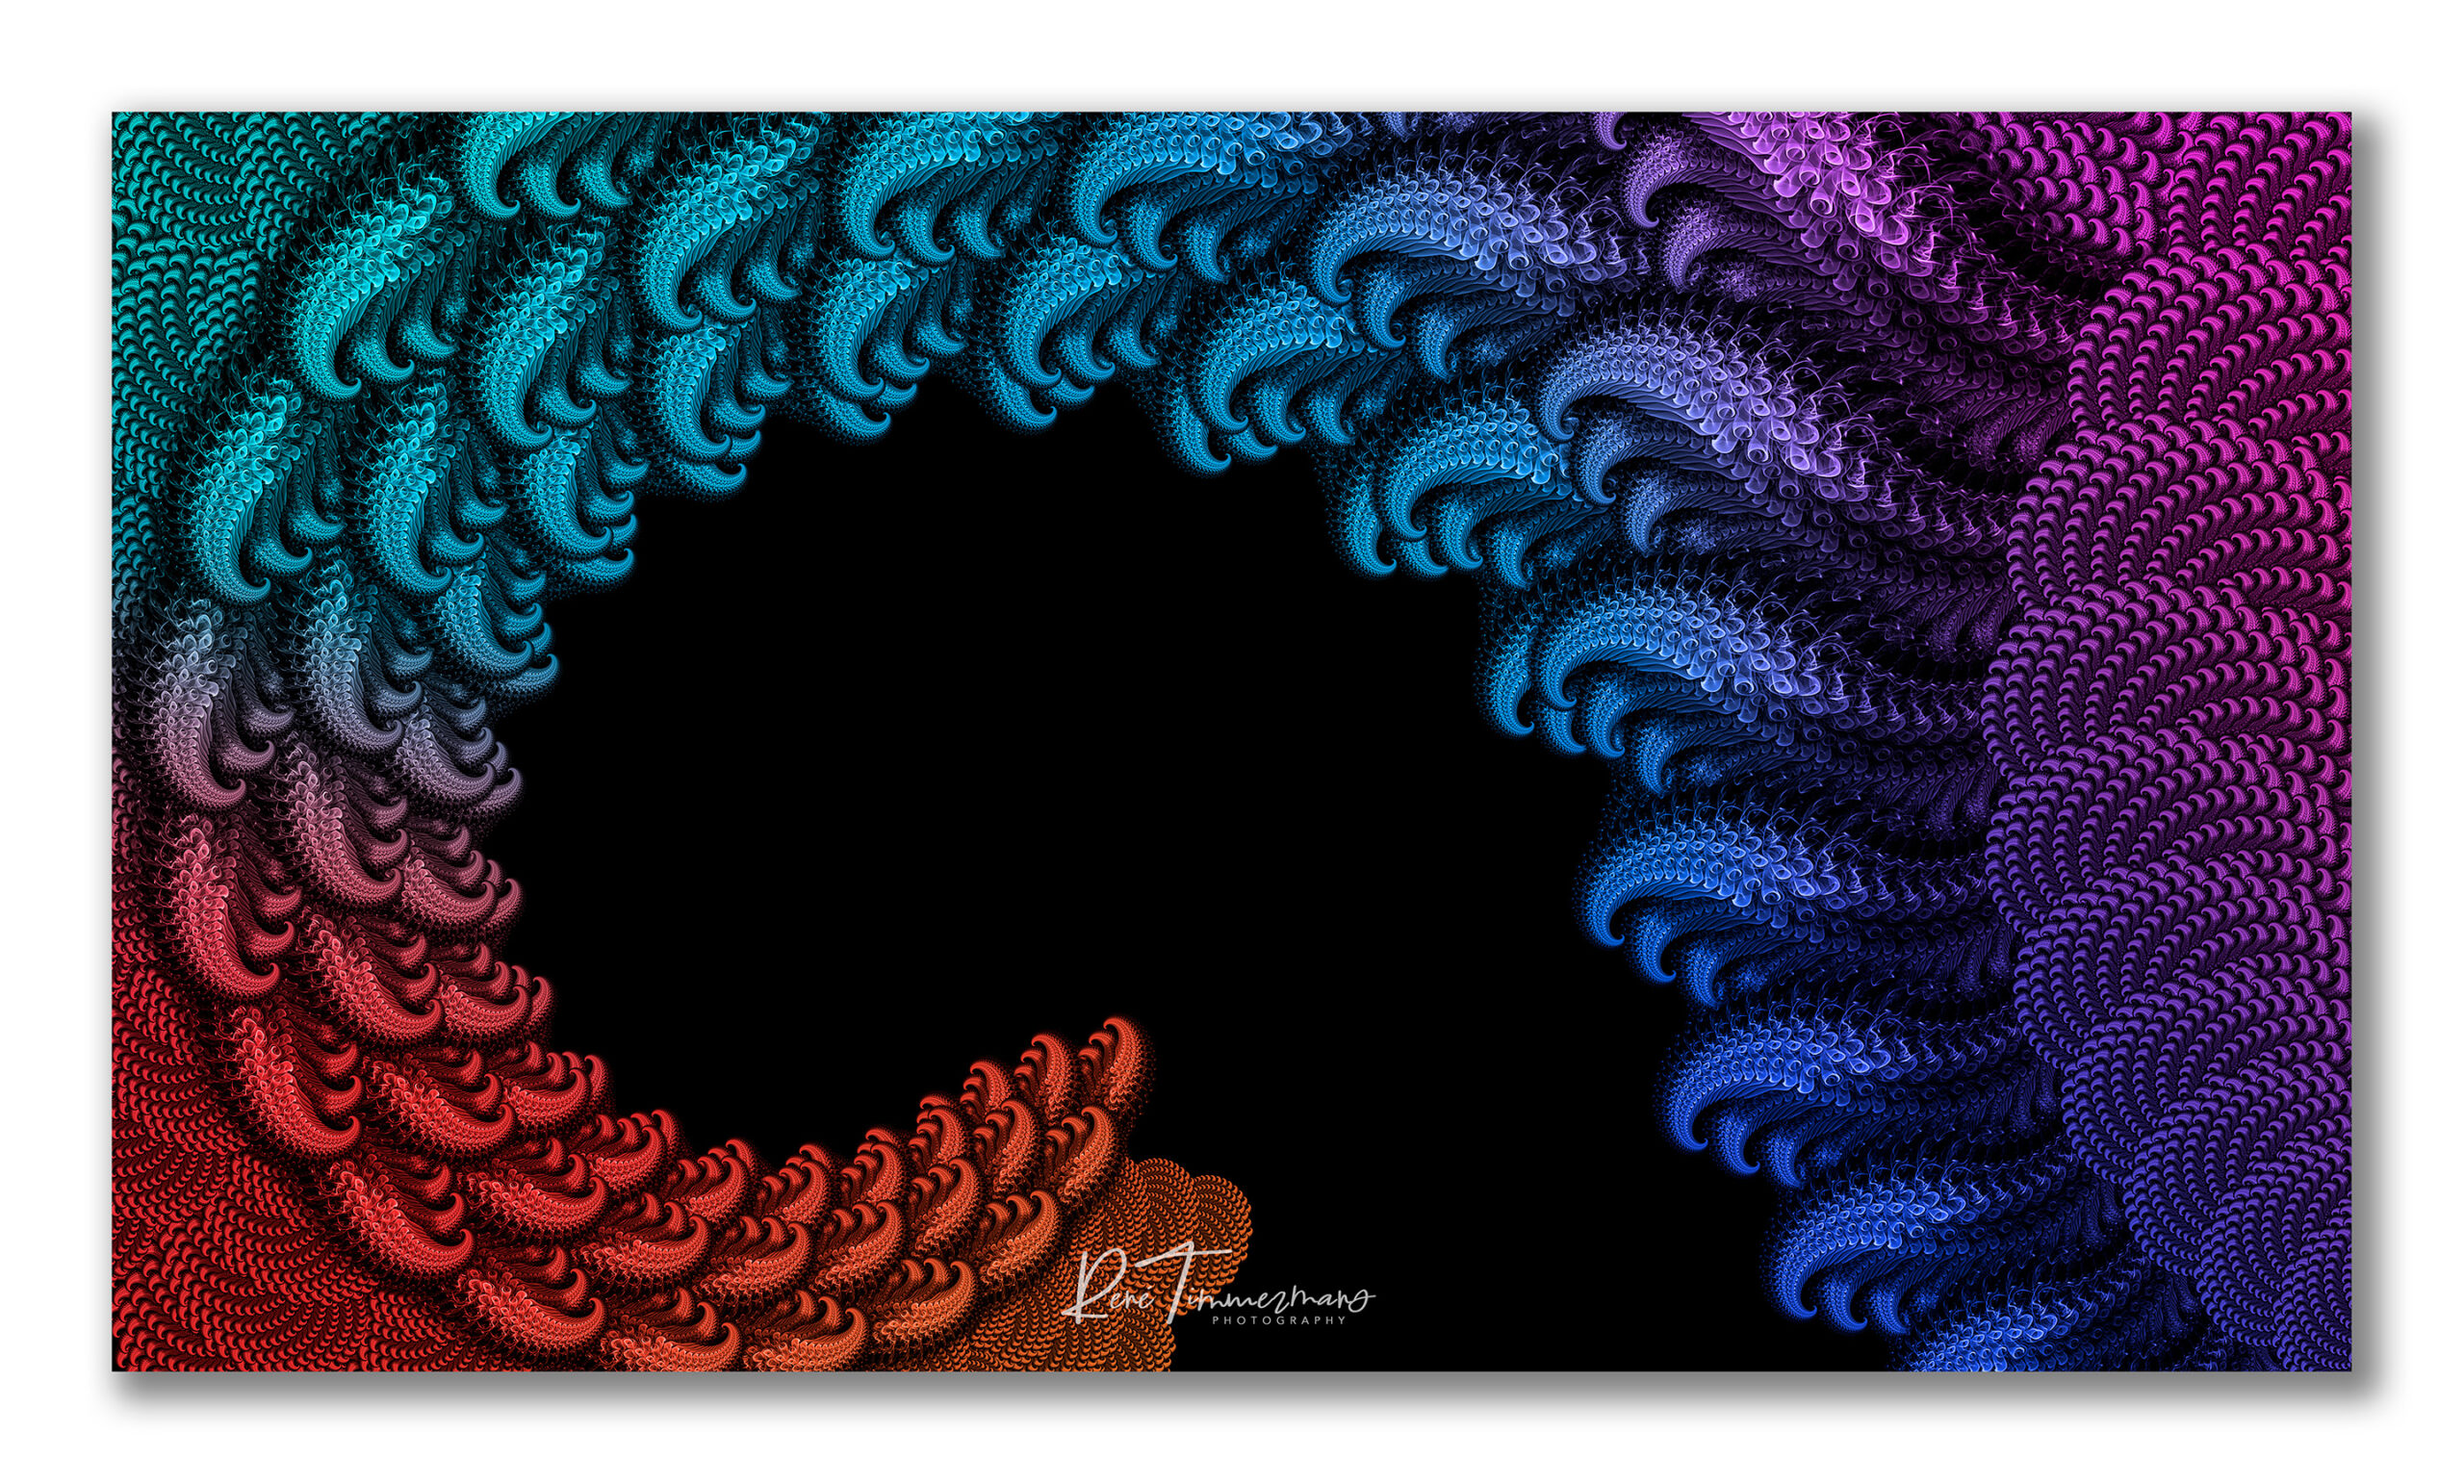
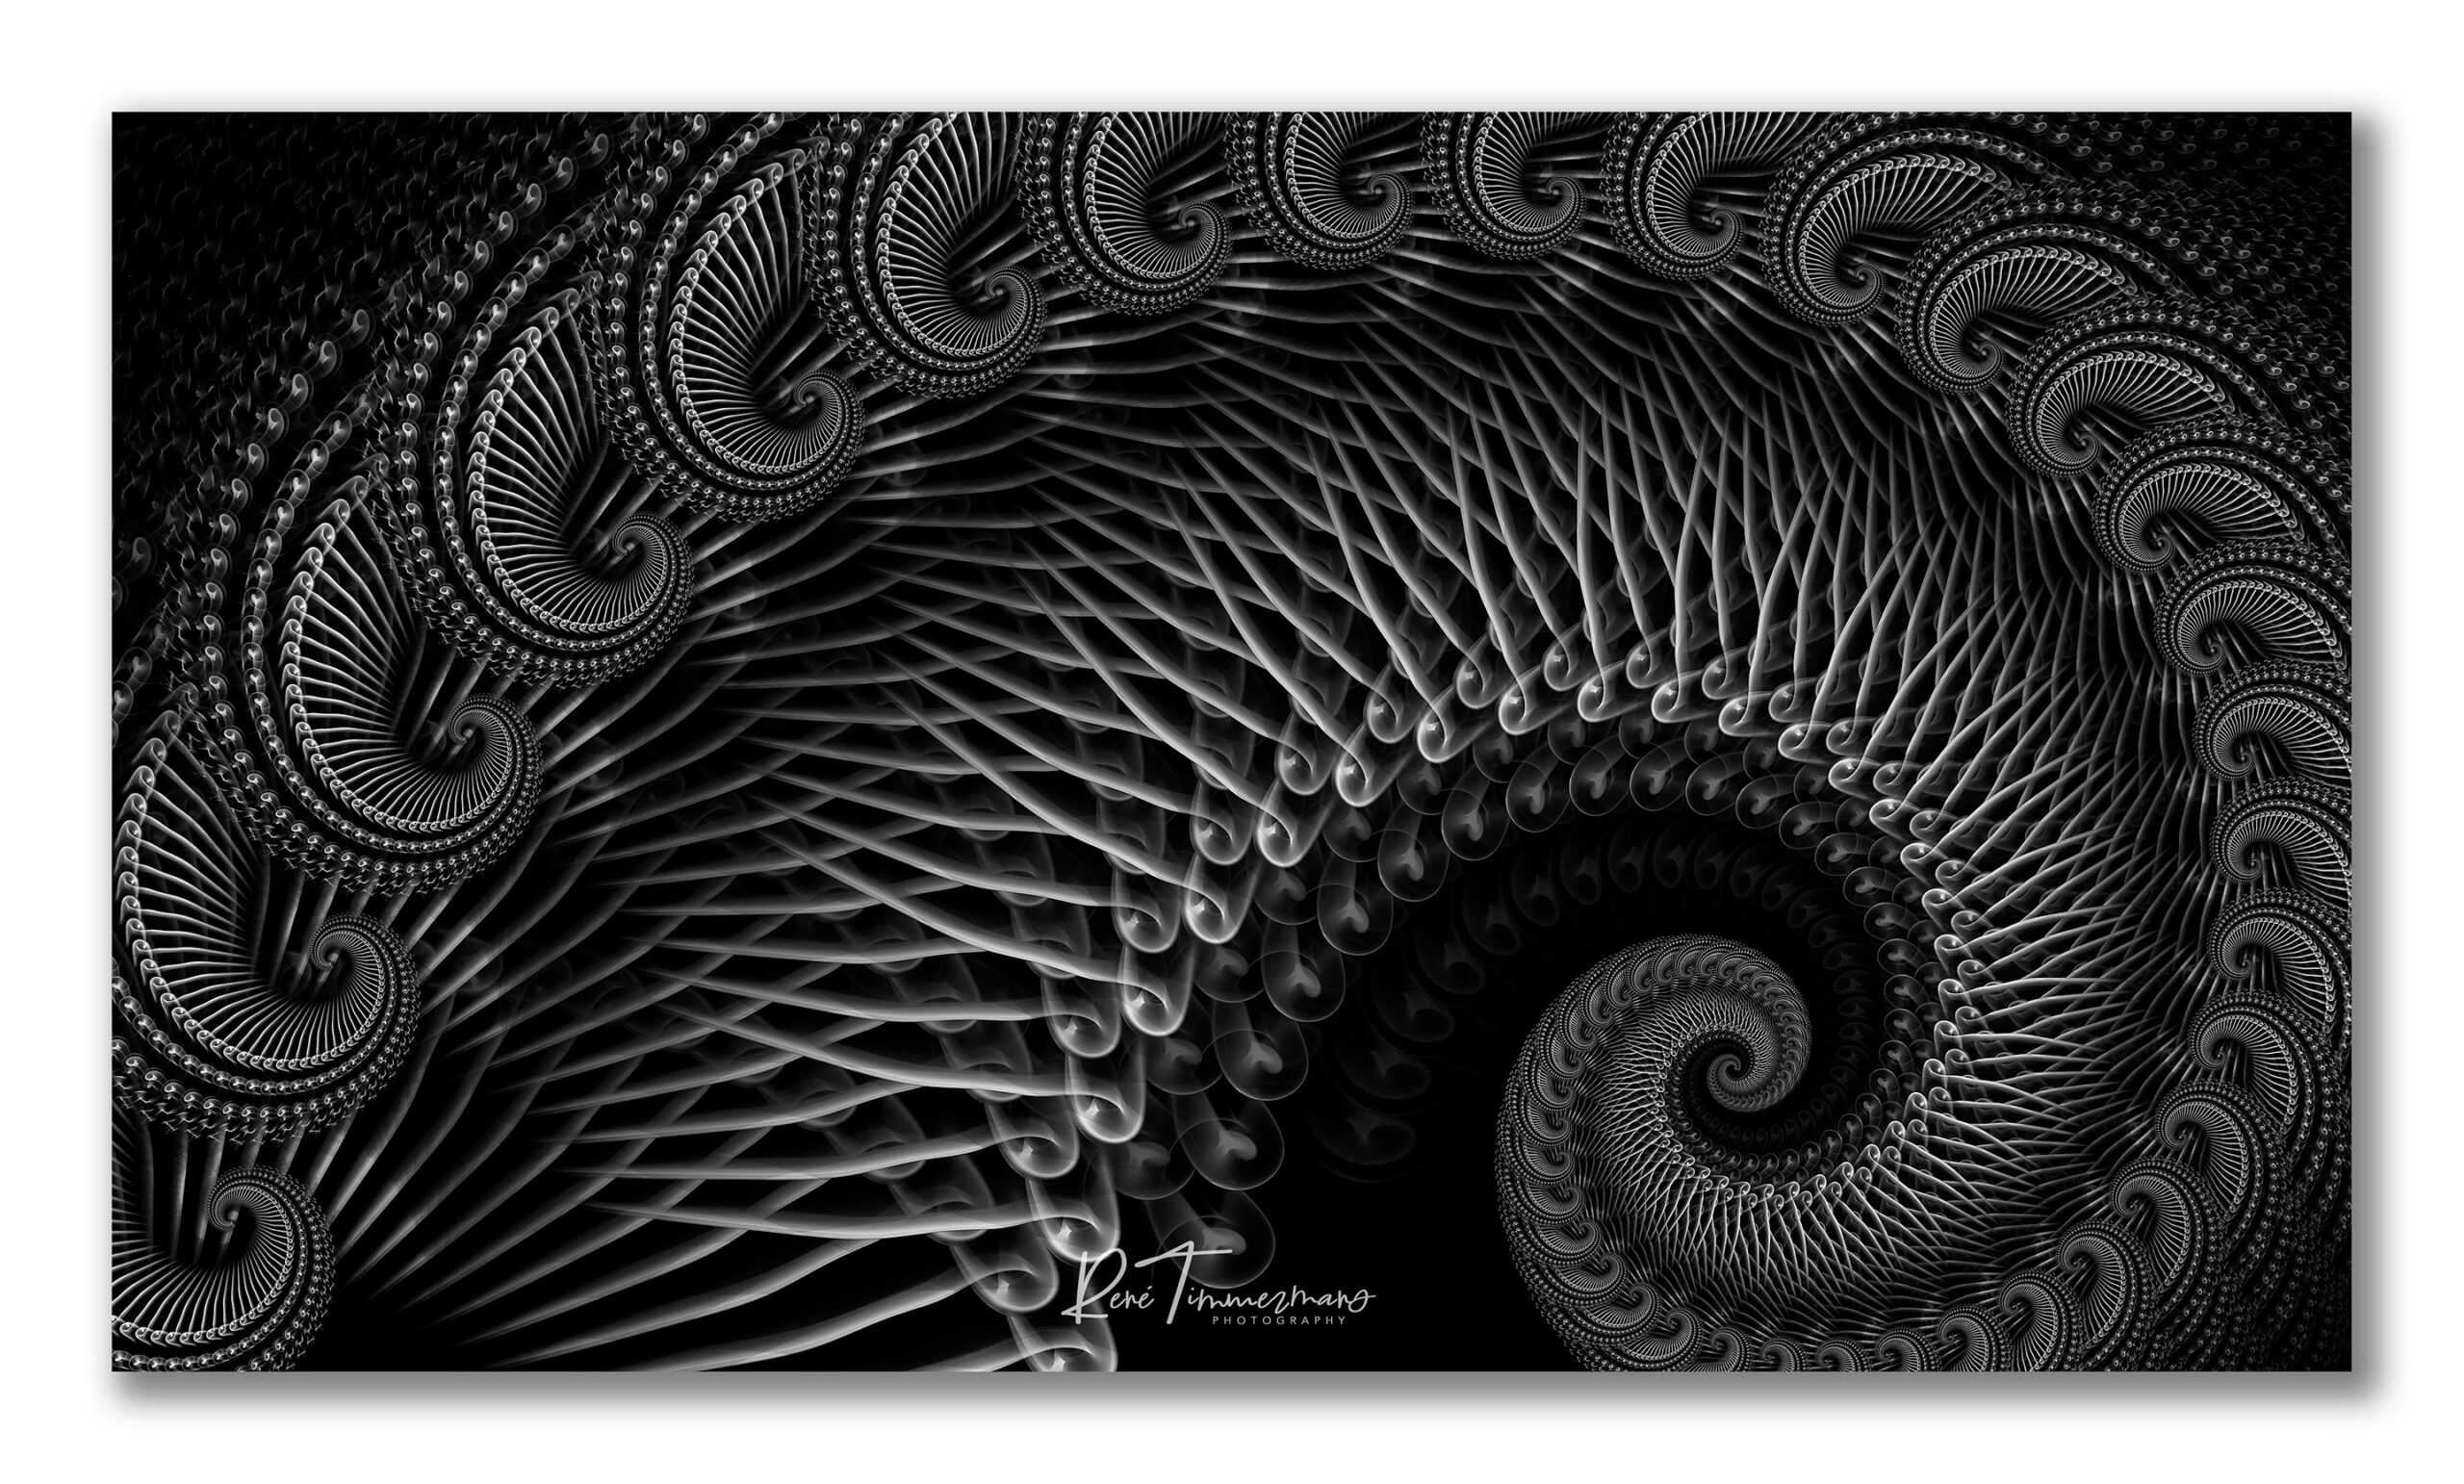
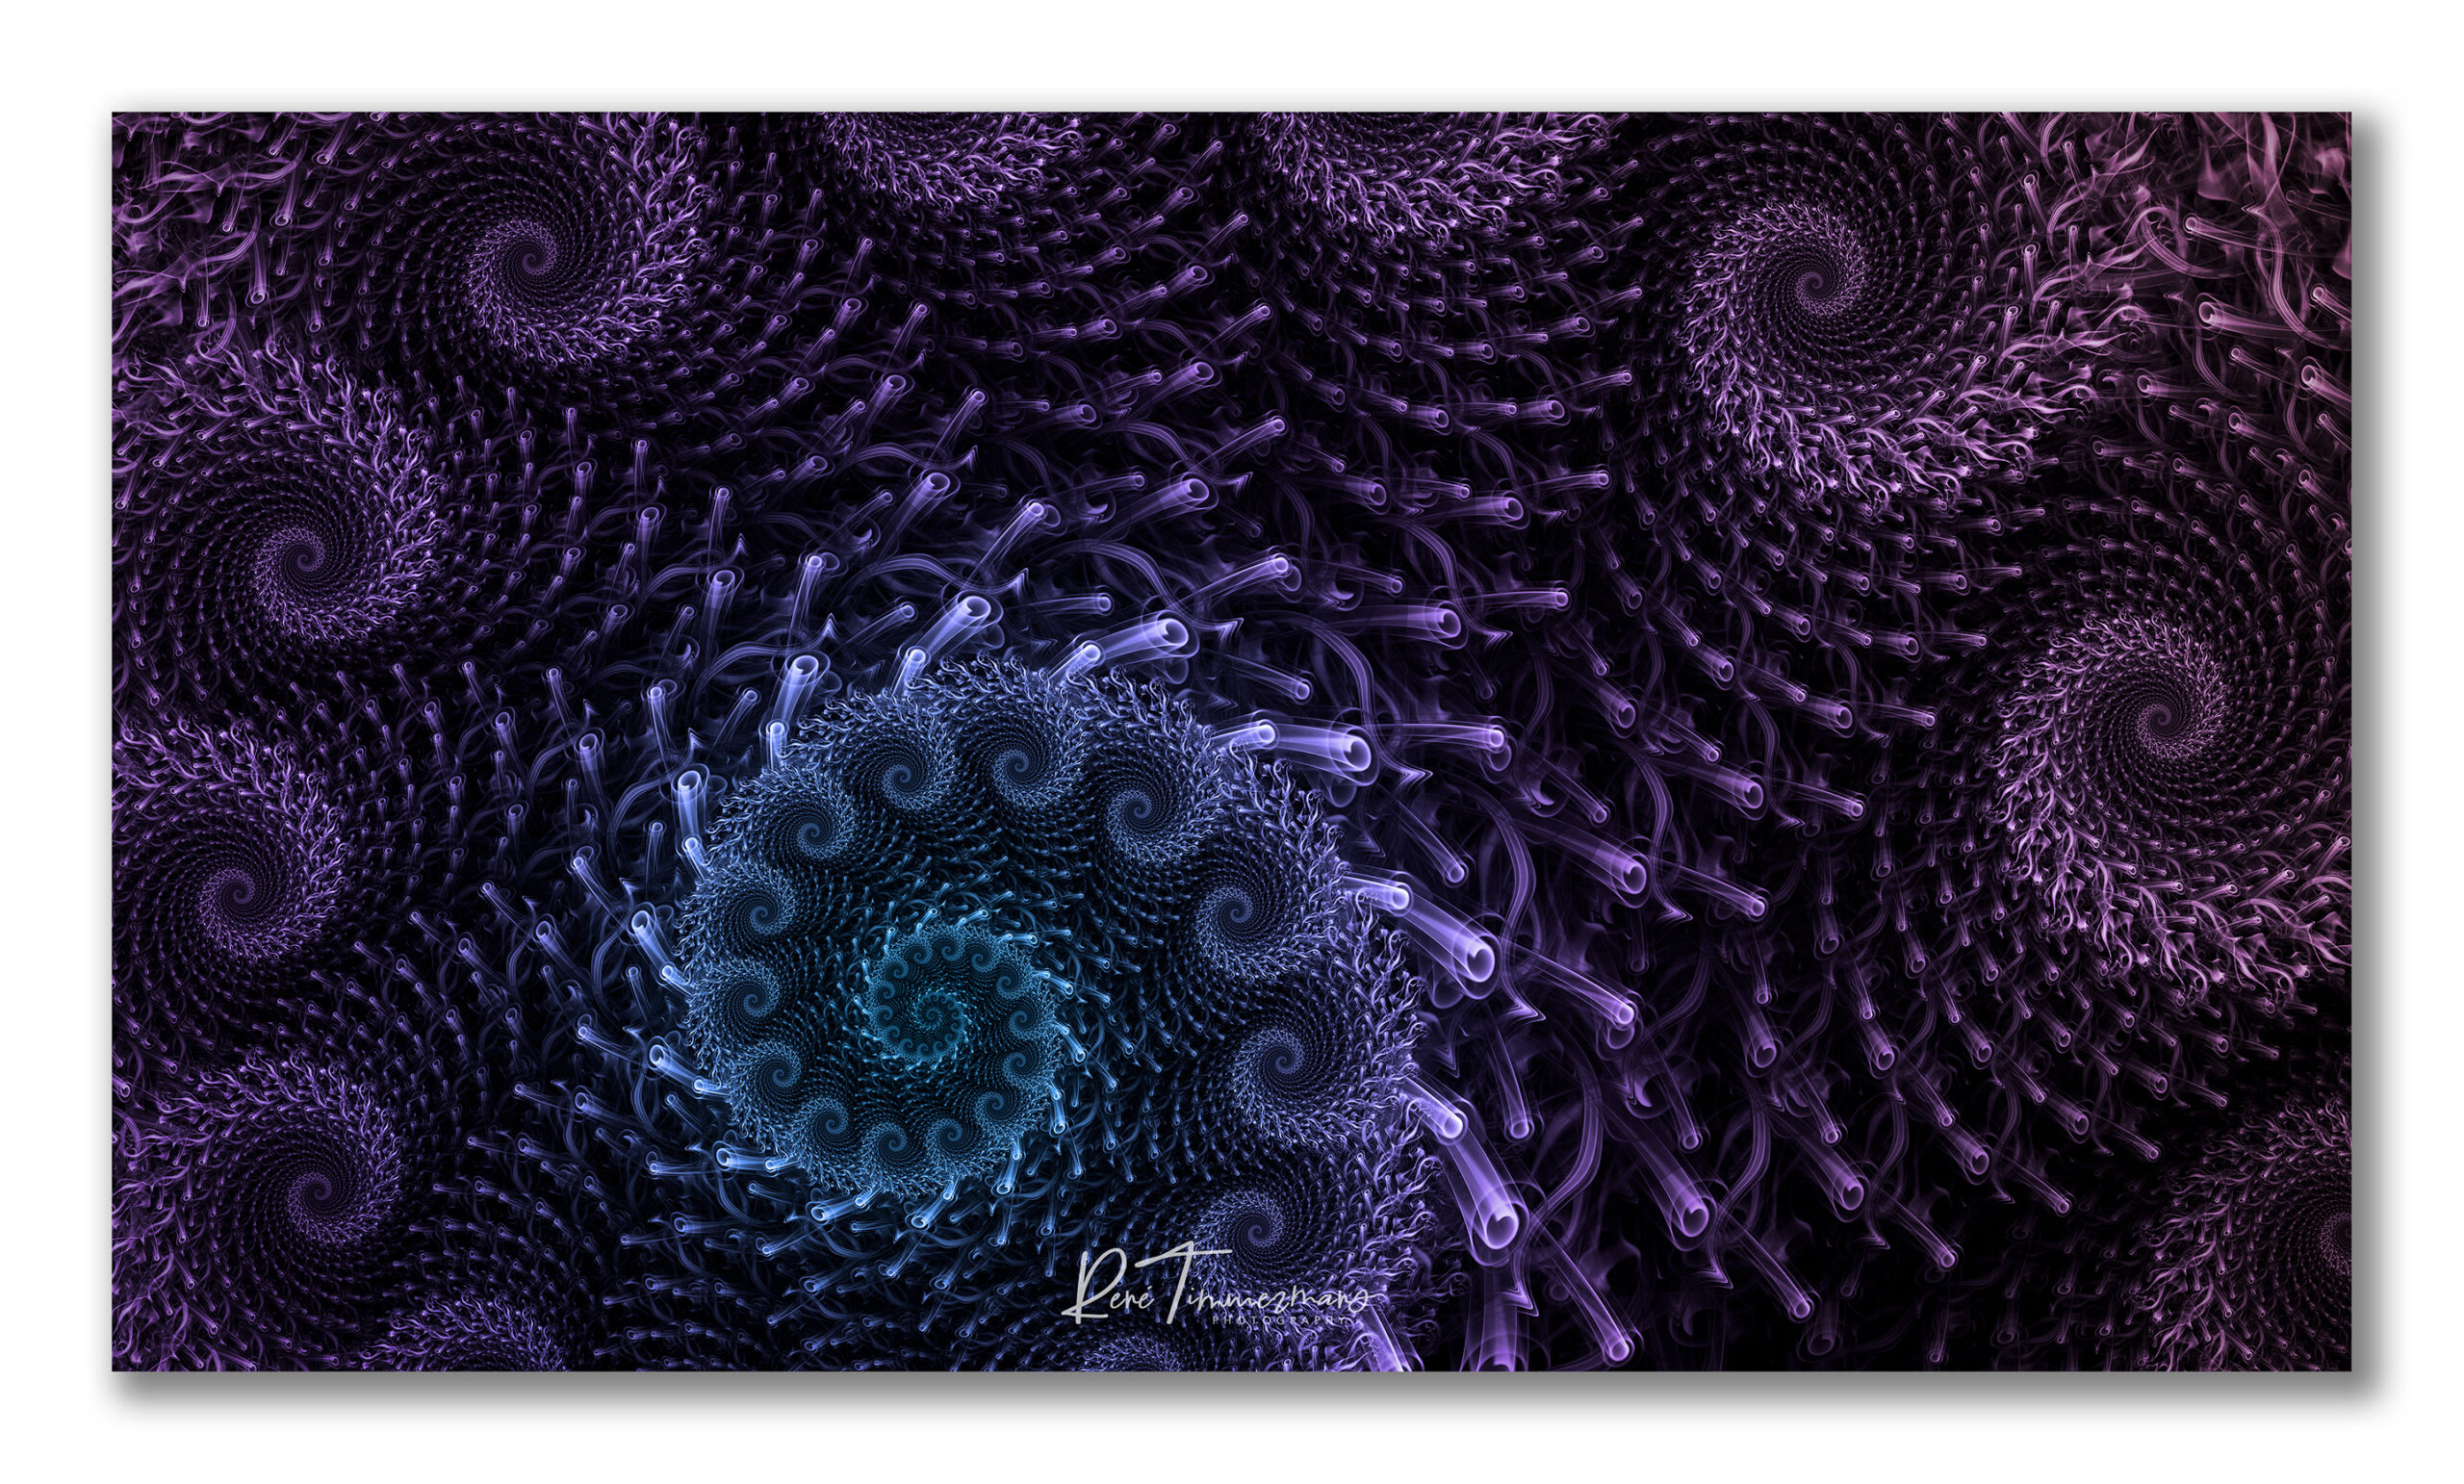
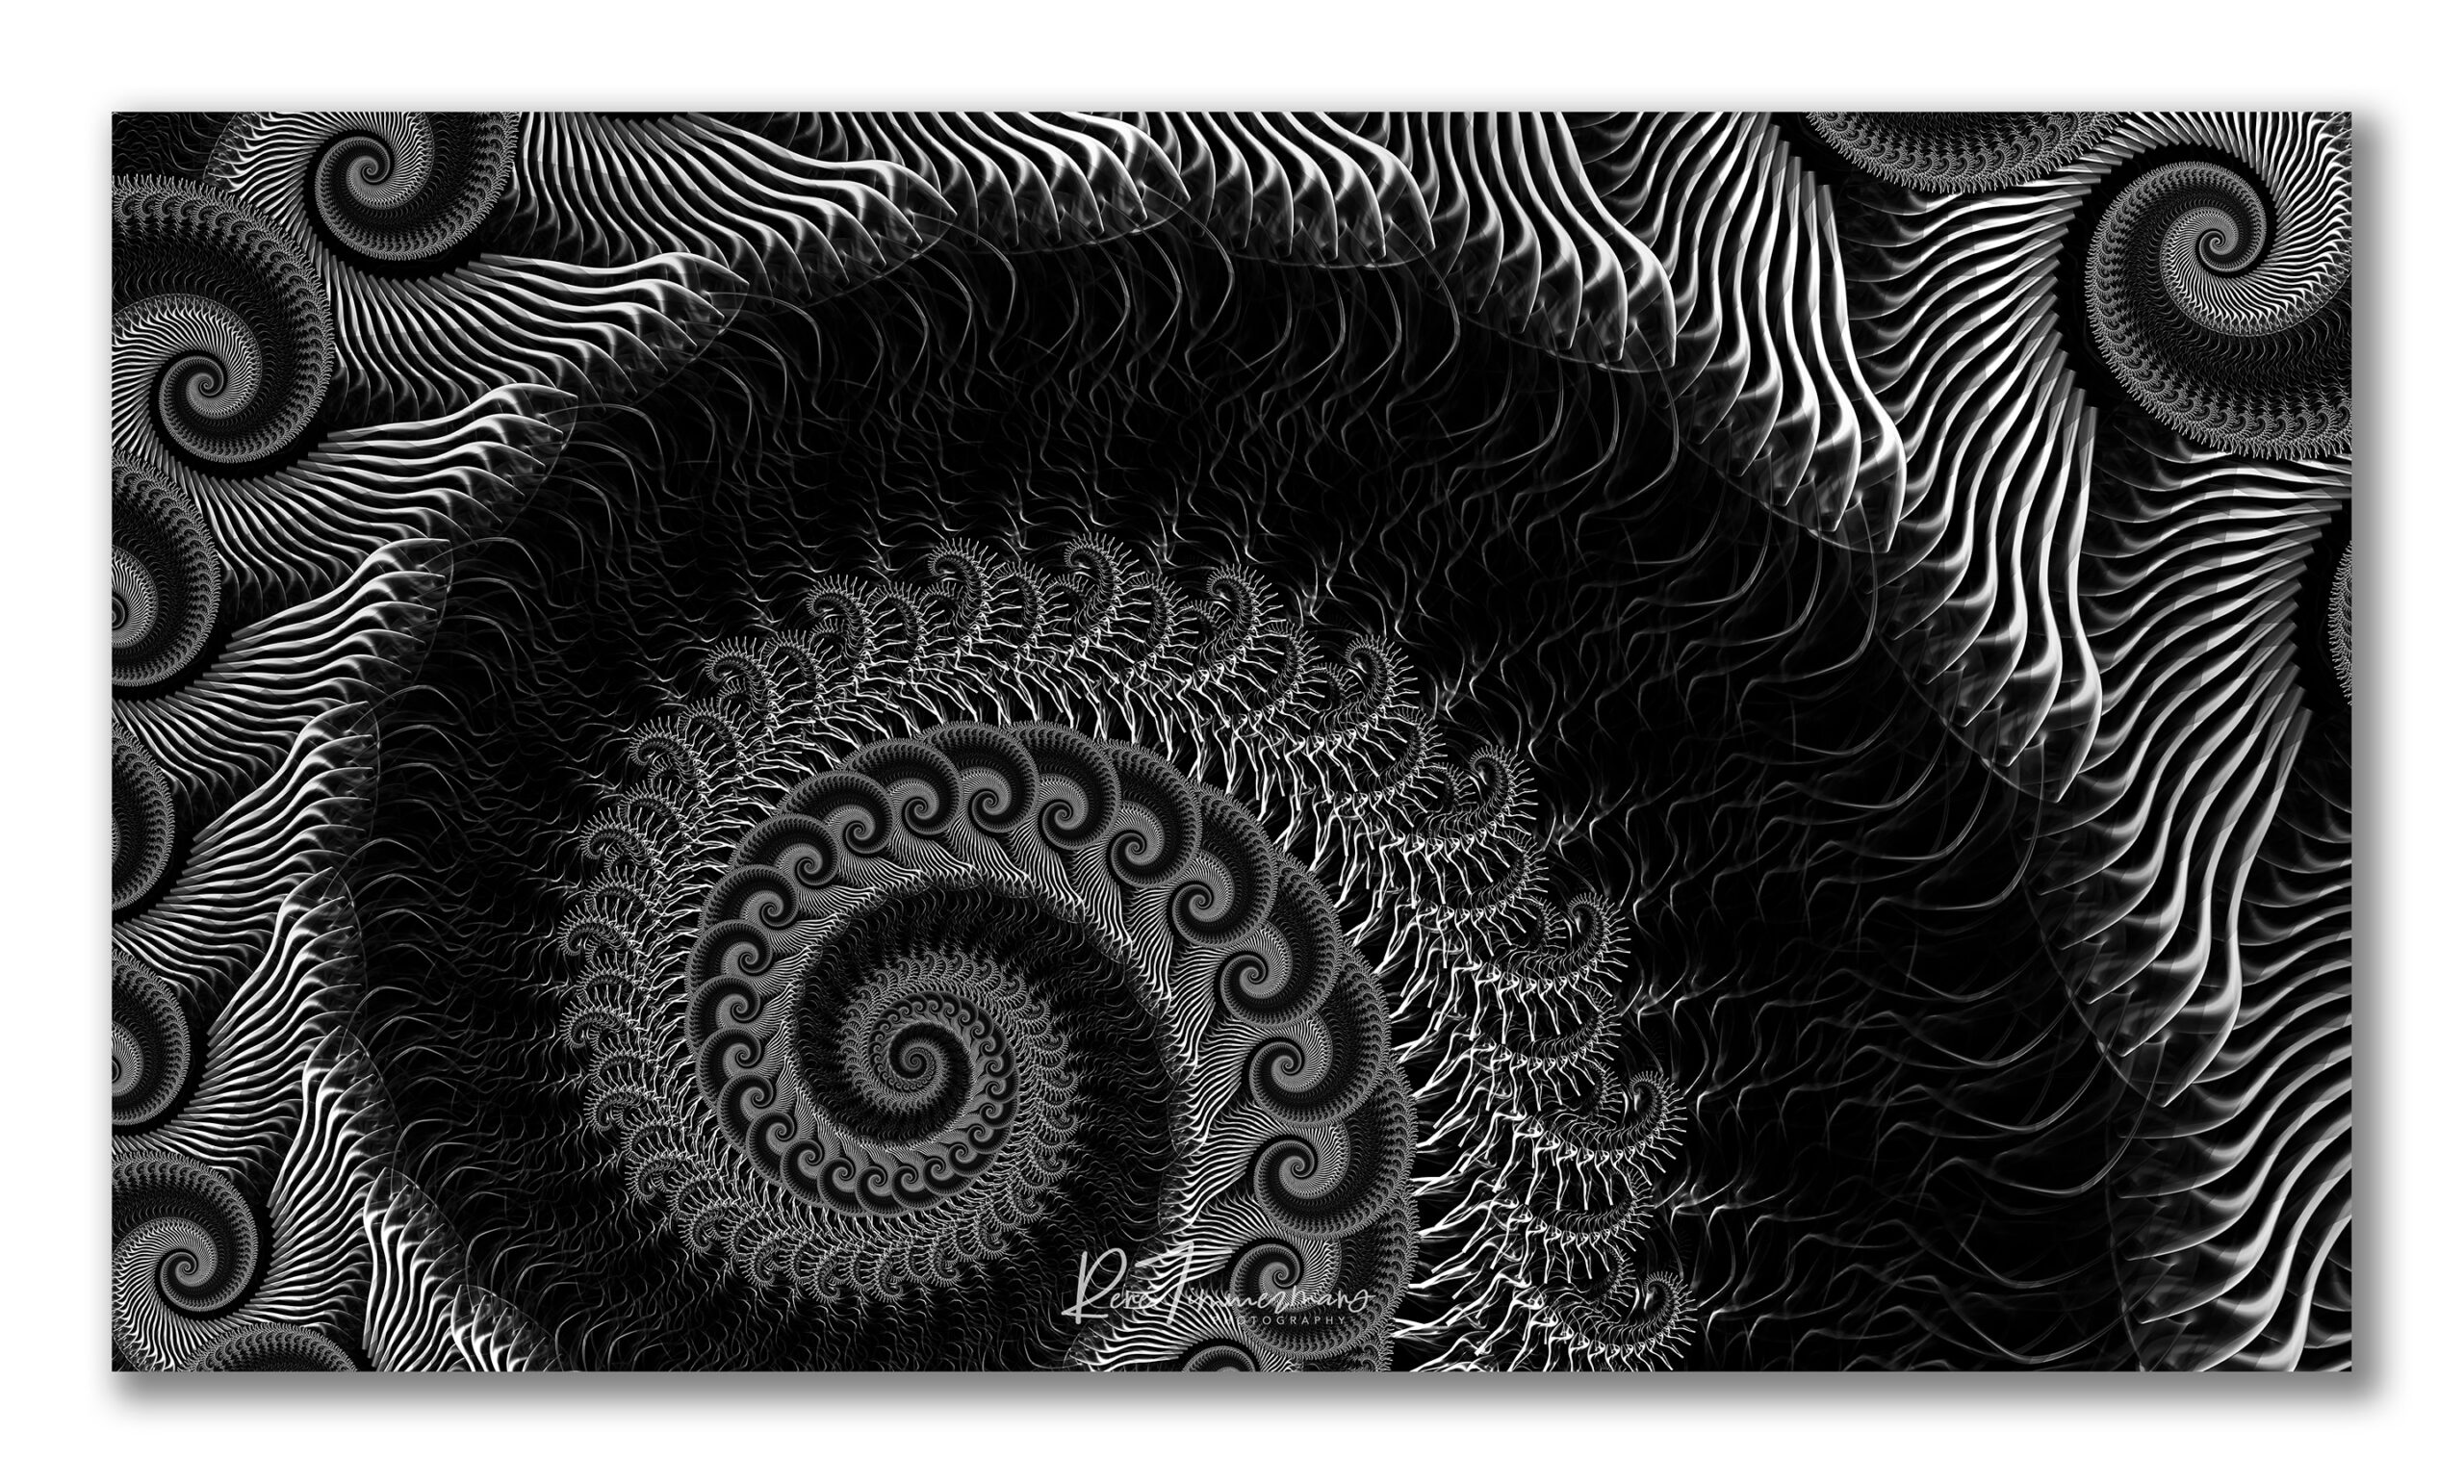
The Fractal Series
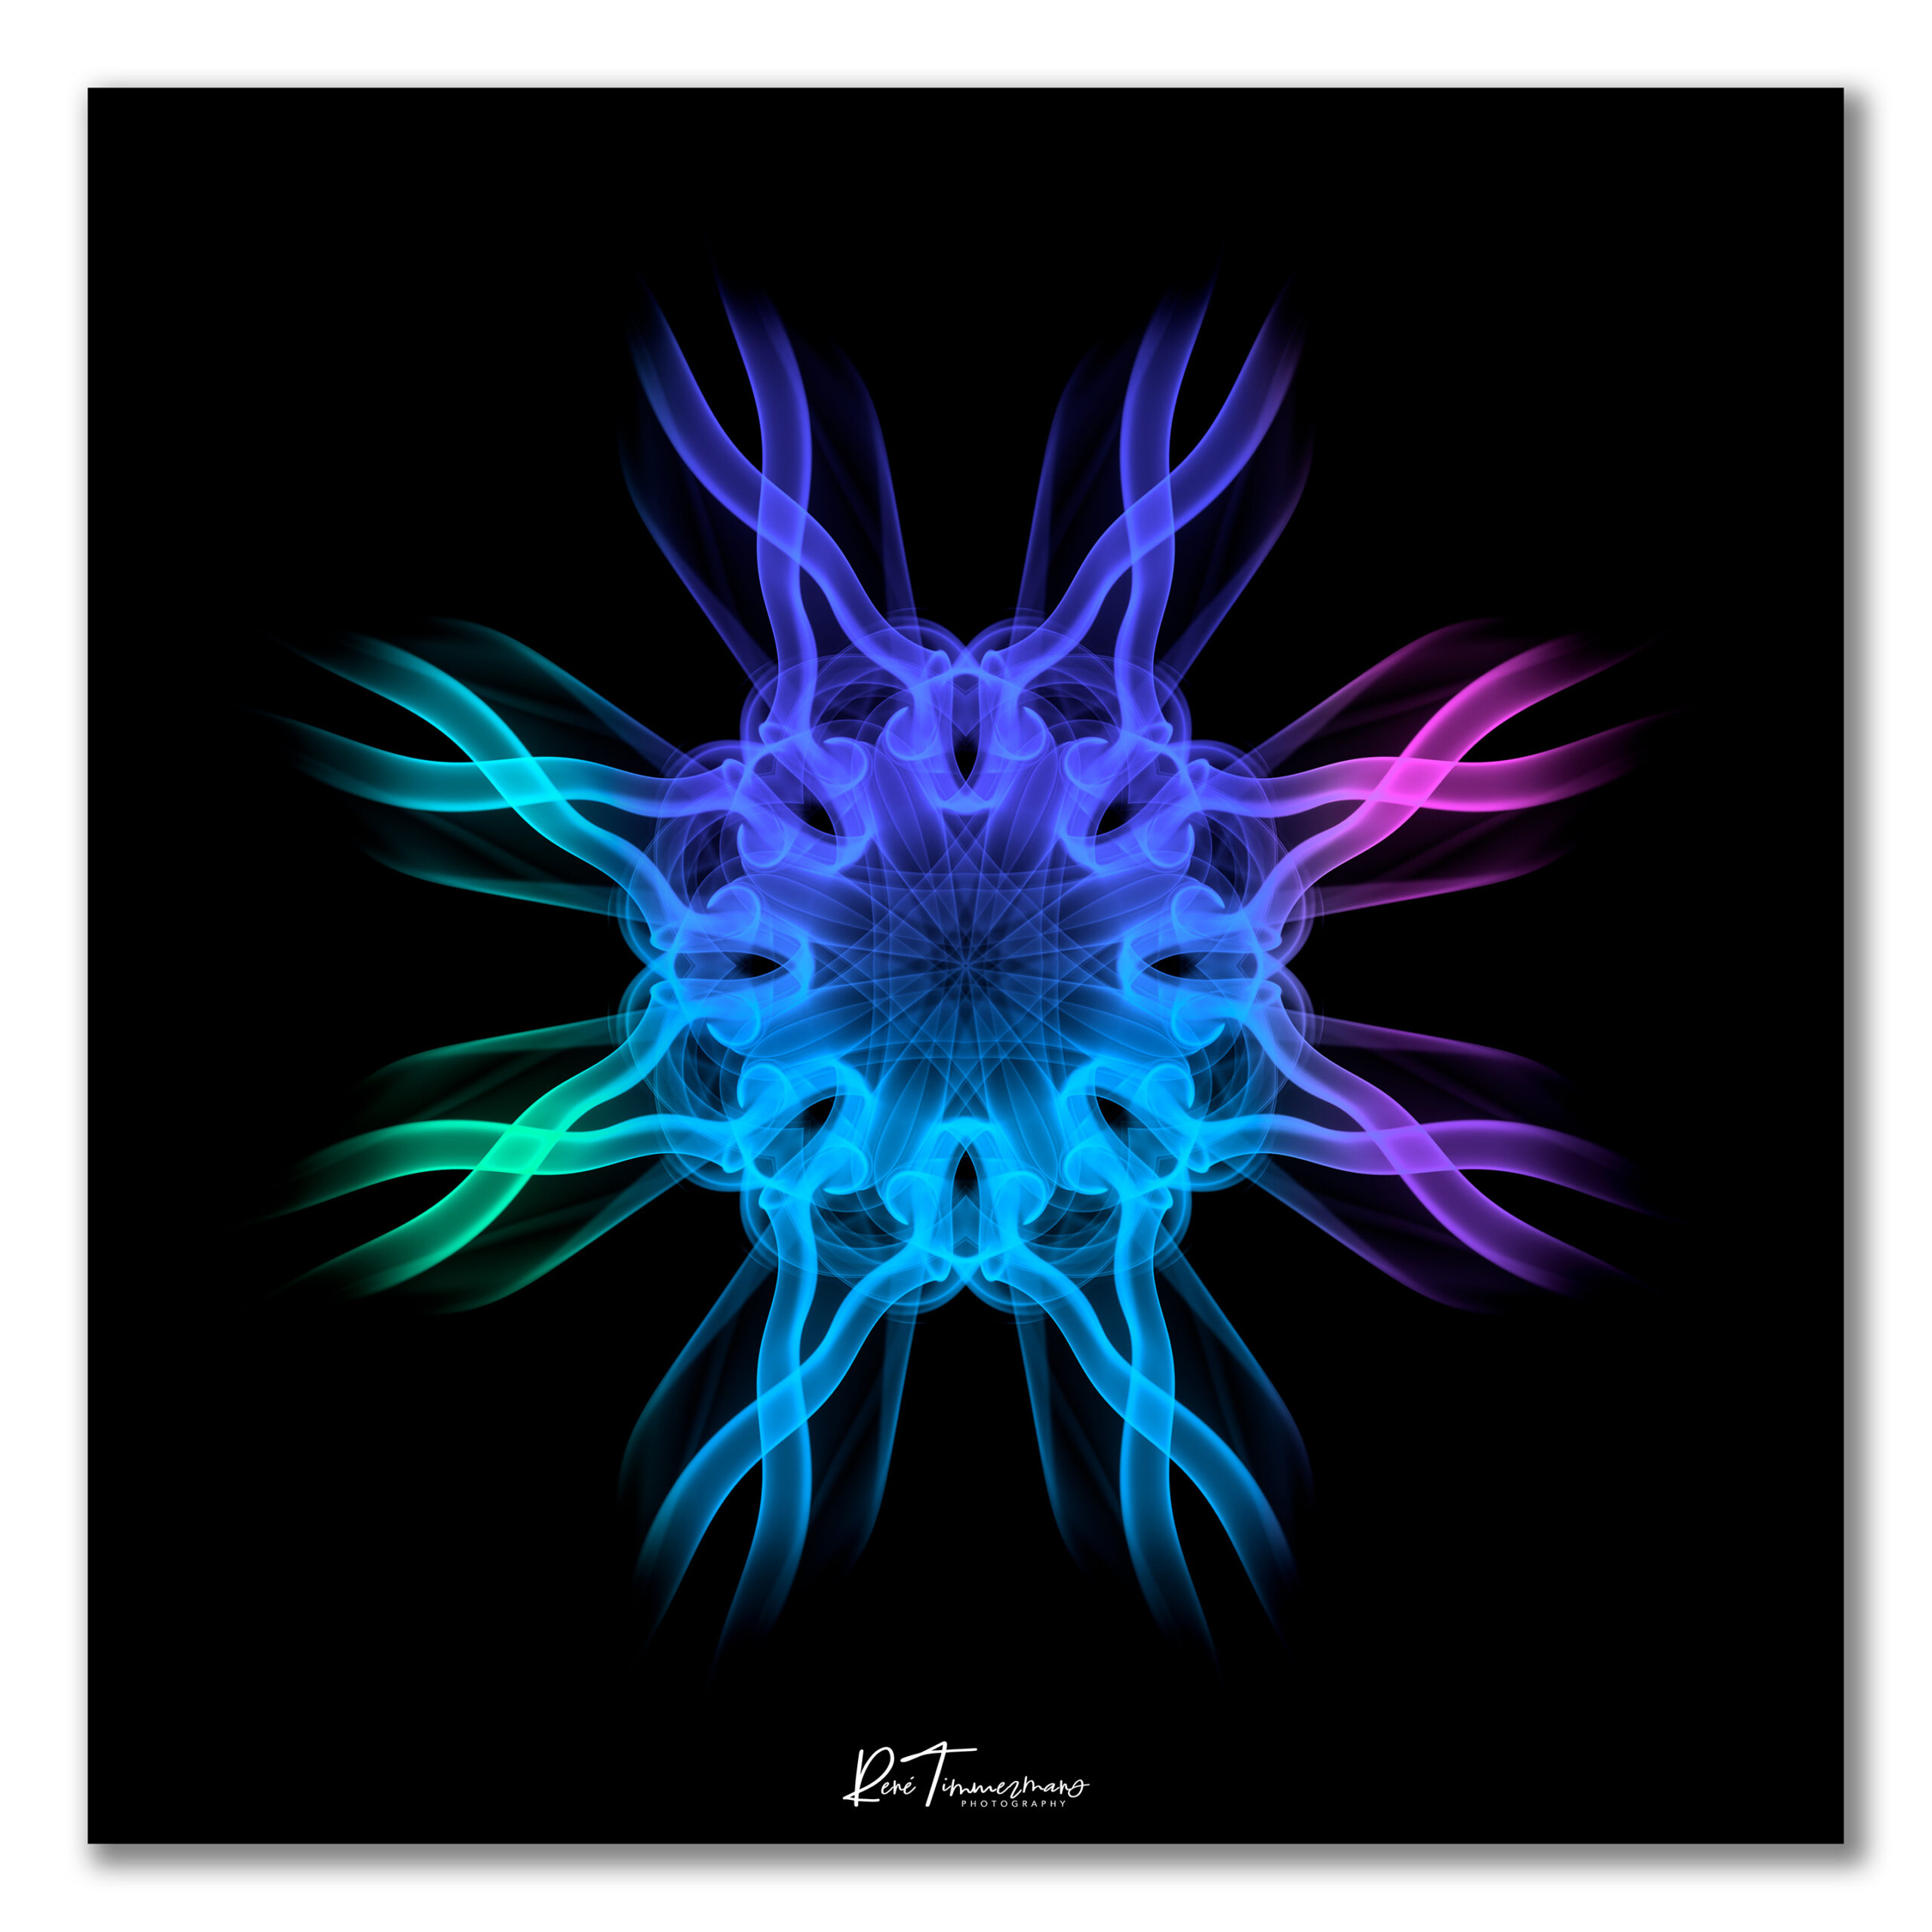
Taking the smoke images to the next level… The Fractal Series was created by using the transform and repeat function in Adobe Photoshop repetitively to create the desired effect.
All Rights Reserved – Copyright © 2020 René Timmermans Photography
