Recently I received the opportunity to review one of the Sleeklens products, the Through The Woods workflow for Adobe Lightroom. The workflow contains a bundle of 51 presets and 30 brushes targeted specifically for landscape photography. Besides the Through The Woods bundle Sleeklens provides many other bundles, e.g. for portrait, wedding and b&w photography. Check out their website for a full view of their offering.
Installation:
The bundle comes as a .zip-file. Once extracted it includes clear instructions how to install the presets and brushes into Adobe Lightroom, which is as easy as copying the files into the right folder. It also includes a useful document with recipes on example photos. Furthermore, on the Sleeklens website there are several easy-to-follow tutorial videos available on how to use the workflow.
Using the bundle:
The presets are very easy to use. In the Develop module in the Presets panel there is a list of 51 different presets divided over 6 categories. These presets can be used in combination of each other to create the desired effect. While hovering over one of the presets a preview of the preset is shown in the Navigator panel to get an idea of the effect before applying it. The brushes work equally as easy. When the Adjustment Brush has been selected all 30 brushes are available in the effect list and the effect can be painted into the photo.
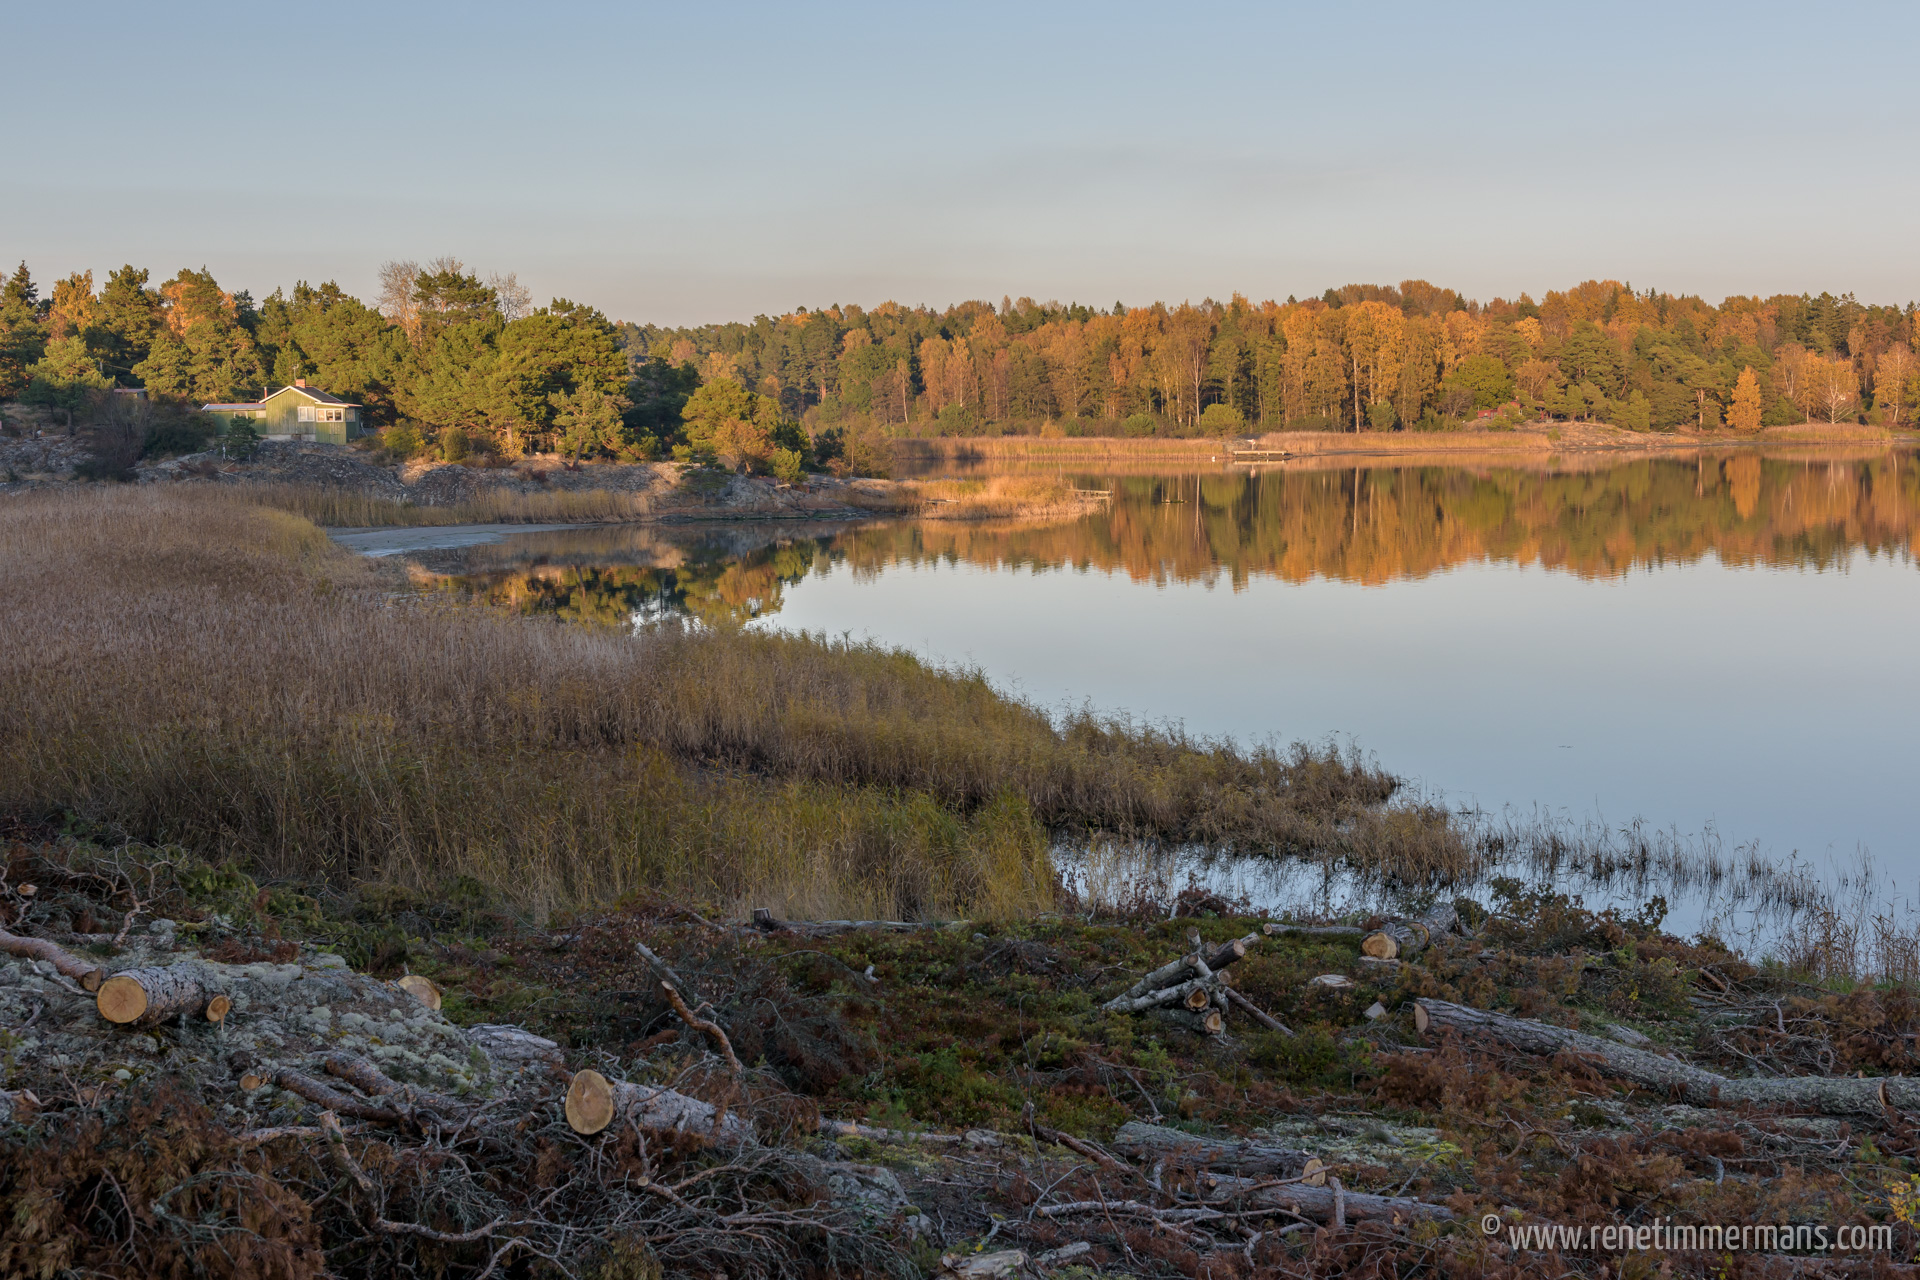
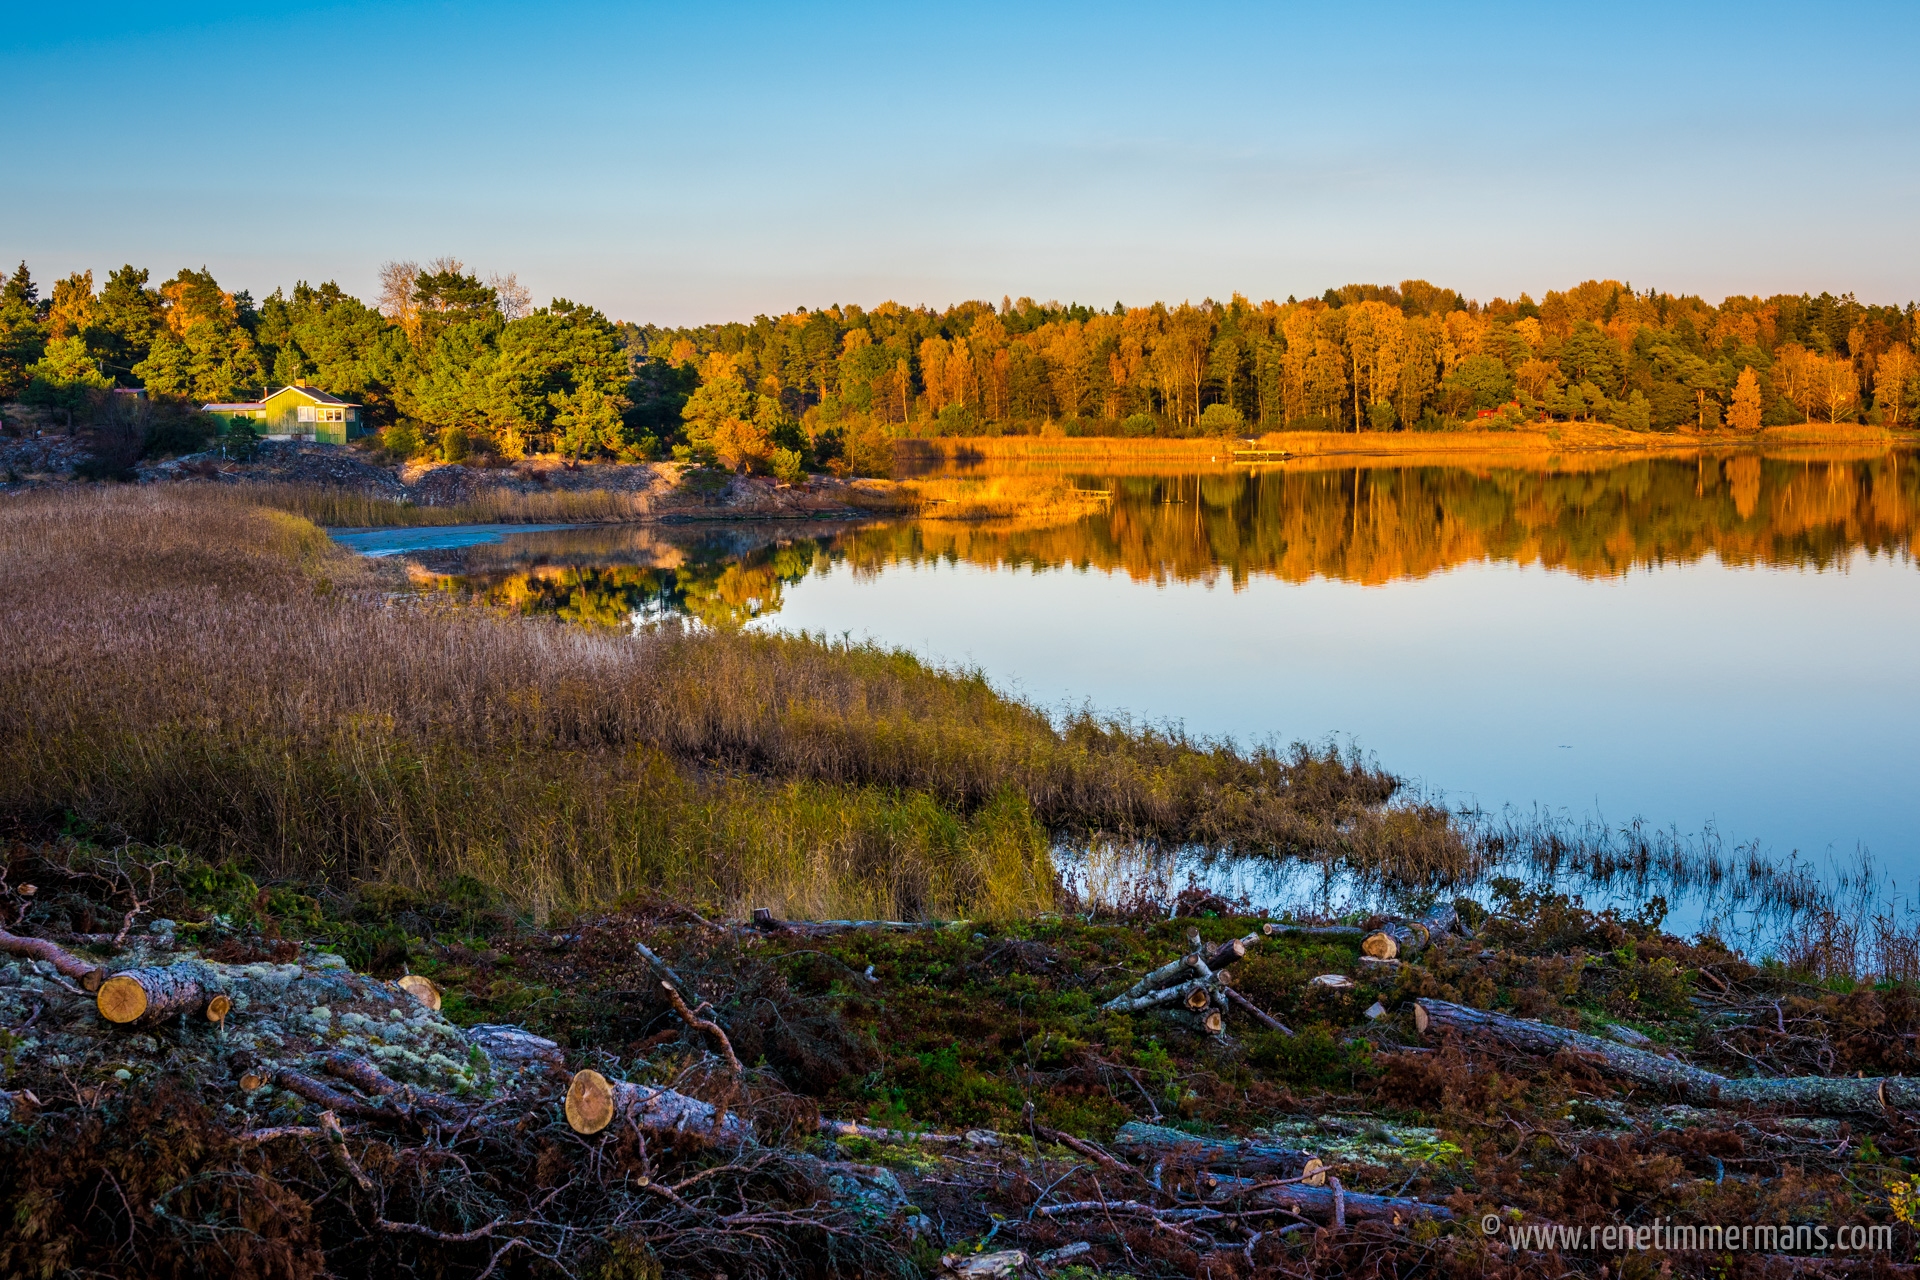
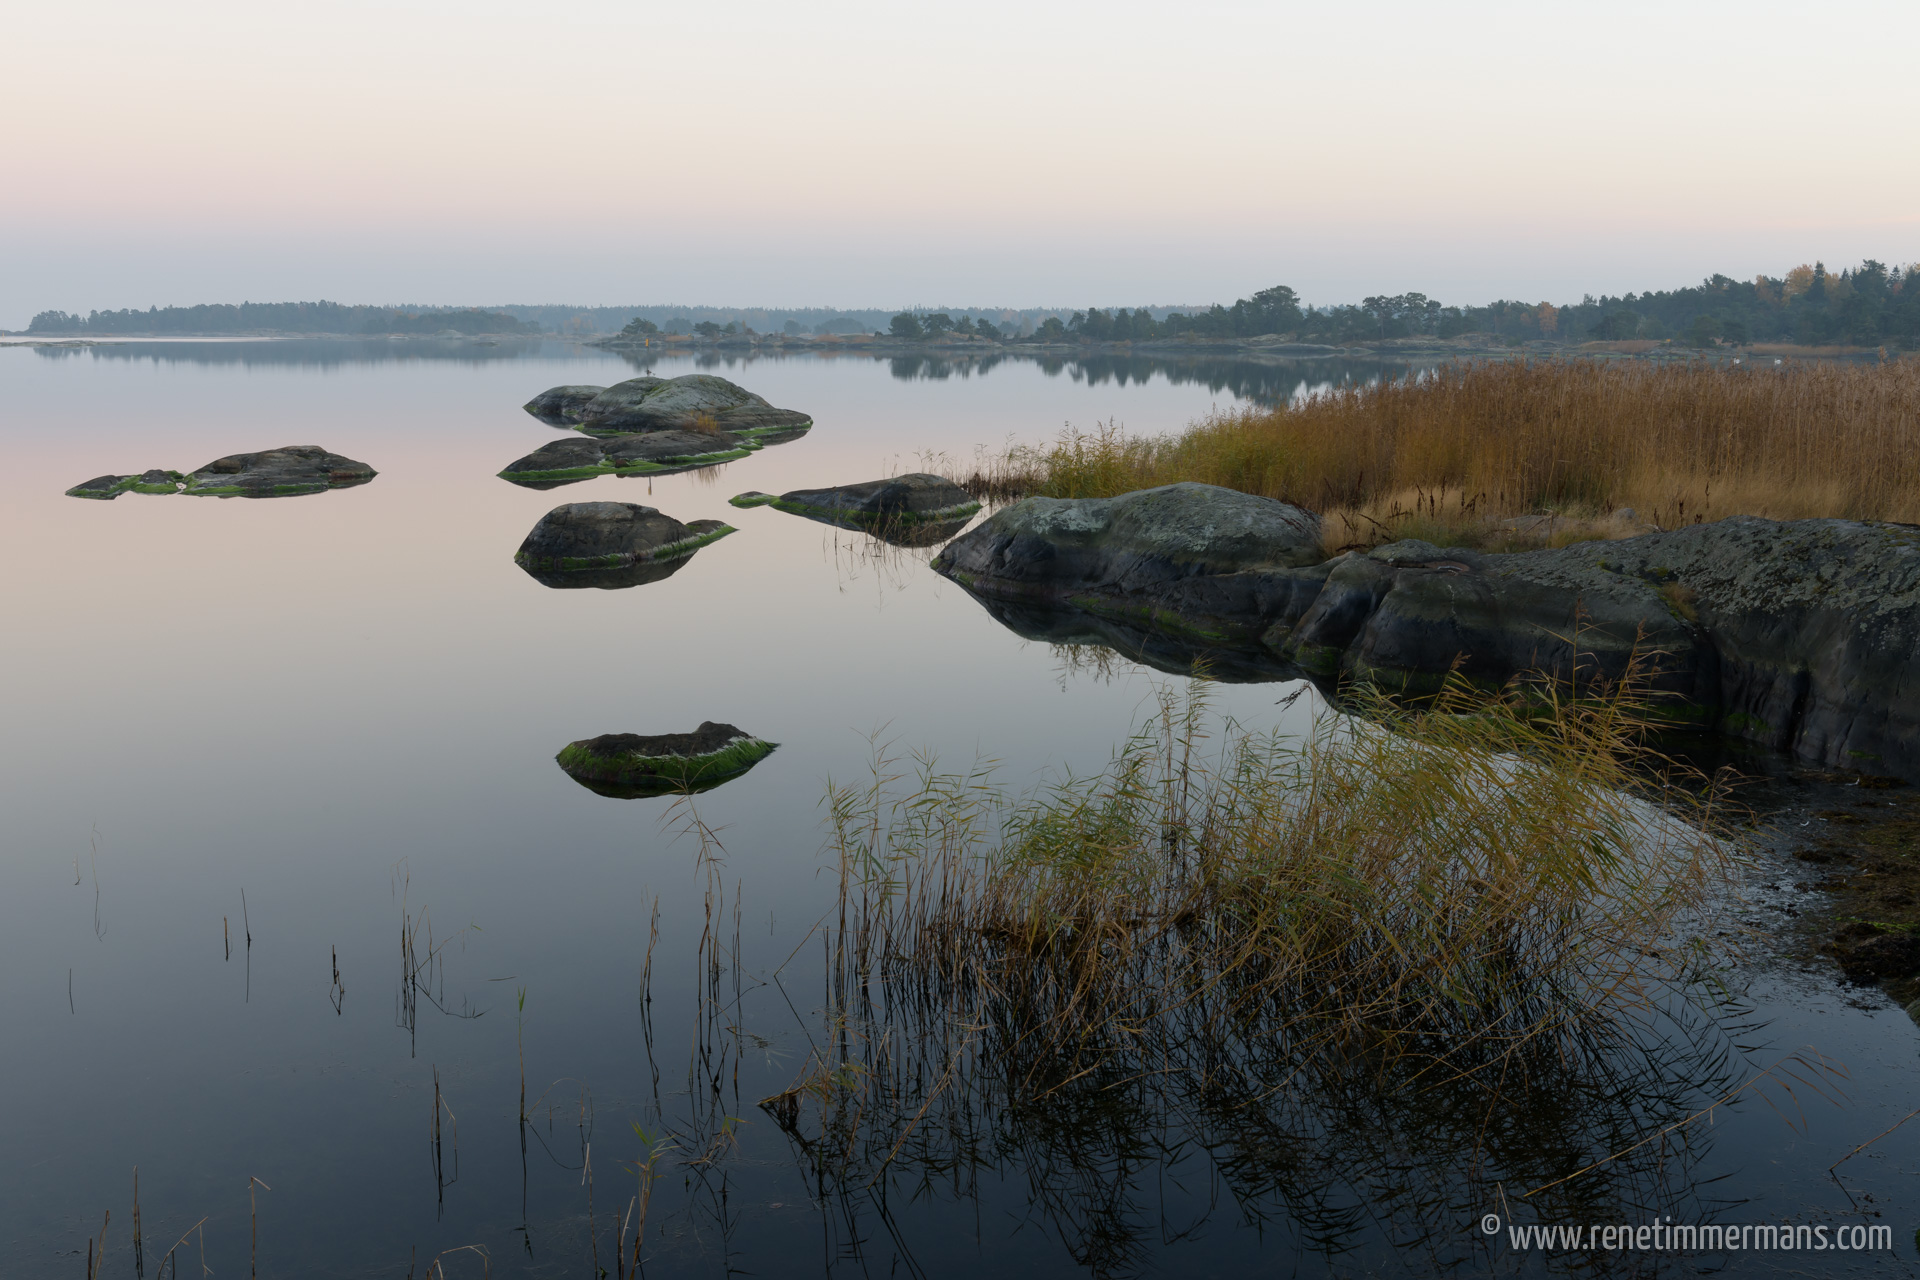
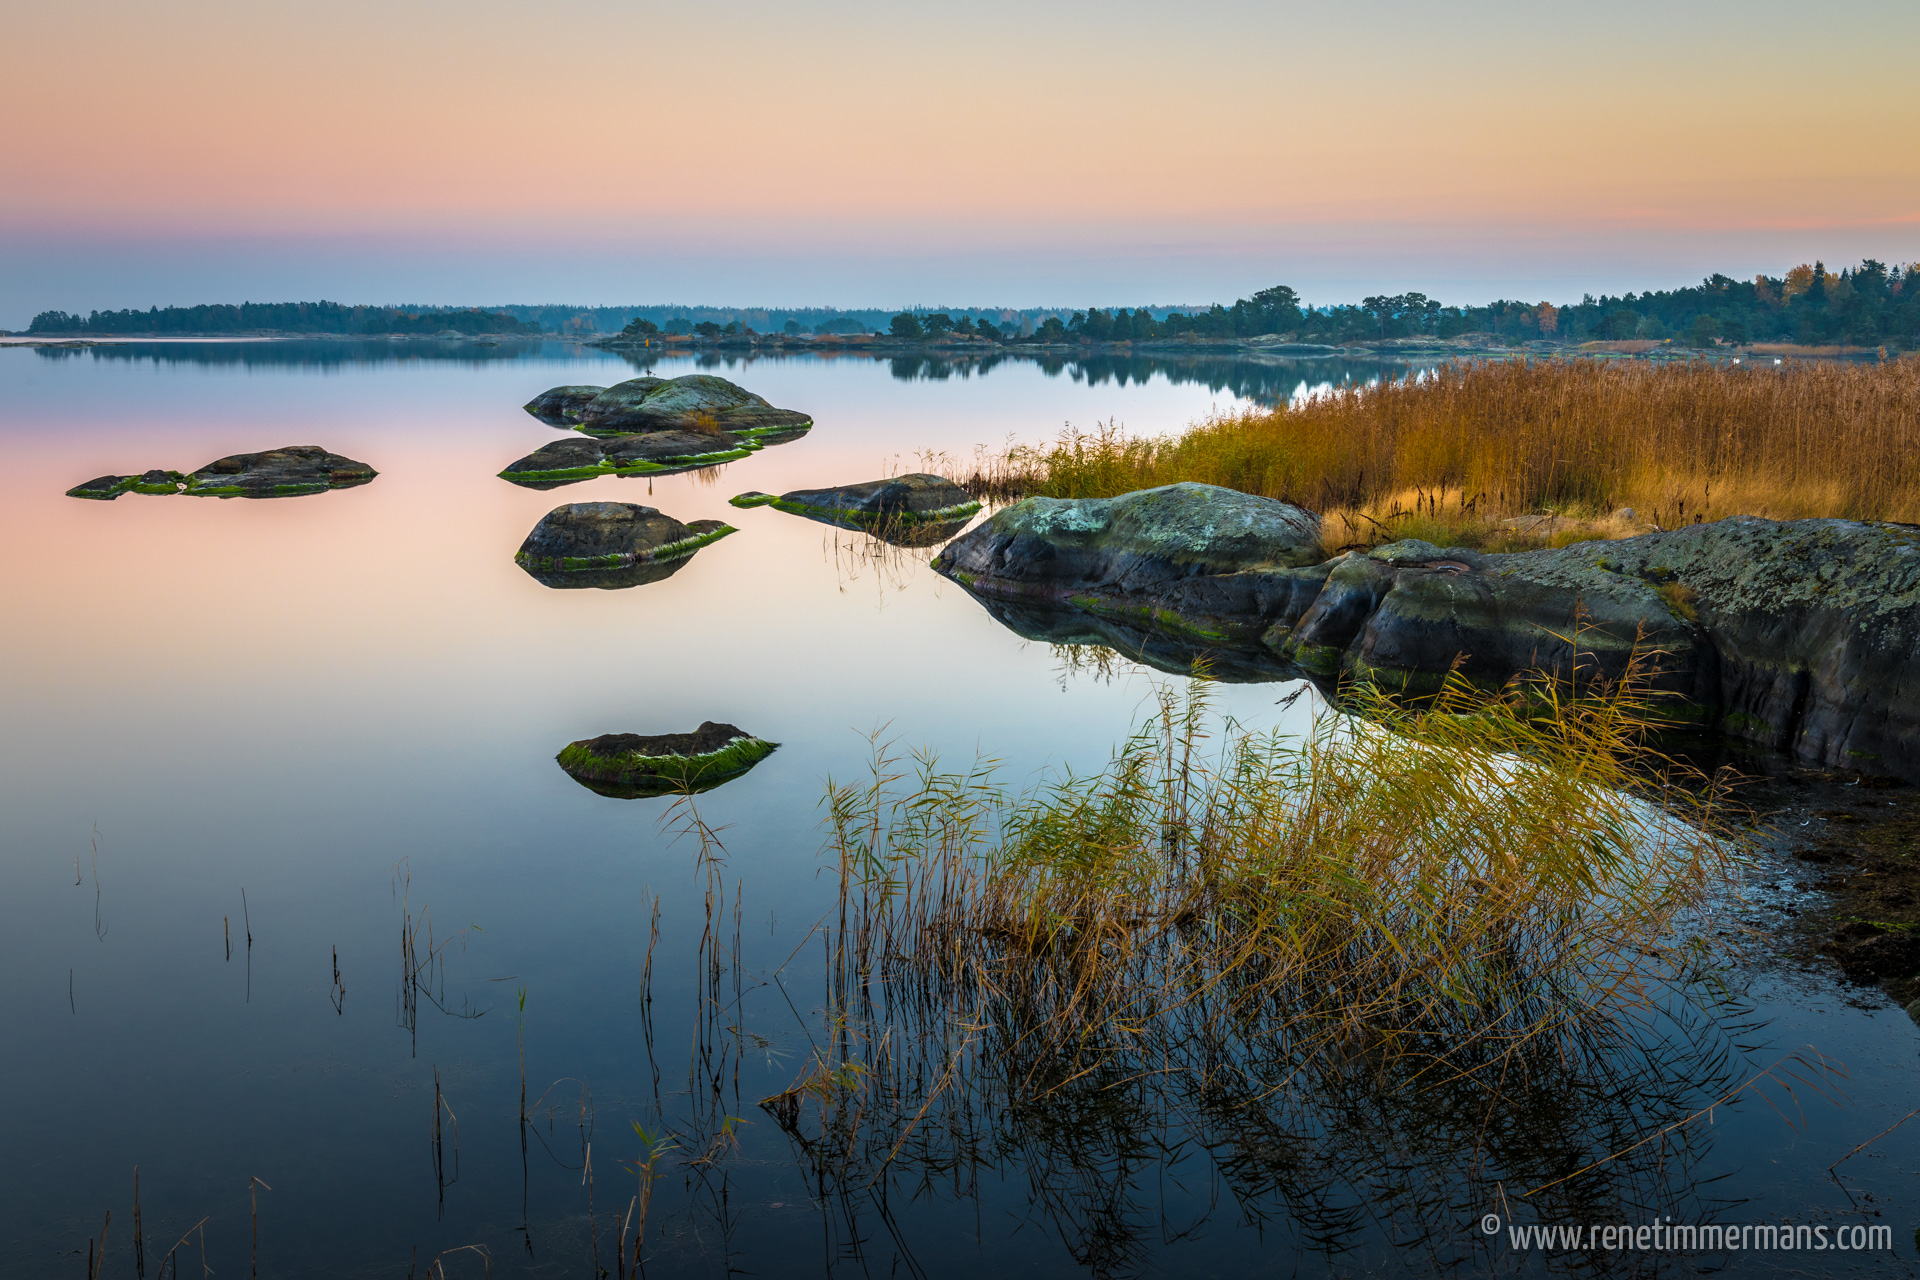
I have tested the presets and brushes on various photos. Below you will find two examples of edited photos with the Sleeklens bundle from a photo trip to the island of Utö in the Stockholm archipelago in October last year during the autumn. For both photos I have used a combination of all six Sleeklens preset categories and made local adjustments where necessary with the Sleeklens brushes. As you can see I was able to bring the photos to life by adjusting or enhancing the exposure, colors, contrast, etc without spending too much time in the Develop module.
Since each photo is unique in its own way it is difficult to get a desired effect by using standard presets or brushes. I found that tweaking of the develop settings is absolutely necessary after applying each preset or brush to get the optimal result. Nevertheless, the presets give me a quick starting base from where to adjust further on, without having to manually select and set all the different develop settings from the start. Especially when editing a large number of photos this will be saving a lot of time.
An additional advantage I found is that you do not need to leave Adobe Lightroom to apply the presets and brushes. I am used to work in my digital workflow with third-party plugins, e.g. OnOne Photo 10 or Google’s Nik Collection, but need to leave Adobe Lightroom to apply the effects, which takes time and creates multiple files in my database.
Example Photo 1: Autumn over Utö
Camera: Nikon D810
Lens: Nikon 24-70mm, f/2.8
Focal Length: 44mm
ISO: 200
Exposure: 1/200sec at f/8
Tripod: Manfrotto 190CXPRO3


Example Photo 2: Silent Autumn
Camera: Nikon D810
Lens: Nikon 24-70mm, f2.8
Focal Length: 38mm
ISO: 200
Exposure: 1/3sec at f16, -1EV
Tripod: Manfrotto 190CXPRO3


Conclusion:
The Sleeklens Landscape Lightroom Presets (Through The Woods) gives the ability to quickly apply standard develop settings to each photo saving time in the editing process and without having to leave Adobe Lightroom. The presets and brushes give a good starting point from where to tweak the develop settings further from.


Recent Comments